
When the wall must do less, and the image must do more
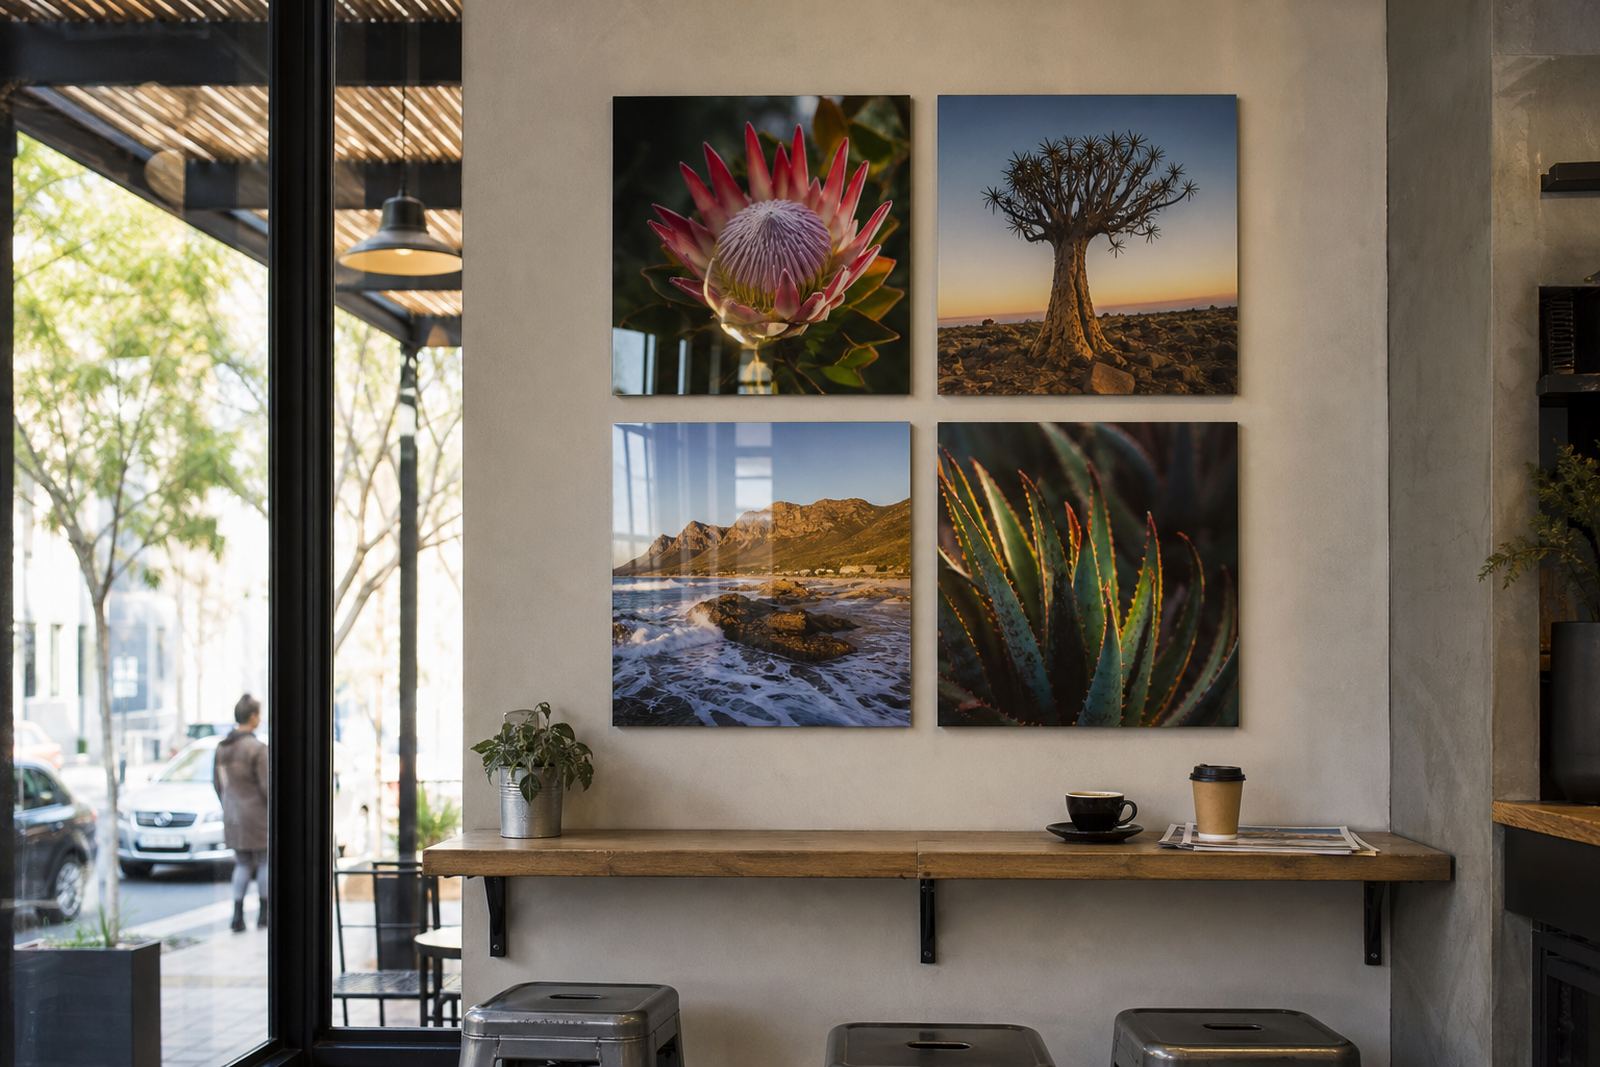
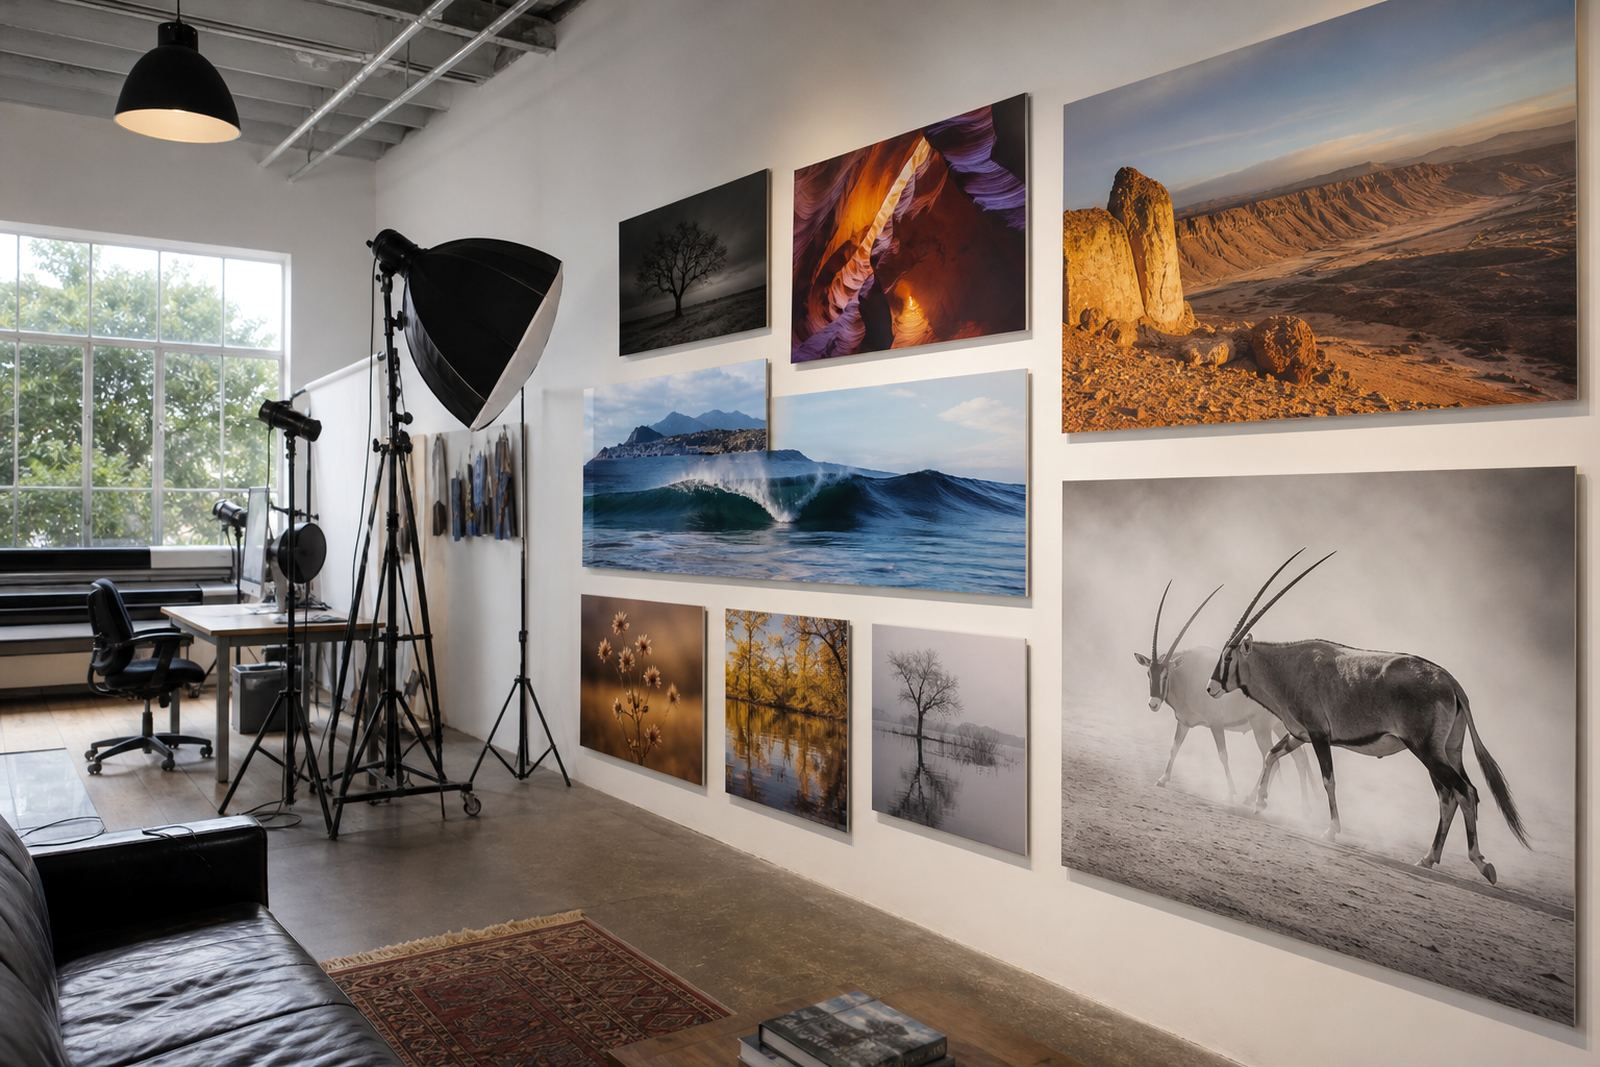
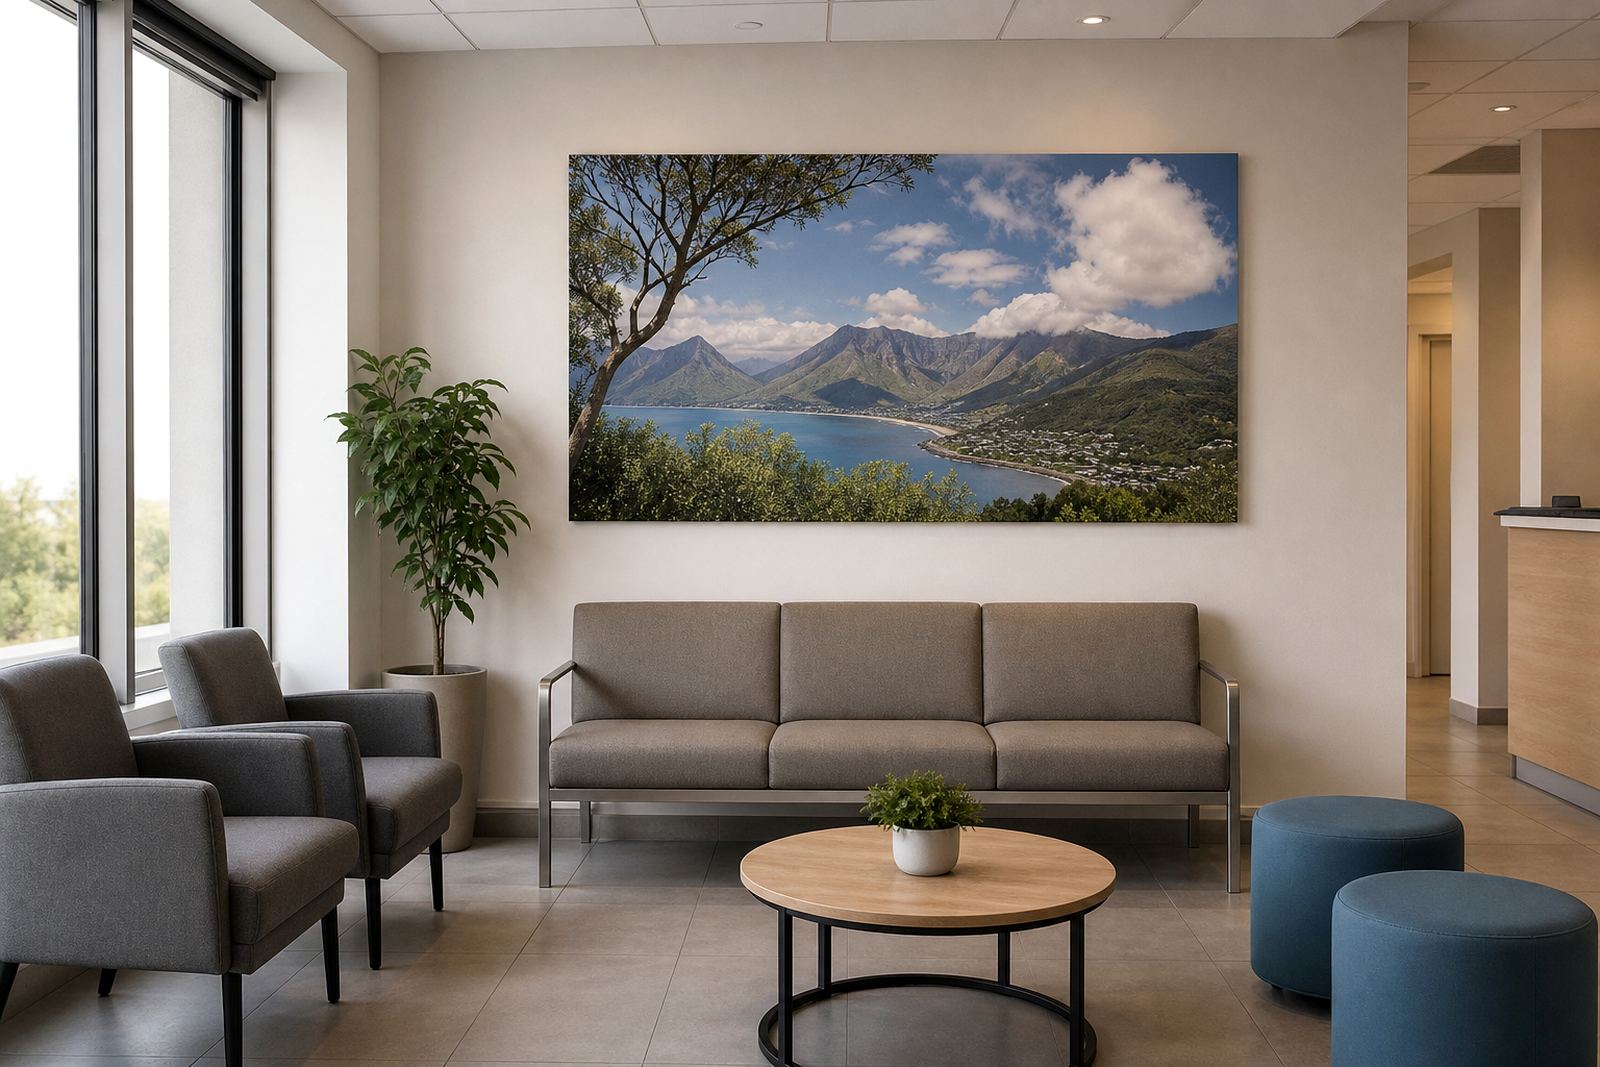
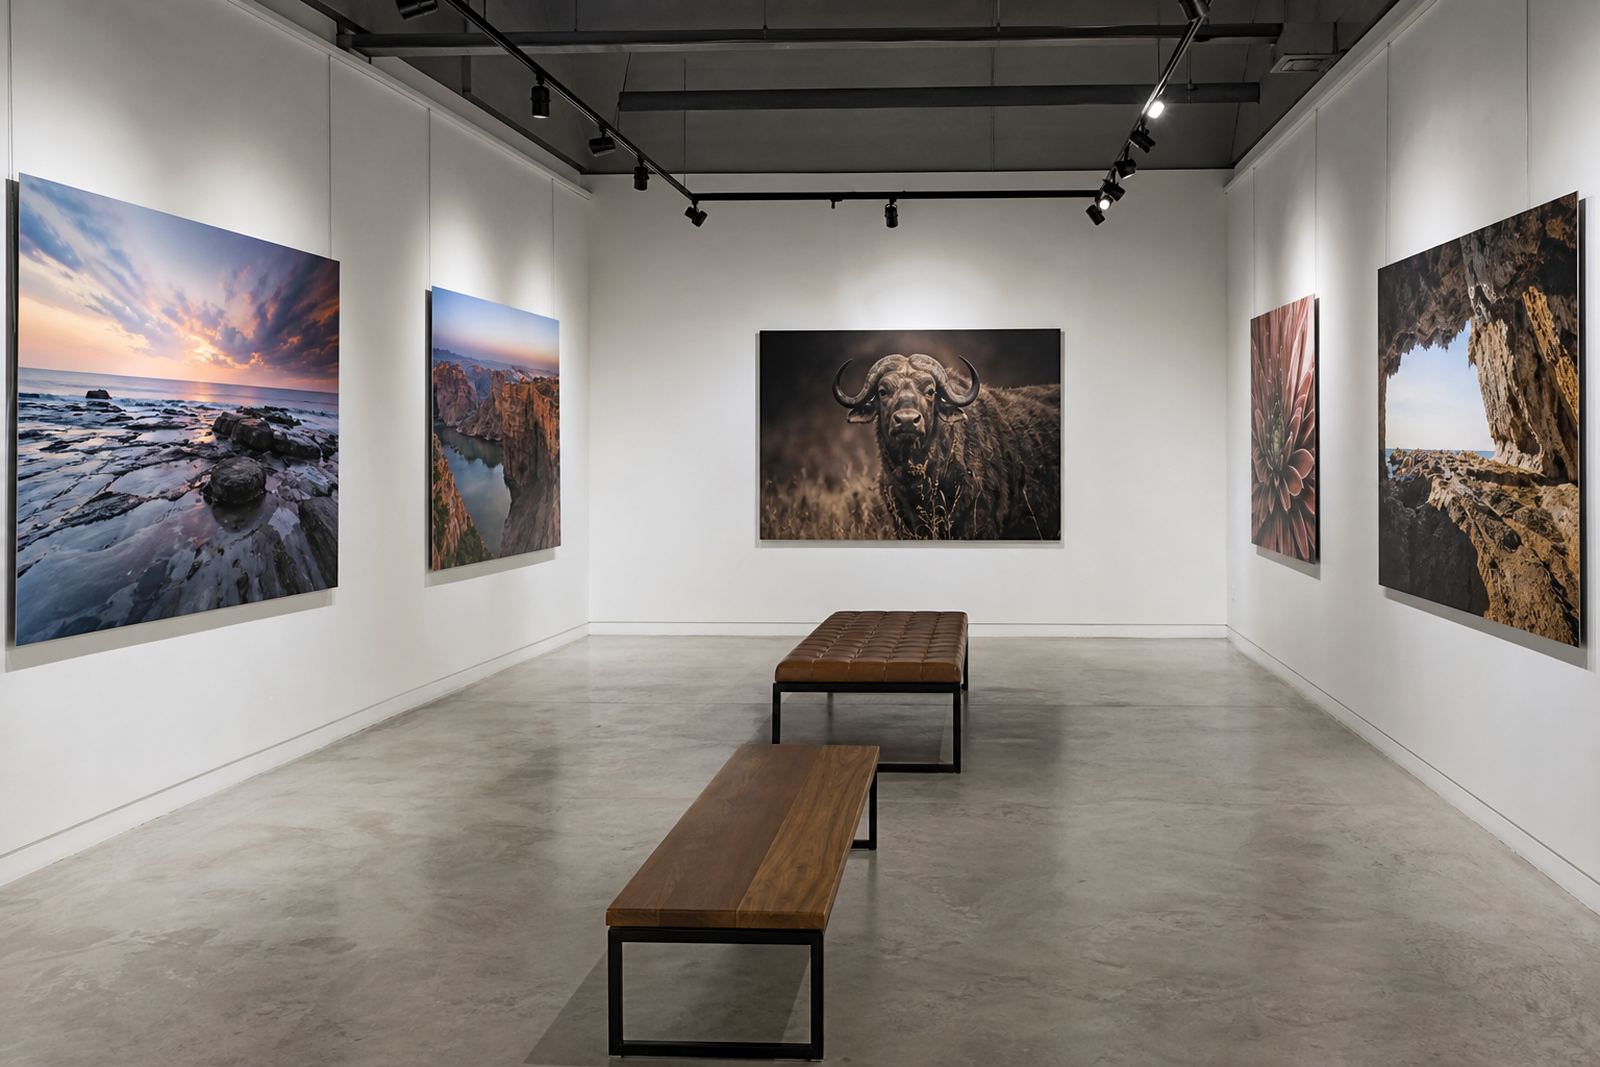
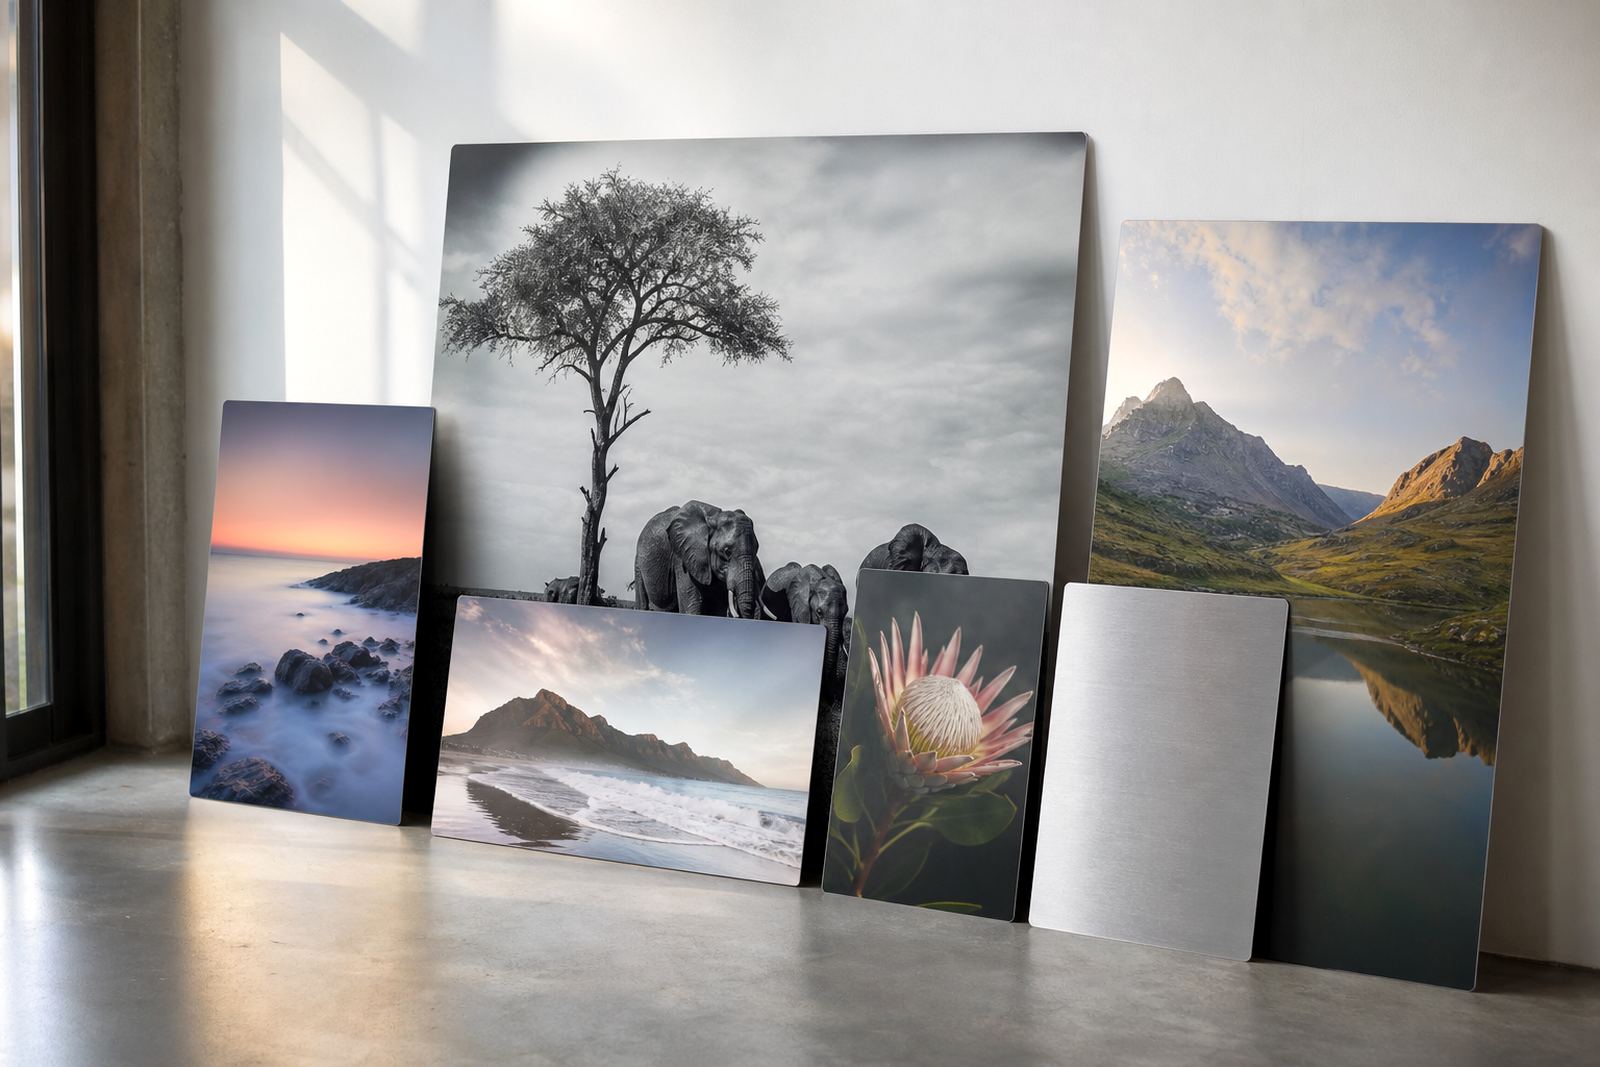
For galleries, exhibition halls and pop-up shows, the display method is part of the viewing experience. Aluminium photo panels suit that setting because they sit flat, stay rigid and remove the need for heavy frames that can crowd a series. The result is a neat run of images that works well in narrow corridors, white cube spaces and reception walls where people pass at different distances.
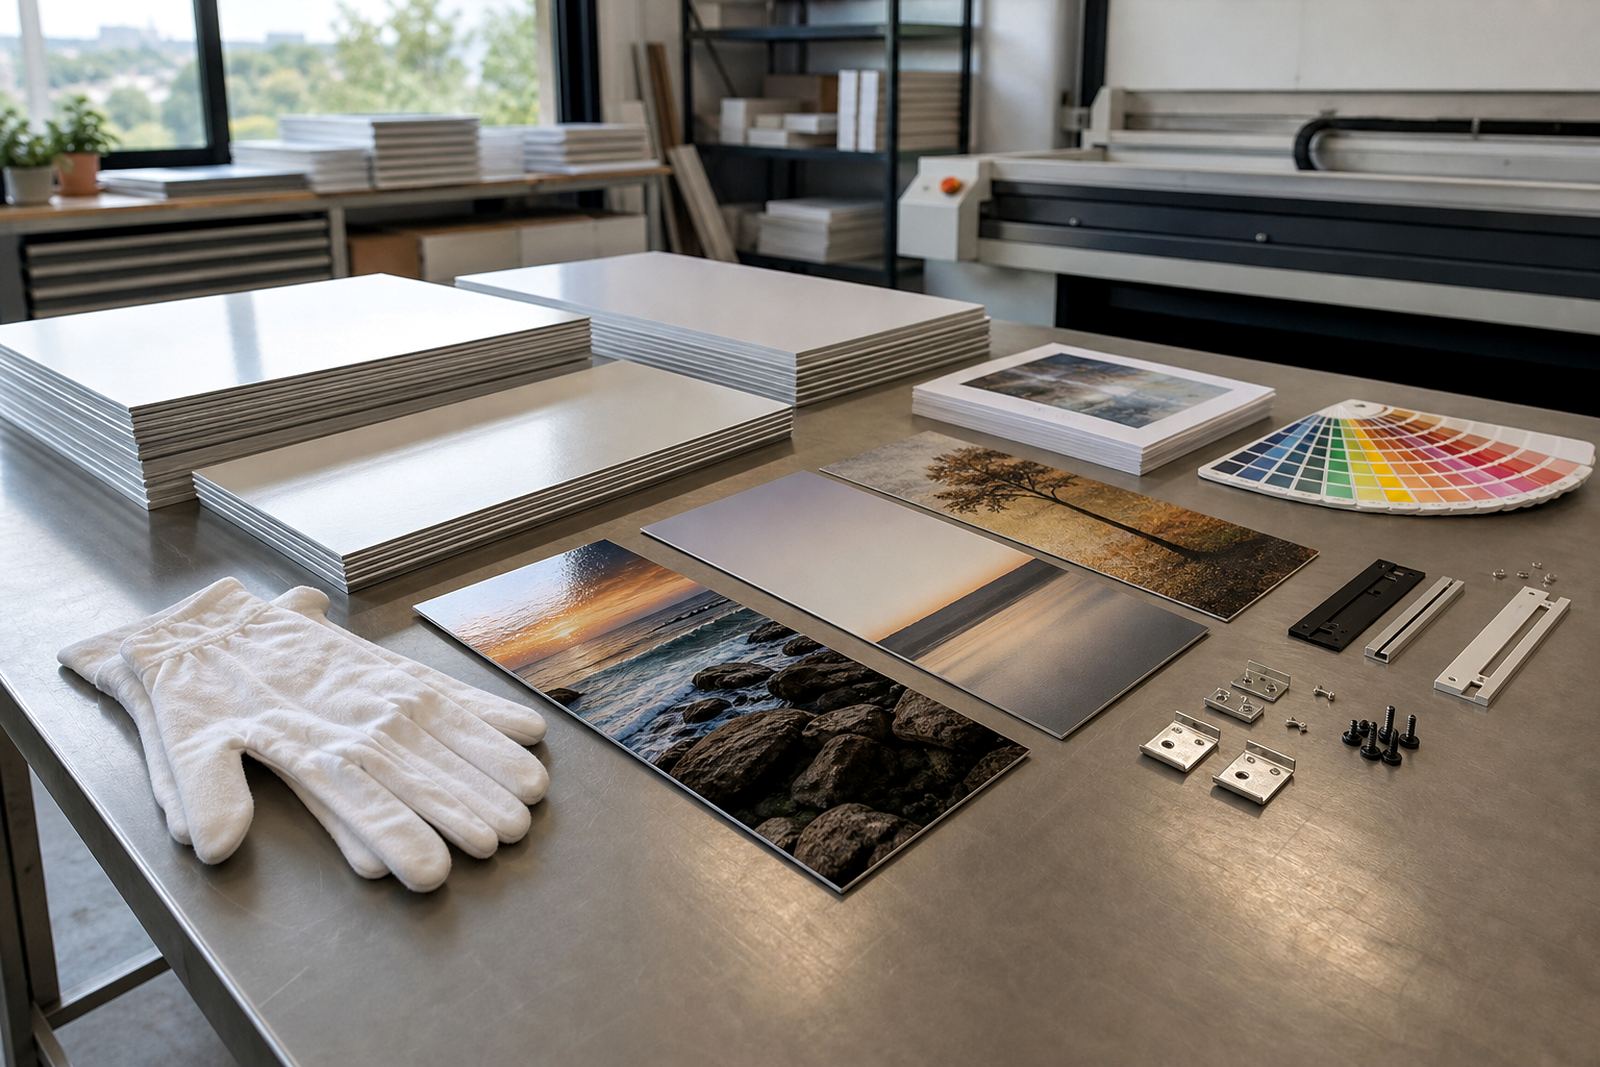
These panels are made by dye sublimation onto coated aluminium, which transfers the image into the coating rather than laying ink on top. That gives a hard-wearing surface with crisp detail and steady colour. For photographers and artists showing work in Johannesburg, Cape Town, Durban, Pretoria or Gqeberha, that matters when the pieces are handled, moved or re-hung across different venues.
Panel choices that suit a gallery wall plan
The finish changes the feel of the work more than many people expect. Gloss brings out depth and contrast, matte cuts glare from spotlights and bright windows, white aluminium gives a clean bright base, while brushed aluminium leaves a metallic texture that can suit industrial, architectural or monochrome imagery. A good match depends on the subject, the lighting and how close people will stand to the work.
- Gloss: stronger colour pop and a reflective surface
- Matte: softer viewing under gallery lighting and less glare
- White: bright base for full-colour images and clean whites
- Brushed: visible metal grain for selective use, especially with darker artwork
For exhibition sets, mixed finishes can work too. One series may need matte for bright venues while a smaller feature wall uses gloss to draw the eye. That choice should be made before printing, not after the pieces are up.
Size, spacing and sightlines before the first panel is made
Good gallery planning starts with the wall, not the file. Measure the usable wall area in metres, check door swings, fire routes and power points, then decide how the viewer moves through the space. A row of small panels can feel orderly, while a few larger panels create stronger focal points. In a long room, keep the centre line consistent so the work feels balanced from end to end.
We usually advise a test layout for series work, especially where multiple images must sit in one line or grid. Cropping should be agreed early because a tight crop can change balance, headroom and negative space. If the show includes portrait and landscape images, plan the sequence before printing so the final wall does not feel stop-start or uneven.
- Allow enough breathing room between panels, usually 40 to 80 mm depending on wall size
- Keep hanging height consistent across the show, especially for eye level viewing
- Check that the lighting does not create hot spots on glossy finishes
- Match panel sizes to the wall width rather than forcing one standard size across every piece
The file stage that saves time on install day
Gallery work is unforgiving of soft files. Low resolution, JPEG compression artefacts and poor colour preparation can show up fast once the image is printed large. A practical rule is to send the highest quality file available, with enough resolution for the final print size. If the image is meant for a large panel, it should hold detail at viewing distance and still look clean up close.
Colour preparation also matters when exhibitions use mixed lighting. Cool LEDs, warm bulbs and daylight from windows can all shift the way an image reads. Skin tones, blacks and dark blues need particular care. We also check crop lines, margins and edge bleed so the picture lands where it should, not clipped by a mounting hole or a wall bracket. It saves grief later.
- Send files at final size where possible, or at a higher resolution with clear size notes
- Keep logos and type away from the panel edges
- Use image files you own or have rights to use for printing
- Ask for a test panel when colour accuracy is important across a whole run
Hardware and mounting that suit public viewing
Gallery panels usually need hanging hardware that is neat, strong and easy to align. The method depends on panel size, wall type and whether the work will be moved often. For lighter panels, hidden float mounts can keep the image looking as if it sits off the wall. For larger pieces, metal standoffs or rail systems may be more practical, especially in venues where work changes regularly.
Mounting should also take the local environment into account. In coastal towns like Durban and Gqeberha, humidity can be higher, so edge protection and correct installation matter. In Johannesburg and Pretoria, dust and dry air are more common and the wall finish still needs to be clean before fitting. On older buildings, uneven plaster can throw a panel off level by a few millimetres, so careful planning avoids last-minute adjustments on site.
Where budgets usually sit for gallery display work
Budget for gallery displays depends on panel size, finish, quantity and mounting choice. Small single panels are naturally lower cost, while larger exhibition runs with special finishes, custom sizing and test panels need a bigger allowance. If the work is going into a public venue, remember to include packing, delivery and any reprint allowance in the plan. It is better to budget for one corrected panel than to accept a whole wall with a colour shift.
As a working guide, smaller display pieces may sit in the lower hundreds of Rand each, mid-size panels often move into the upper hundreds, and larger or more technical pieces can run into the low thousands depending on finish and hardware. Multi-panel sets, mounting systems and careful colour matching will add to the total. For clients in Randburg, Sandton, Midrand and across South Africa, the cleanest approach is to price the full wall as one job rather than comparing each panel on its own.
- Budget for file checks and colour preparation where the imagery is critical
- Include delivery and safe packing for venue handover
- Allow for a spare or reprint on important shows
- Keep a note of the exact finish used for future matching