
Why the image does not sit on top
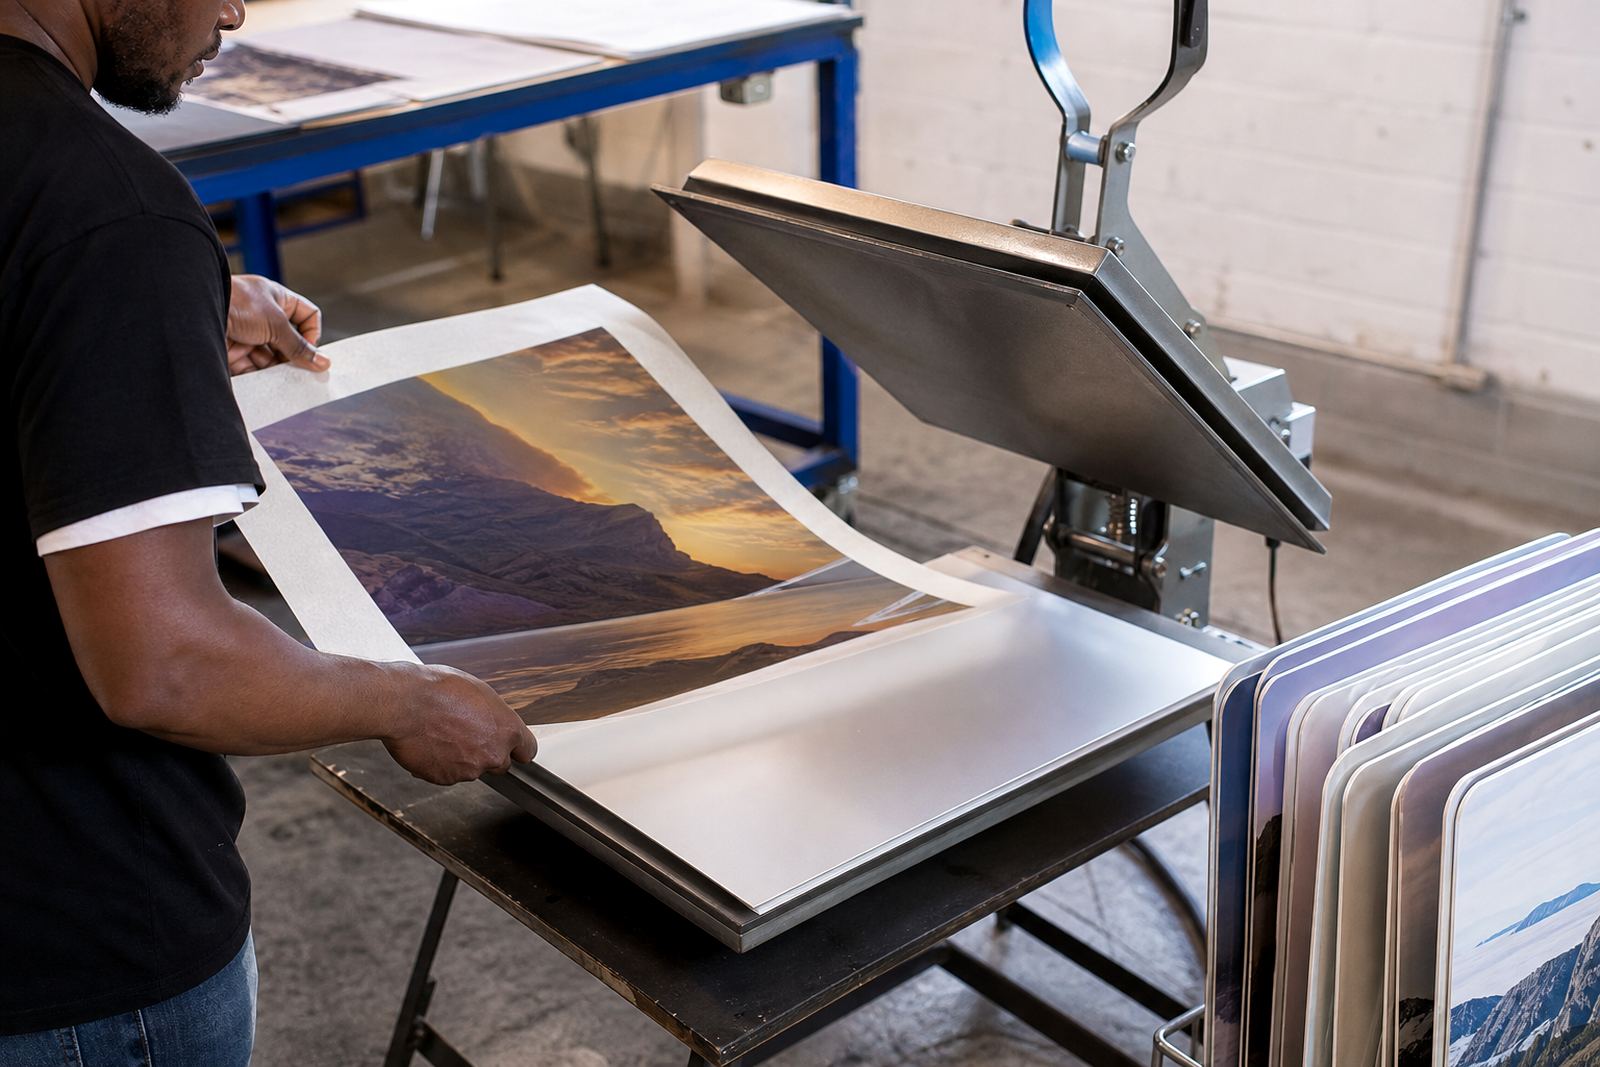
With dye sublimation, the artwork is not laid on the surface like a sticker or a basic print. The image is first printed onto special transfer paper, then heat and pressure are used to move the dye into a coating on the aluminium panel. That coating opens under heat, accepts the dye and locks it in as it cools.
This is why the final panel can look crisp and rich without the feel of a plastic layer on top. It also explains why the result handles everyday use better than many framed paper prints, especially in busy spaces where fingerprints, light handling and dust are part of normal life.
From file to transfer sheet
The process starts with the image file. A good result depends on the file being sharp enough for the final panel size, with proper crop control and the right colour preparation. If a photo is enlarged too much, soft edges and blocky detail can show up once it is transferred.
For best results, the image should be supplied at the intended print size and in a usable format. Customers must own the image or have the rights to use it. That applies to family photos, portfolio work, brand photography and artwork from other creators, all the same.
- Check the pixel dimensions before ordering a larger panel
- Allow for trimming around the edges if the image needs a wrap or border
- Keep text away from the outer edge if the panel will be cropped
- Ask for a test panel when colour matching is critical
Heat, pressure and the moment the colour moves
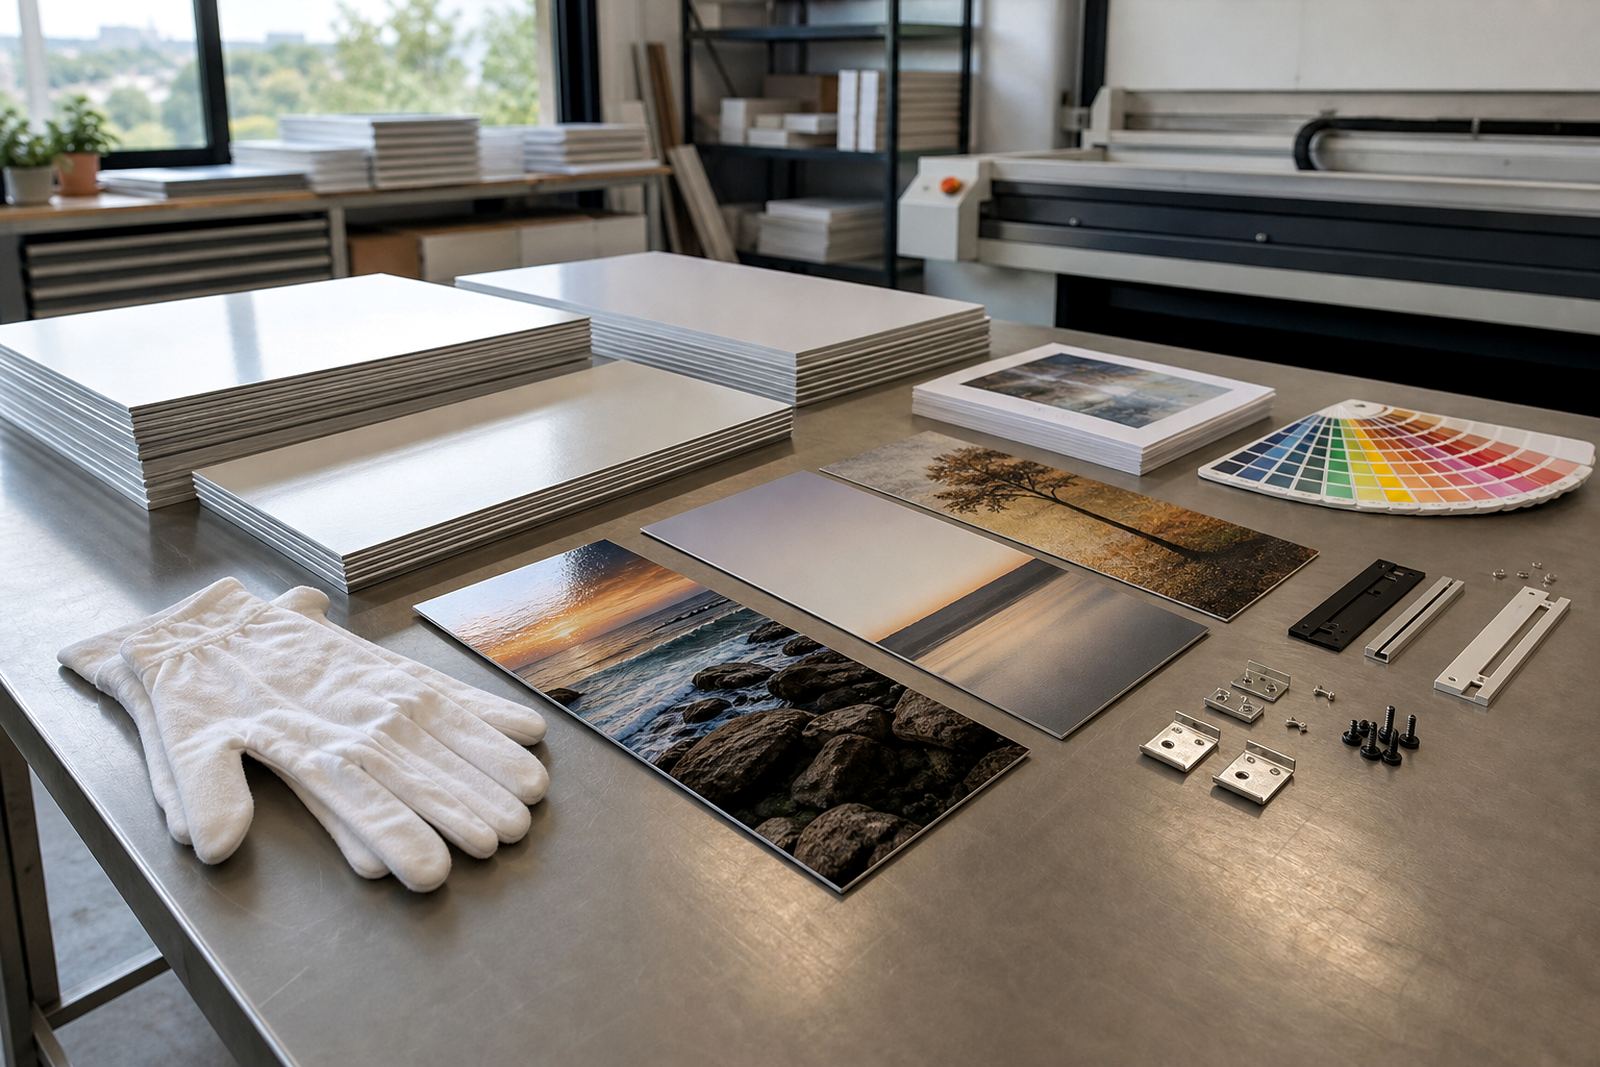
Once the transfer sheet is ready, it is placed against the coated aluminium and sent through heat pressing equipment. The combination of high heat and steady pressure causes the dye to turn into vapour and bond with the coating. That is the point where the image becomes part of the panel rather than sitting on top of it.
The conditions need to be controlled carefully. Too little heat can leave the image dull or incomplete. Too much heat can shift colour or affect the coating. Good production is a bit like cooking rice, if the timing is off the finish shows it straight away.
- Temperature must stay consistent across the whole panel
- Pressure needs to be even so the transfer does not ghost
- Timing changes with panel size and thickness
- Cooling should happen flat to help keep the panel straight
Picking gloss, matte, white or brushed
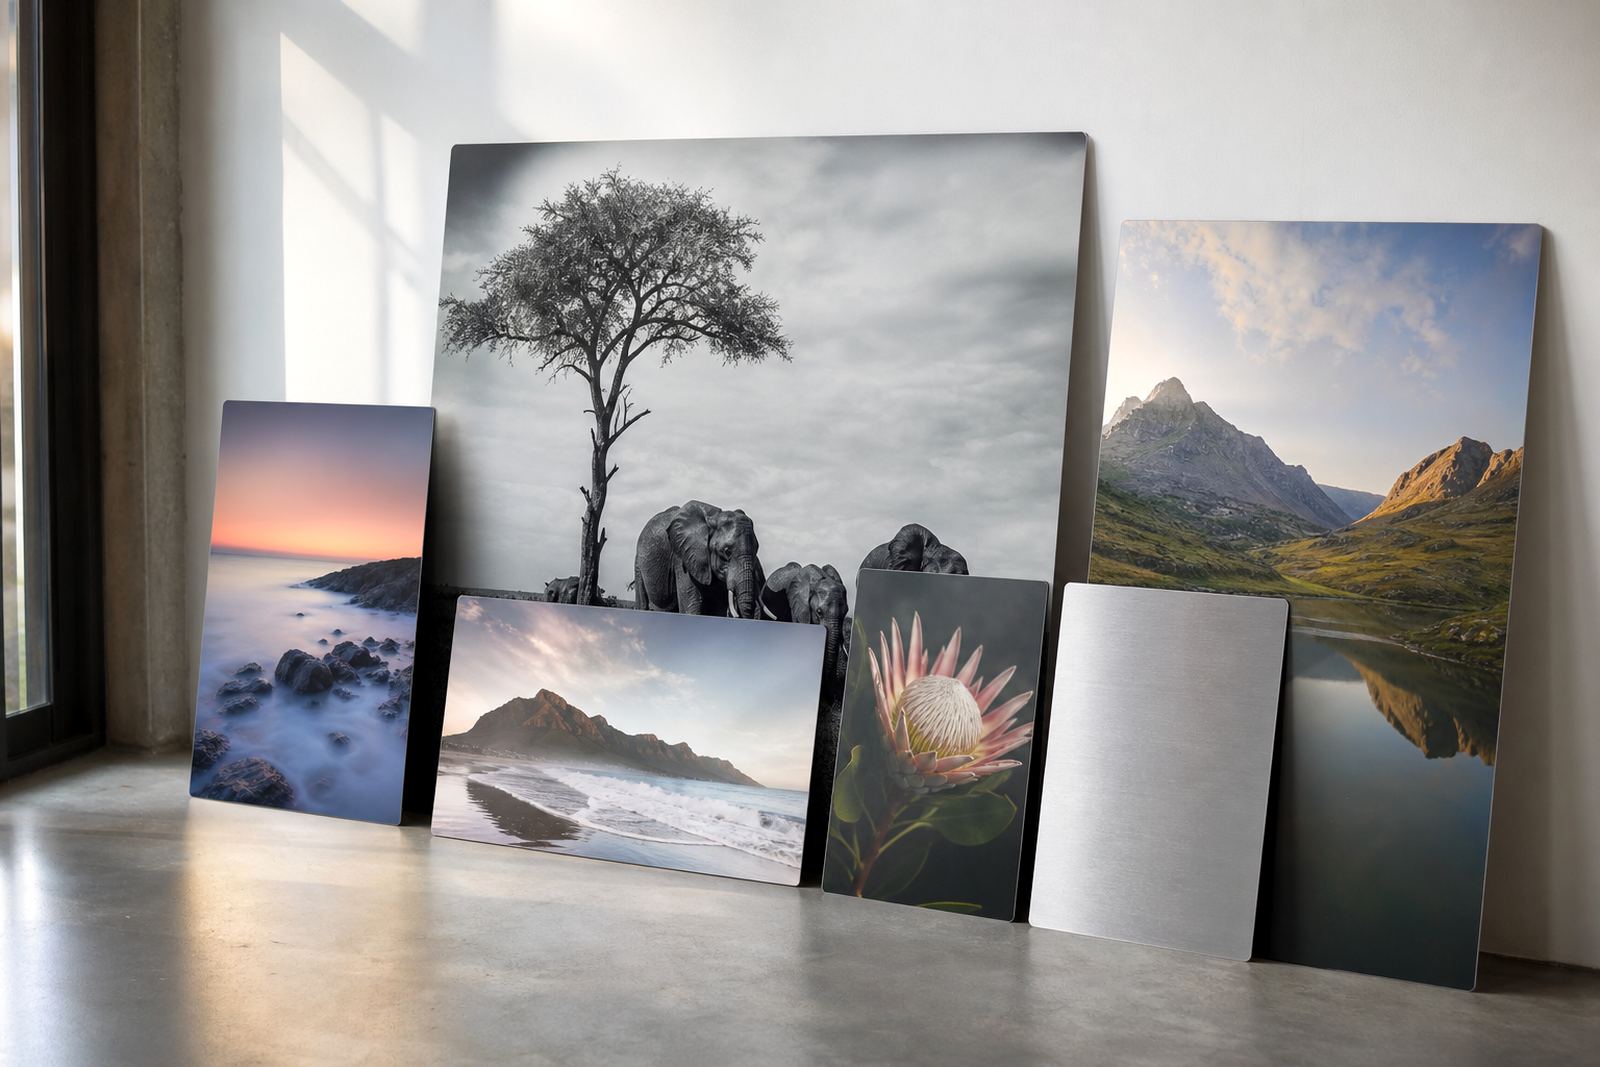
Different panel finishes change the look of the same image. Gloss gives high shine and strong colour pop. Matte softens reflections, which helps in offices and galleries with bright lighting. White panels give the most neutral colour base for photos with skin tones or clean product work. Brushed aluminium keeps part of the metal texture visible, so the image feels more industrial and slightly textured.
The finish choice should match the subject and the room. A coastal apartment in Durban with strong afternoon light may suit matte better than gloss. A reception area in Sandton might want a gloss face for a sharper first impression. In a home in Randburg, a brushed finish can work well for monochrome architecture prints or family portraits with a modern feel.
Sizing, mounting and what happens at the wall
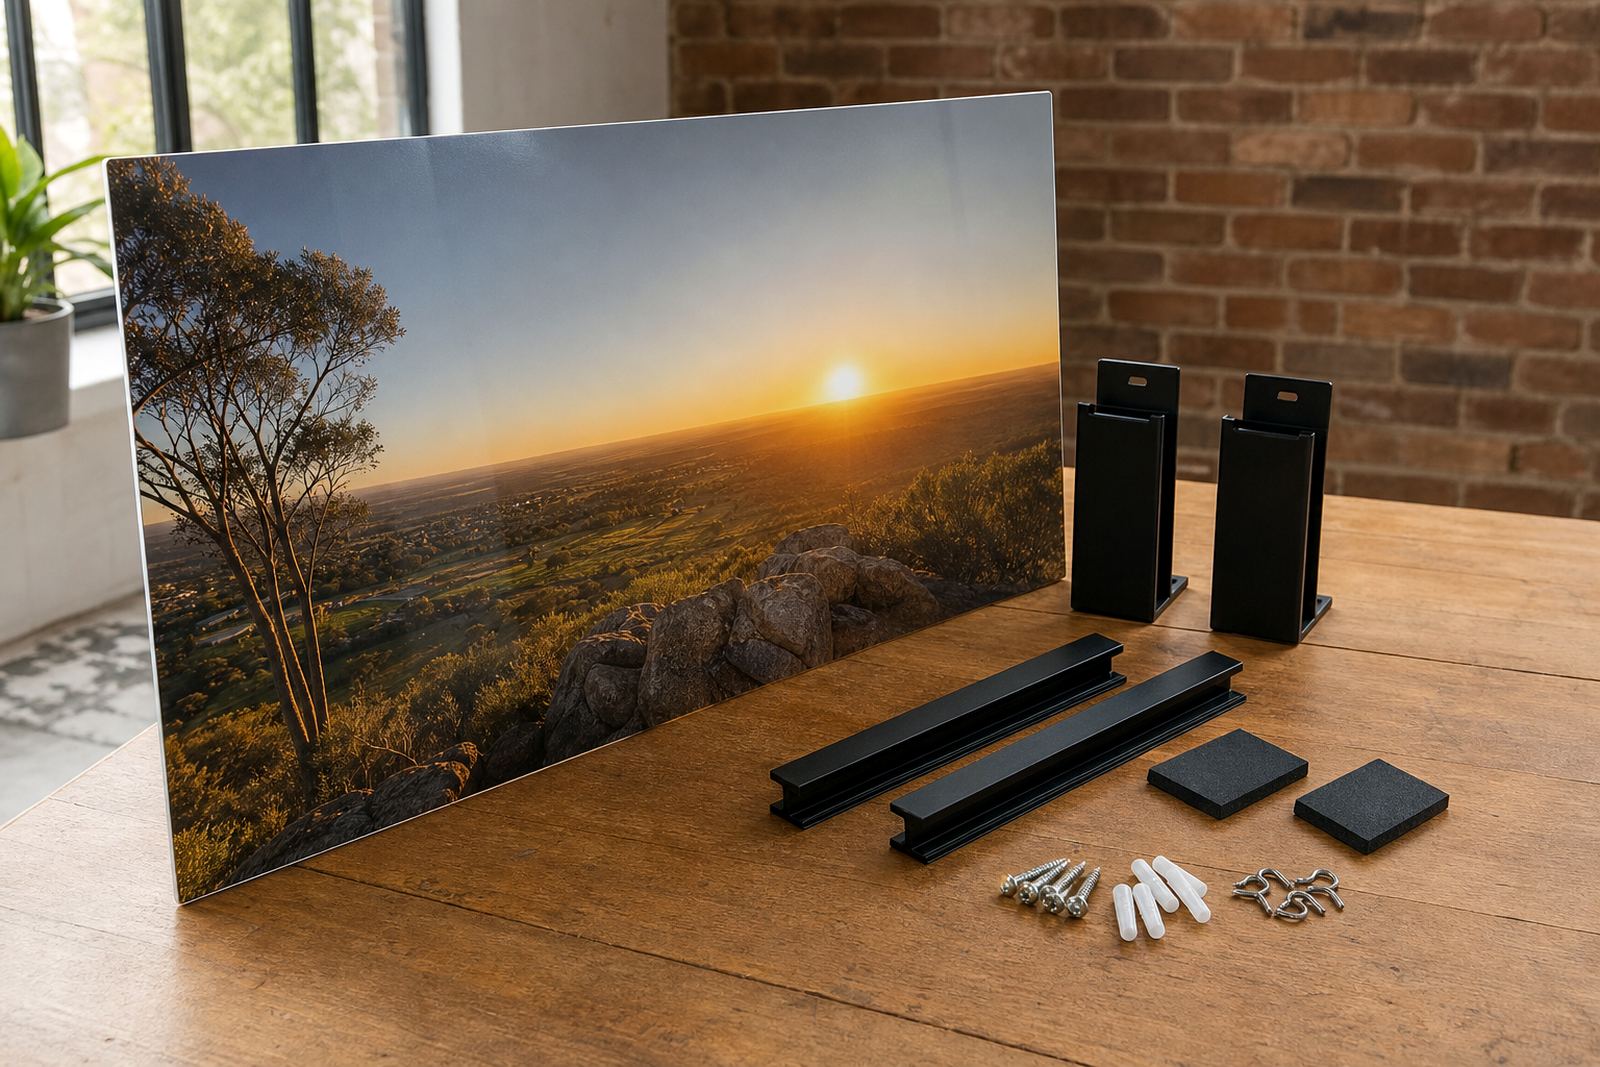
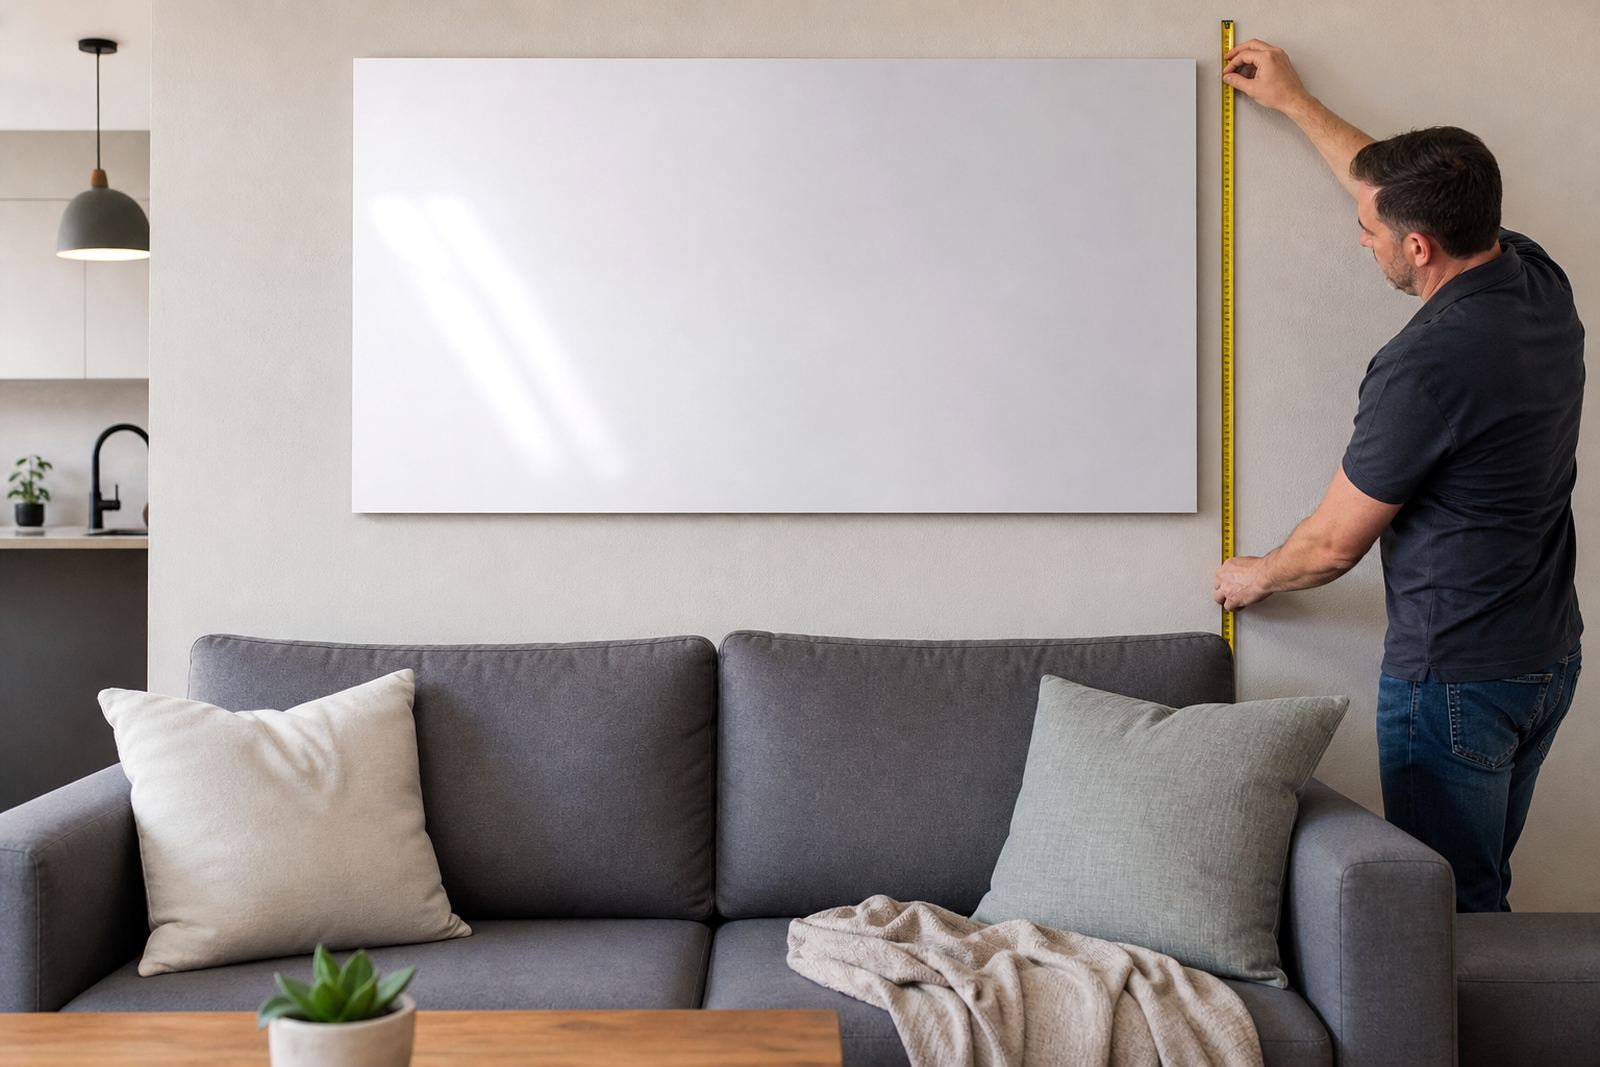
Panel size matters because the image needs to be cropped and mounted with the final display in mind. A small panel can be fitted with a simple hanging system, while larger work may need stronger hardware or a more secure mounting method. When panels are being used in offices or public areas, the fixings must suit the weight and the wall surface.
Mounting choices should also consider local conditions.Good mounting keeps the panel flat, level and easy to clean.
- Measure the wall space before approving the crop
- Allow enough border clearance for hooks, standoffs or rails
- Choose hardware that suits plasterboard, brick or concrete
- Use dry, lint-free cloths for routine cleaning
A practical example from a Johannesburg job
Take a photographer in Johannesburg who wants to display a sunset image shot near the Drakensberg on a 900 mm panel for a client office. The file is checked for resolution, the crop is planned so the horizon stays level, and the finish is selected to reduce glare from overhead lights. If the same image were printed on paper and framed, the reflections from the office windows could make it harder to see. On coated aluminium, the image stays clear and the surface is easier to keep clean.
That kind of job also shows why colour prep matters. Warm skies can go too orange if the file is not handled properly, while deep shadows can block up if contrast is pushed too far. A test panel can save time later, especially when a brand colour or skin tone has to match a known reference.
What to ask before you approve a panel
Before production, it helps to go through a few practical points so the finished panel suits the room and the image. This avoids surprises and keeps the result true to the original work.
- Is the file large enough for the chosen panel size?
- Will the finish suit the lighting in the room?
- Does the image need a border, wrap or edge crop?
- Which mounting method fits the wall and the weight?
- Should a test panel be made before the full run?
At SubAlu, that sort of checking is part of the process because the image, the coating and the final space all have to work together. If the file is good and the finish is matched correctly, dye sublimation can produce a sharp panel that holds up well in daily use, with a clean look that suits homes, studios and commercial spaces alike.