
A narrow wall with a clear brief
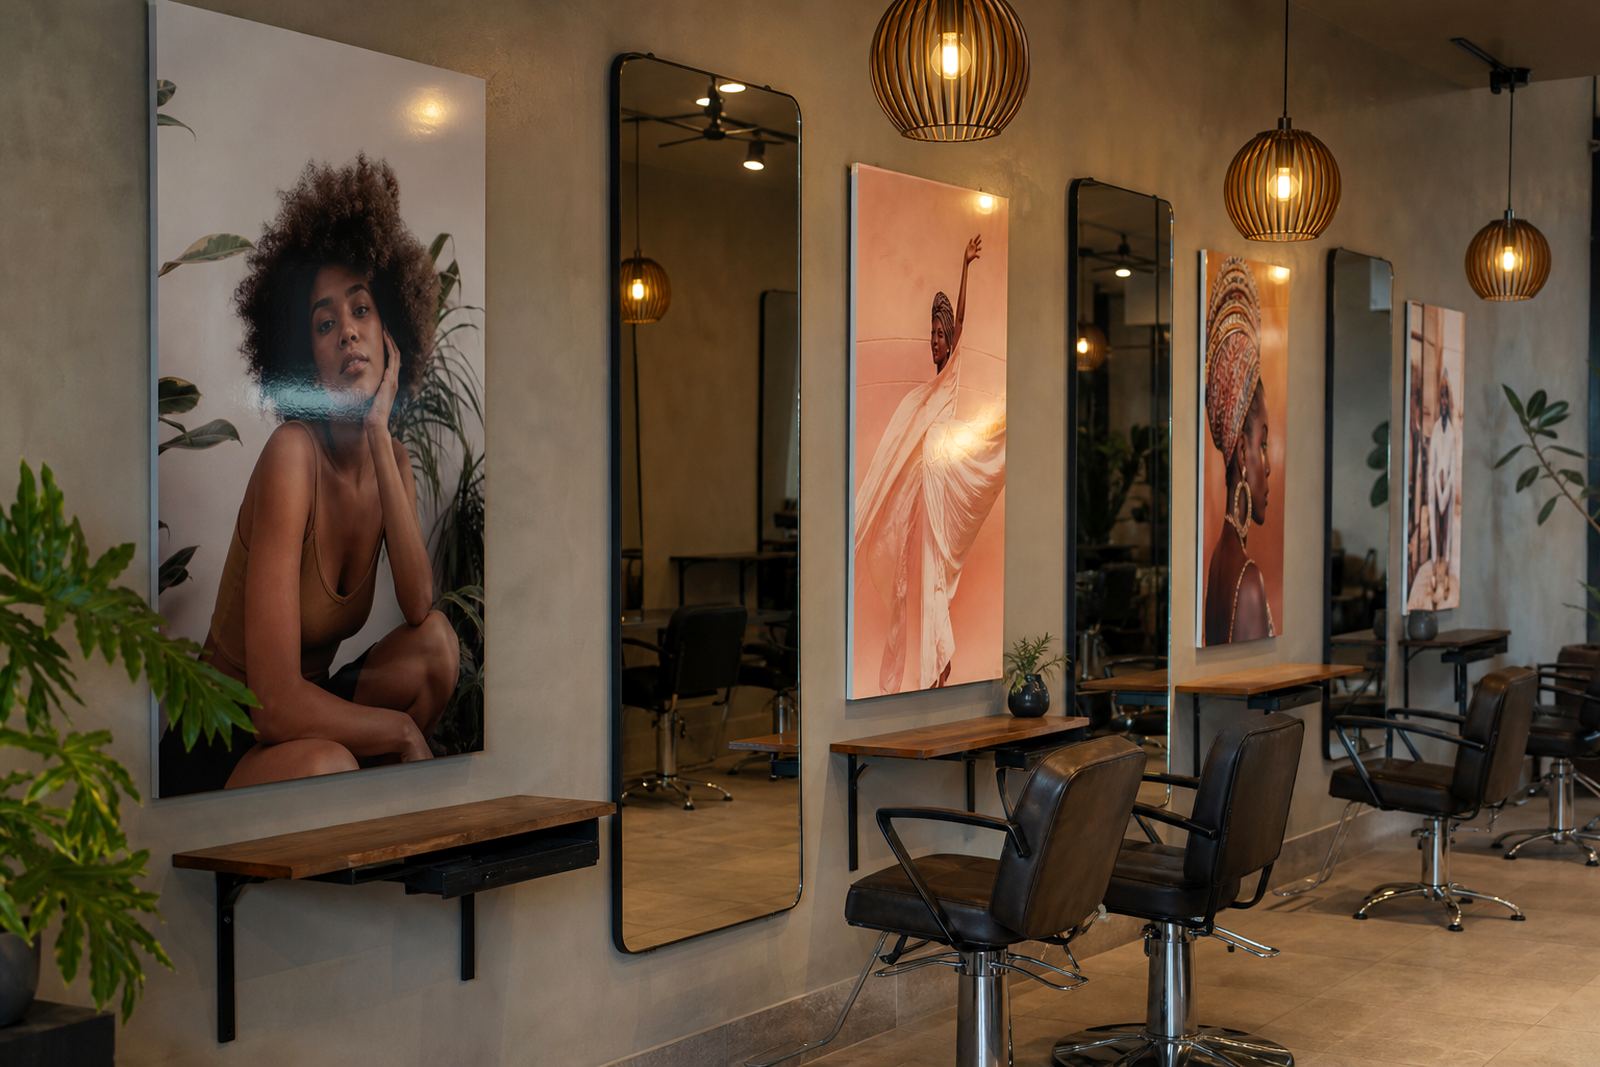
The client was a salon in Gqeberha that wanted one strong visual feature for a treatment area near the washing and styling zones. The wall was tall but not wide, so the artwork had to read well from a distance and still feel calm up close. The owner wanted fashion imagery, neatly arranged in a vertical sequence, with enough presence to lift the room but not enough glare to distract clients during treatments.
Because this is a working salon, the brief also included practical points that matter in everyday use. The panels needed to cope with regular cleaning, indoor moisture, and the sort of wear that comes with busy foot traffic. We also had to keep the layout tidy around wall fittings and electrical points, which is often where jobs go sideways if measurements are not checked properly.
- Location: Gqeberha salon treatment area
- Use: interior feature wall in a service space
- Layout: tall vertical series of fashion images
- Priority: stylish finish with easy upkeep
What was supplied for the wall
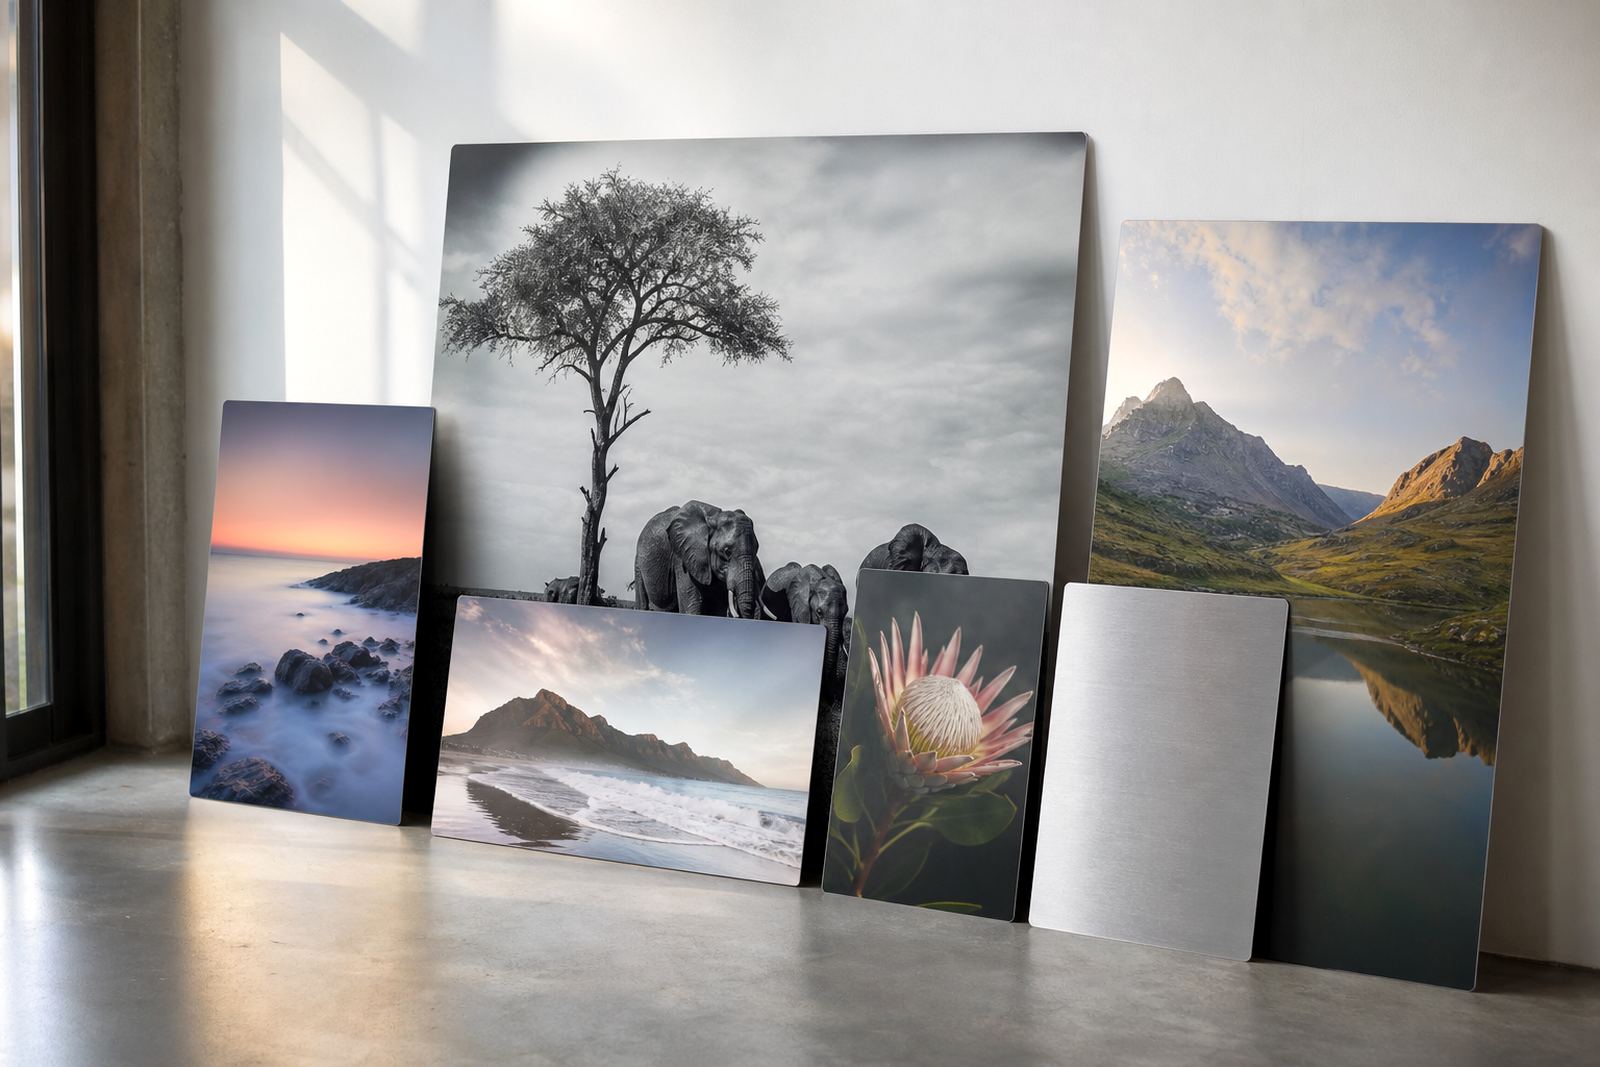
We produced dye sublimation aluminium photo panels on coated aluminium sheets, using supplied fashion imagery prepared for a vertical arrangement. The images were checked for print quality, crop safety and orientation before production. Where the source files needed work, we adjusted the framing so faces, clothing details and negative space still sat comfortably once the panels were stacked in place.
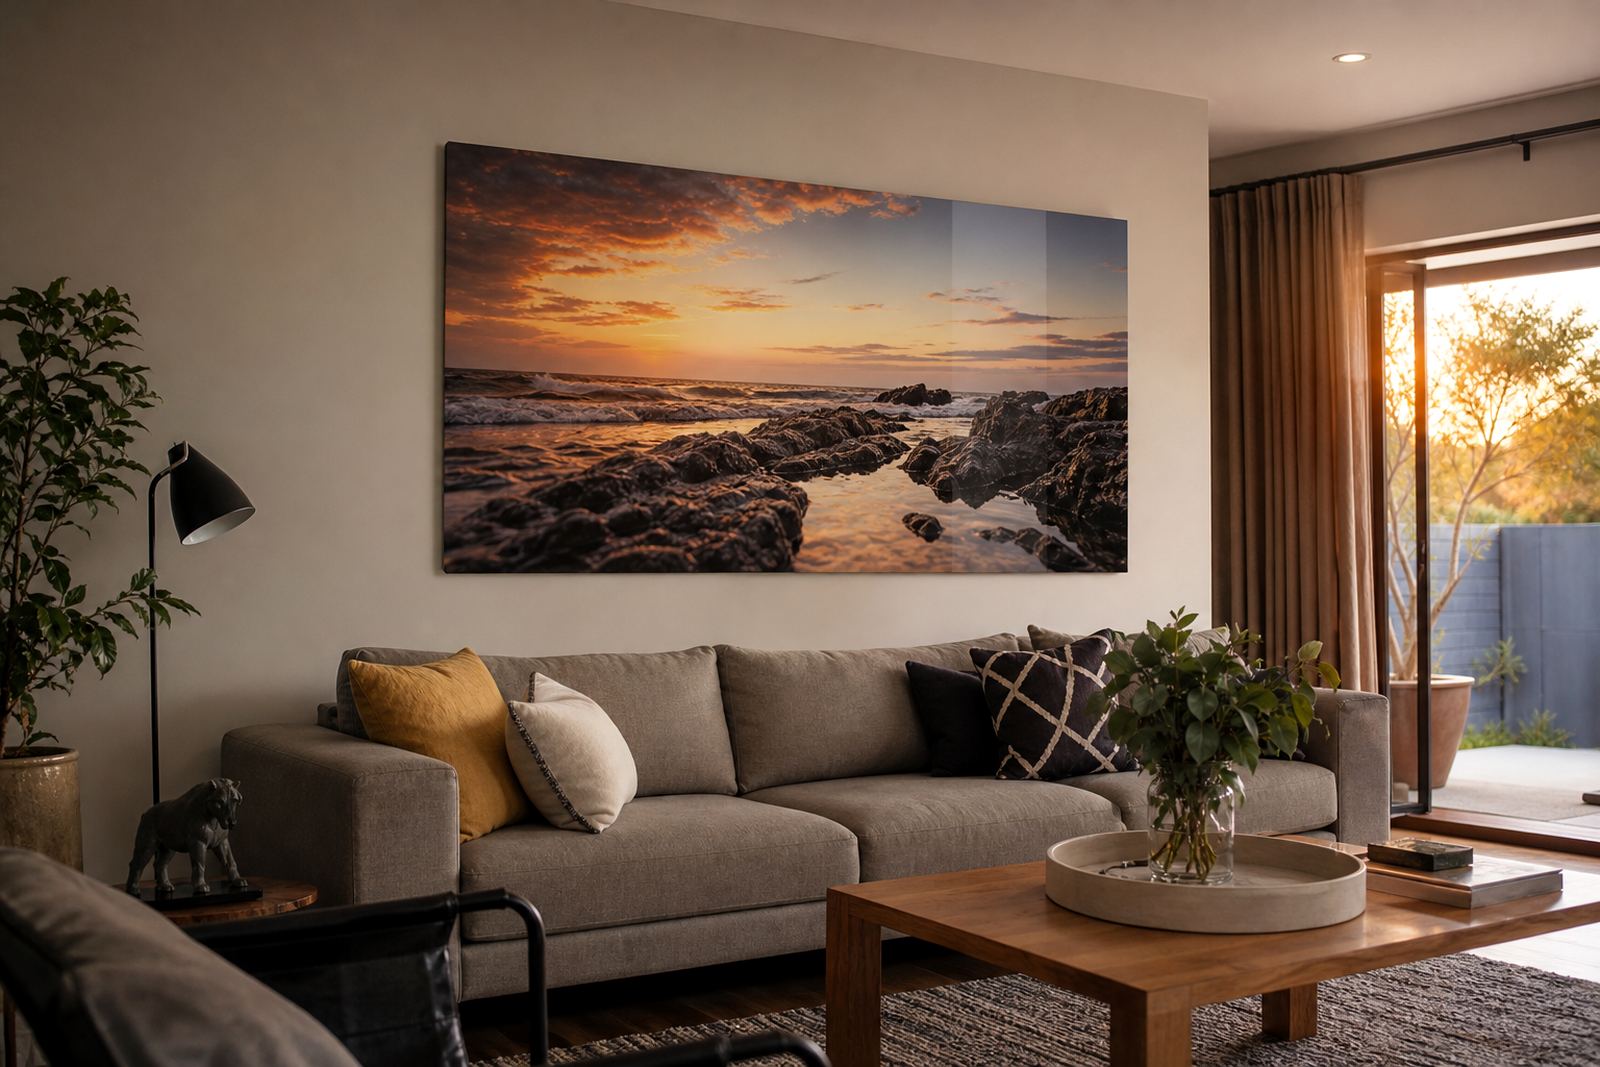
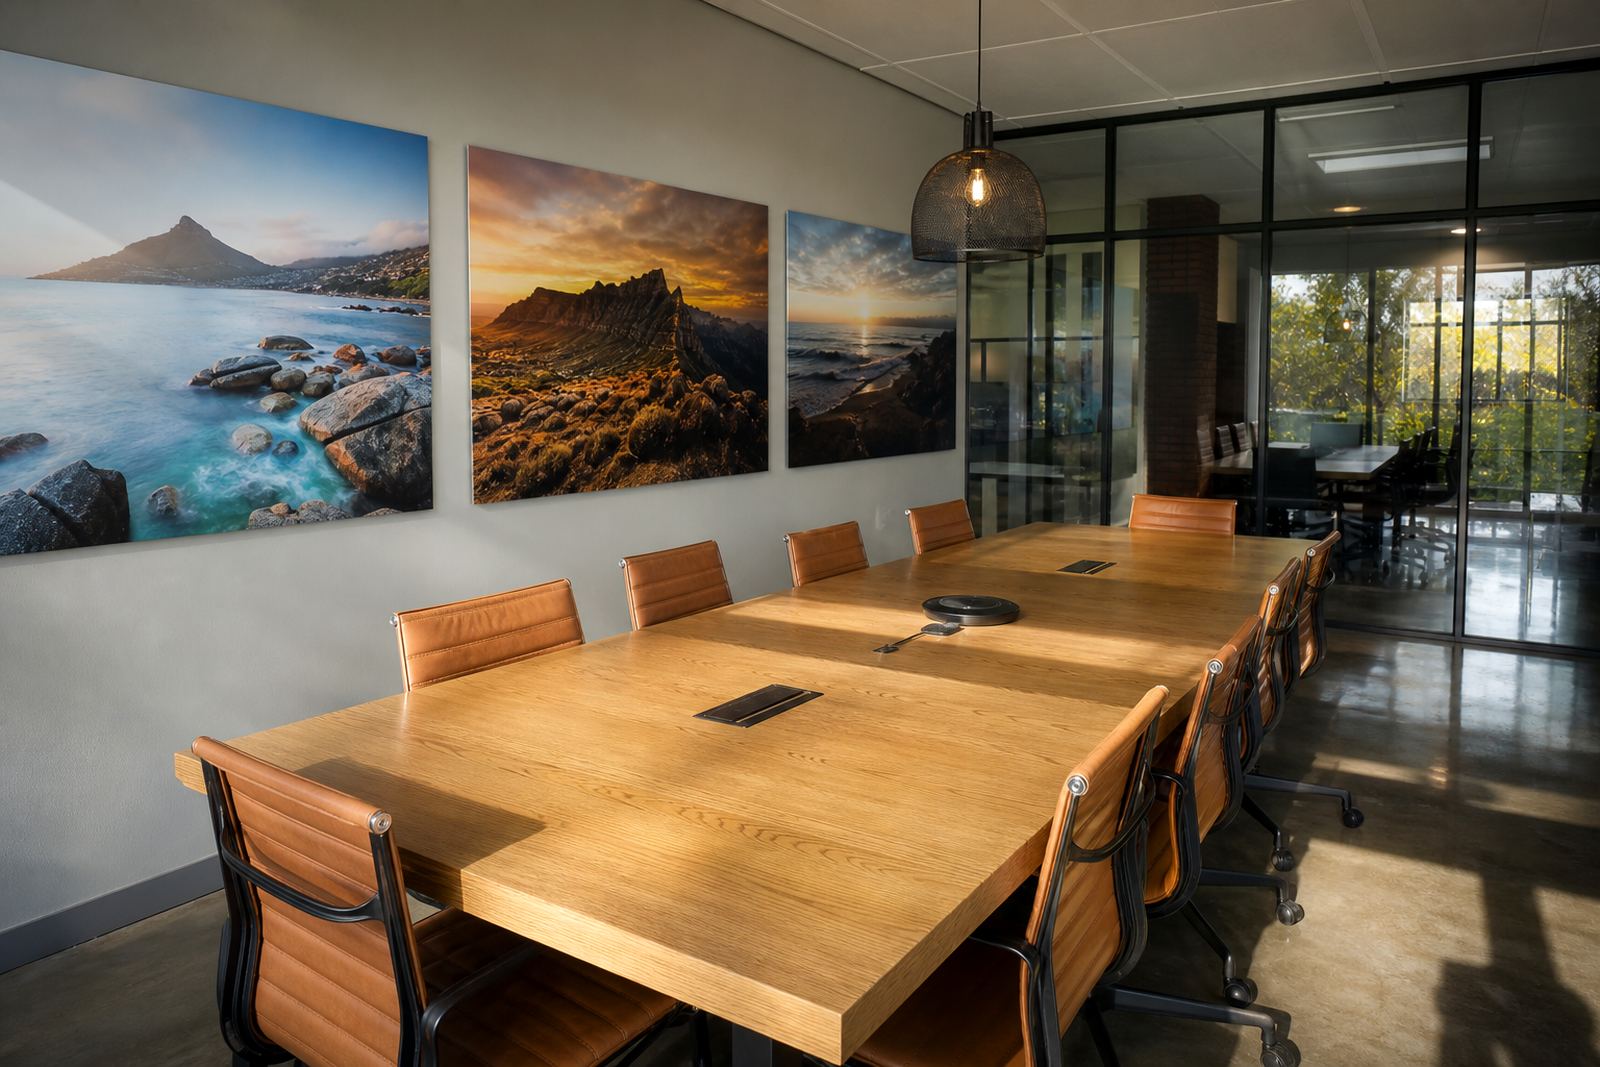
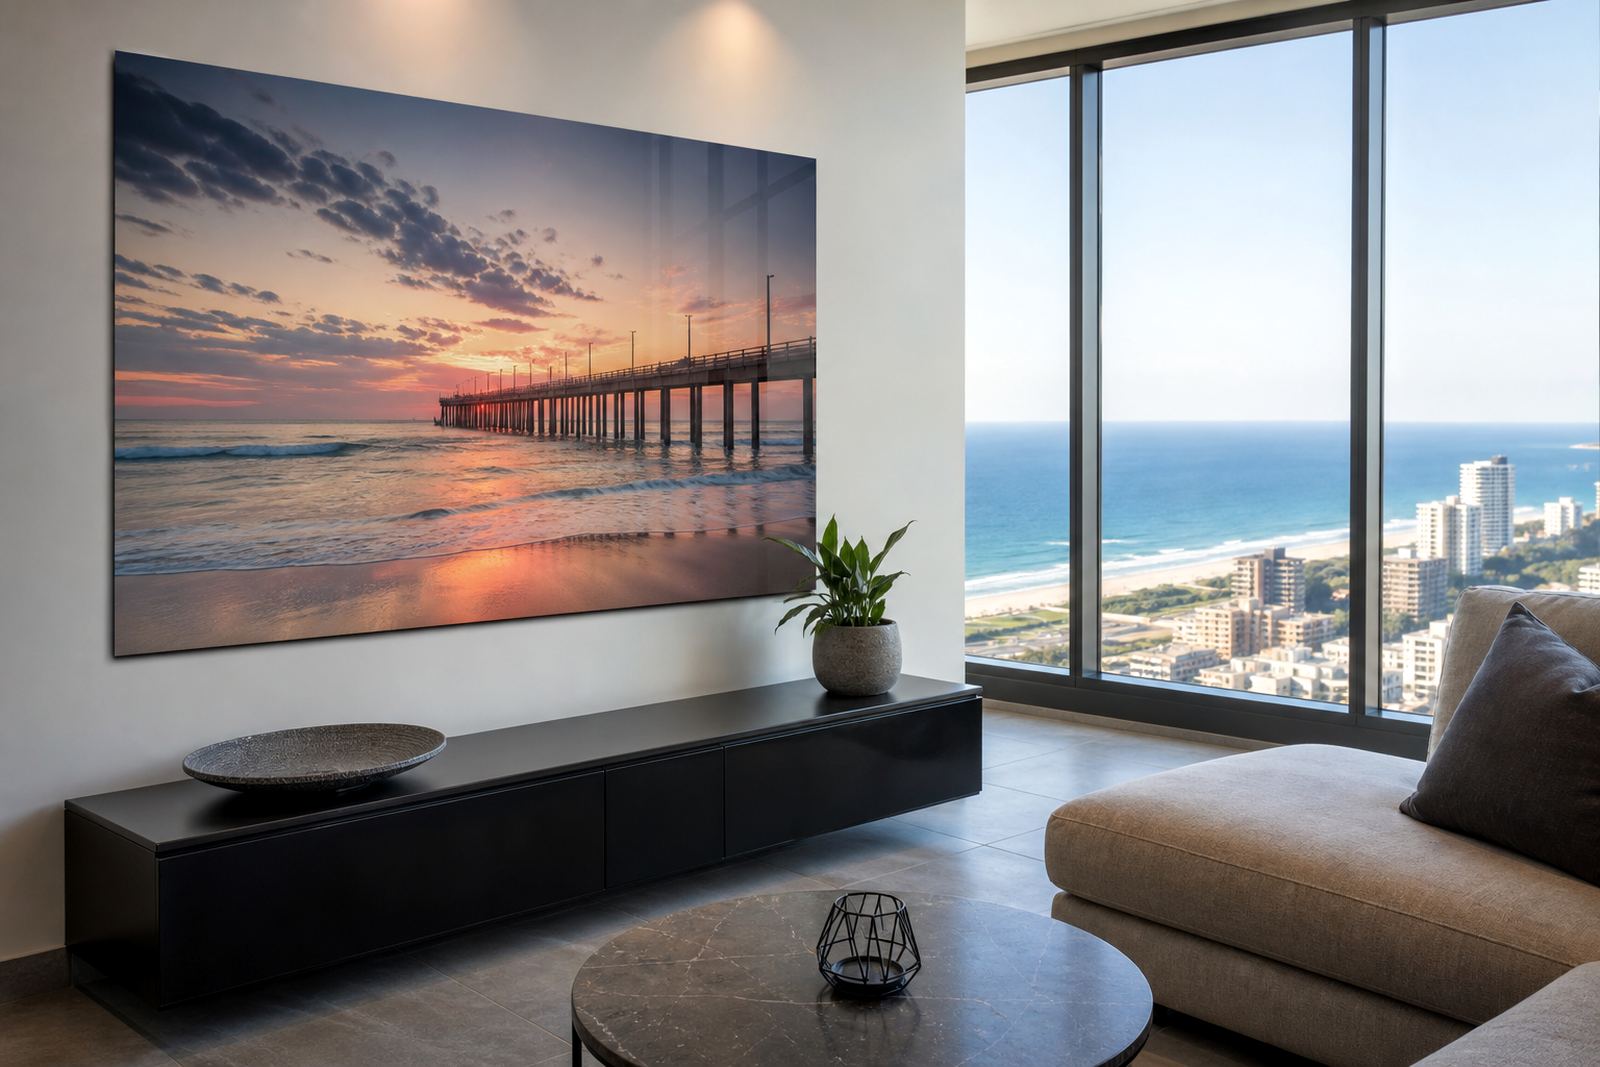
The finish choice was made to suit the salon lighting. In a room with mirrors, task lights and bright reflective surfaces, gloss can carry a lot of shine, while matte gives a softer look. For this project, the final set was planned to keep colour lively without throwing back too much reflection. The client also wanted a surface that would clean down easily after hairspray, product mist and general handling.
- Material: coated aluminium photo panels
- Print method: dye sublimation onto aluminium
- Finish planning: glare controlled for salon lighting
- Image handling: crop, alignment and vertical sequencing
The production choices that mattered
As a Randburg based team working with clients across Johannesburg, Cape Town, Durban, Pretoria and Gqeberha, we deal with different wall conditions and lighting every week. For this salon, the key production choices were image resolution, panel size, and the hanging method. The source imagery had to hold detail when enlarged, because fashion photography can look sharp on a phone and still fall apart on a wall if the file is too small.
We ran the images through file checks and resolution review before any cutting or printing took place. That let us confirm what could be scaled confidently and where a tighter crop would protect image quality. We also planned the panel widths so the stacked composition felt balanced, with no awkward breaks through clothing or faces. The result was a set that looked intentional rather than pieced together.
- File checks completed before production
- Resolution reviewed for large wall display
- Crop planning used to protect key image areas
- Panel widths matched to the wall proportions
Hanging hardware and finishing details
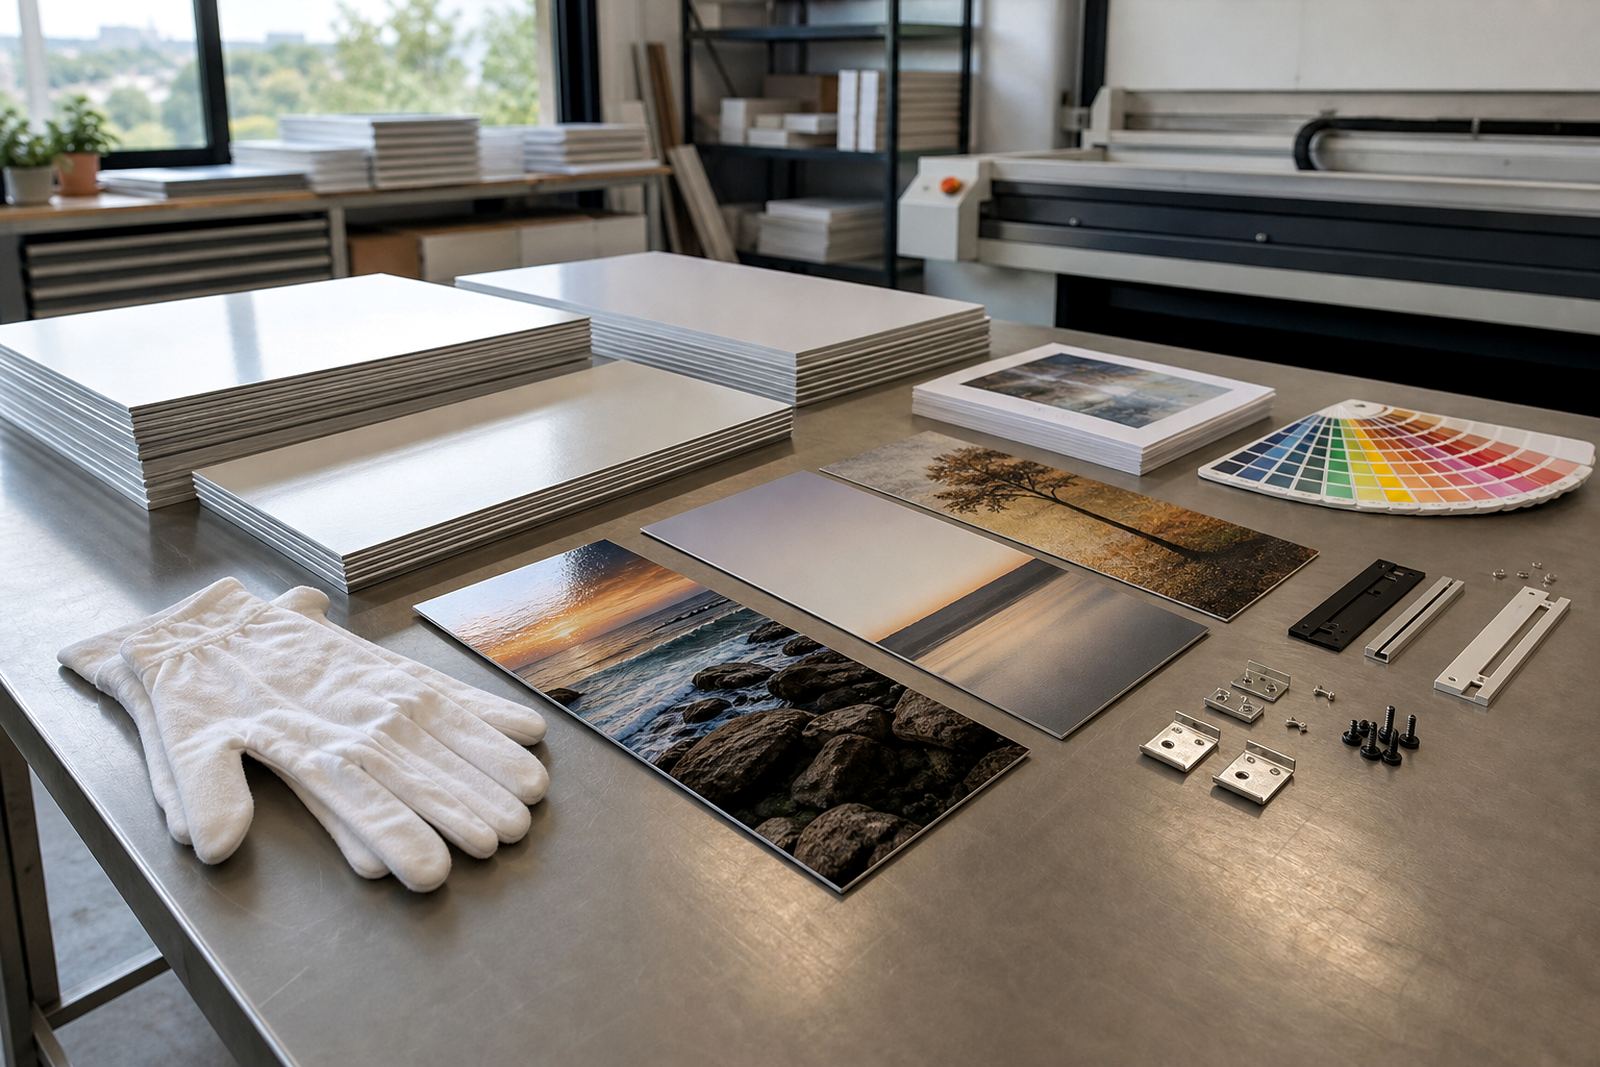
The panels were supplied with generic hanging hardware suited to neat interior mounting. In a salon, the back of the panel matters almost as much as the front, because the installation has to sit level and stay fixed while staff move around it. We kept the mounting simple and practical so the series could be aligned in a straight vertical line with even spacing between each section.
Finish selection was kept in step with the room use. Gloss, matte, white or brushed aluminium can all change the way a picture reads. White panels give a clean photographic base for full colour work, brushed surfaces bring through the metal texture, and matte cuts down reflection. The final choice here supported the fashion palette and the salon's lighting, while still giving the work a neat, modern edge. It also made the panels easy to wipe clean after a busy day, which matters more than people think.
- Hardware: generic concealed mounting system
- Alignment: straight vertical stack with even gaps
- Surface care: easy wipe-down for salon use
- Finish options discussed: gloss, matte, white, brushed
Three weeks from artwork check to fitting day
The project moved over three weeks from initial file review to packed dispatch. Week one covered the brief, image review and sizing plan. Week two went into colour preparation, proof checks and the final print run. Week three was for finishing, mounting setup and packing for delivery to Gqeberha. That timing suited the salon because it allowed them to plan the wall work around quieter trading hours.
We also kept an eye on practical site issues that often get forgotten.None of that changes the final product, but it does affect how carefully a job has to be planned. A little slack in the schedule helps avoid last-minute pressure, and clients appreciate that.
- Week 1: brief, files and sizing
- Week 2: colour prep and proof approval
- Week 3: finishing, mounting and dispatch
- Delivery: sent for installation in Gqeberha
What the salon gained from the series
The finished wall gave the treatment area a more finished feel straight away. The vertical format drew the eye upward, which helped the room feel taller and less boxed in. The fashion imagery worked well in a salon setting because it linked naturally to style and presentation without needing extra text or clutter. It was a practical visual feature, but still had enough personality to stand on its own.
For the client, the main result was not just a prettier wall. The panels gave the space a cleaner professional mood, supported the salon's identity, and offered a surface that is far easier to maintain than framed prints with glass. The staff could also keep the wall looking good with basic care, no special treatment needed. That matters in a place where mirrors, brushes and product sprays are part of daily life.
We have found that this kind of install works best when the artwork fits the room properly instead of trying to overpower it. In this case, the salon needed a smart visual anchor, and the panel series did the job without crowding the space.
What worked well
For another salon with a narrow wall or treatment nook, we would follow the same process: check the files early, confirm the height and spacing on site, and choose a finish that suits the lighting before anything goes to print. We would also keep the panels easy to clean and mount in a way that allows accurate alignment. That combination tends to hold up well in busy interiors, especially where humidity and regular cleaning are part of everyday use.
As a South African supplier working from Randburg and serving clients nationwide, SubAlu keeps the process practical from first file review to final delivery. Our team includes Mandla Chetty, Lerato Ntsele, Johan Mafokeng, Ayesha Moagi, Sibusiso Salie and Nicole Adams, each handling a different part of the job so the final result lands properly. The right panel series can change a room quickly, and this Gqeberha salon project showed how well a vertical format can work when the brief is clear and the measurements are handled properly.
- Best repeat approach: early file check and wall measurement
- Recommended for salons: matte or controlled gloss finishes
- Useful for service spaces: easy-clean aluminium surfaces
- Good planning point: keep spacing consistent from top to bottom
Key facts
| Project type | Gqeberha salon interior feature wall |
|---|---|
| Panel material | Coated aluminium photo panels |
| Print process | Dye sublimation |
| Finish | Vertical series with glare controlled surface planning |
| Mounting | Generic concealed hanging hardware |
| Timeline | 3 weeks from file review to dispatch |