
A living room wall that had to carry the whole room
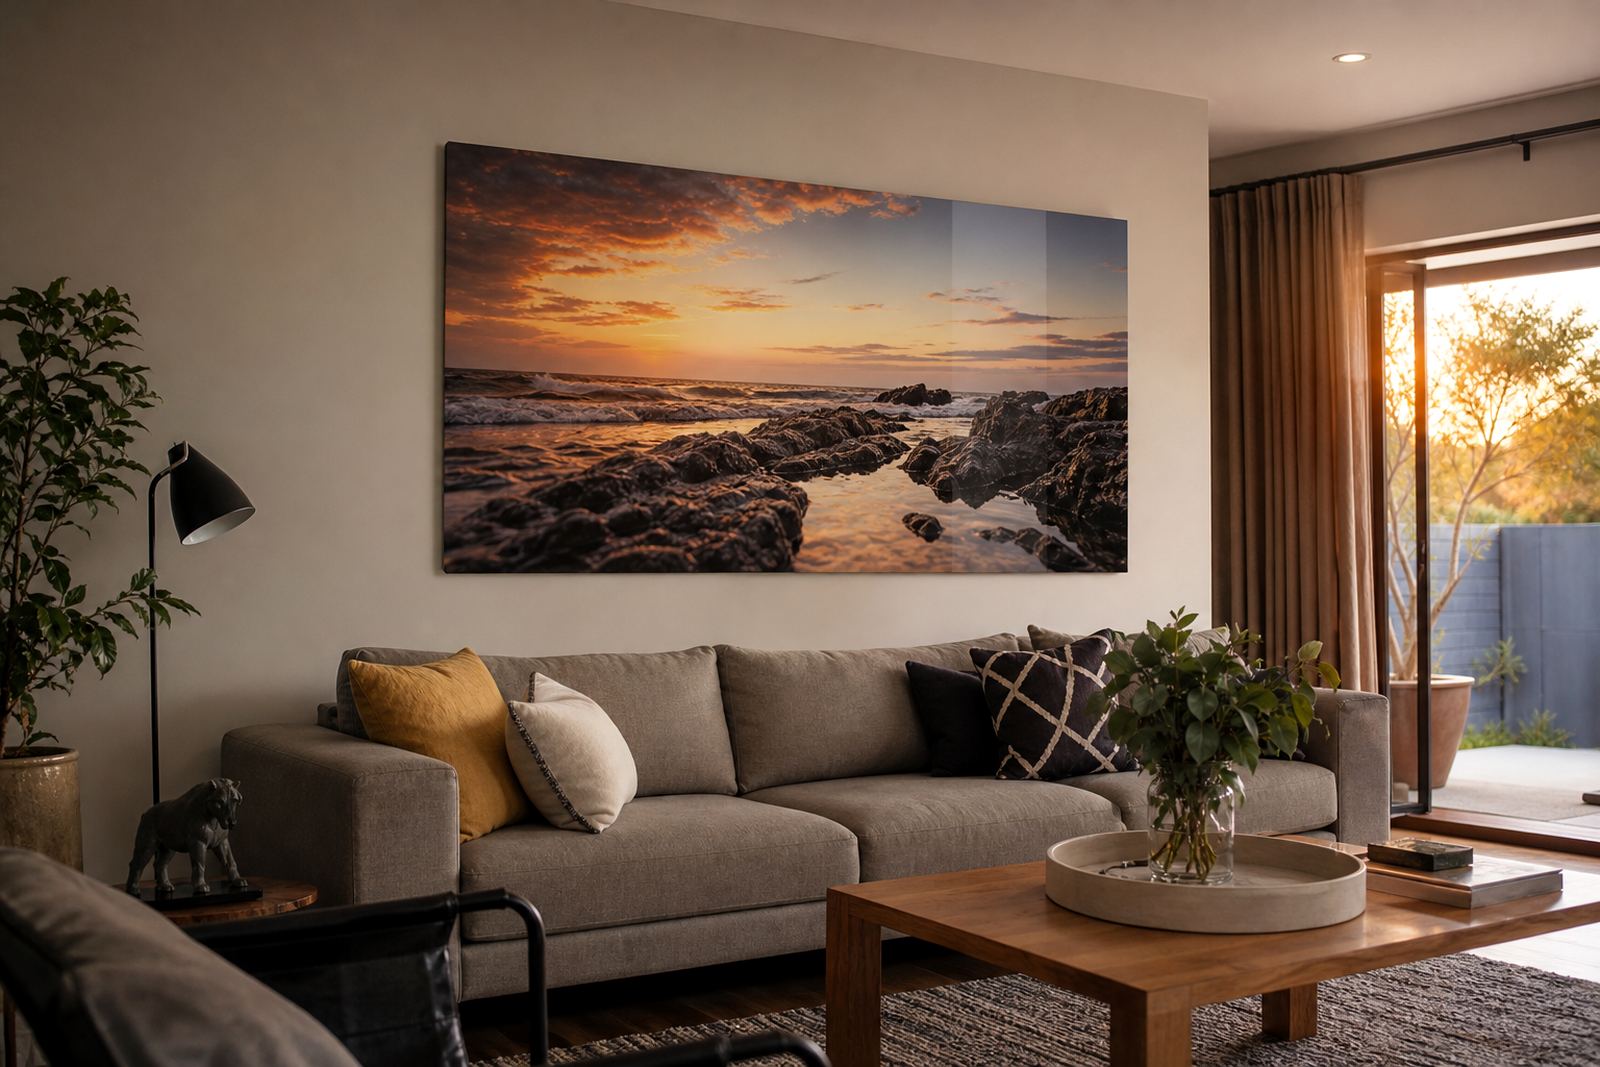
The brief came from a private homeowner in Randburg, Johannesburg, who wanted the main sitting room wall to hold a single panoramic image without looking busy. The space had plenty of natural light, pale walls and a mix of fabric furniture, so the print needed to feel calm in the daytime and still hold detail after dark. The family had already chosen the image and confirmed they owned the rights to use it, which is important on every custom print job we handle.
The room measured roughly 4,8 metres across the feature wall, with a lounge suite and side tables pushing the artwork towards the centre of the space. The challenge was not only size, but balance. Too small and the wall would look empty. Too glossy and the afternoon sun would throw reflections across the image. The result had to work for daily family use, not just for a photo shoot.
Why aluminium made sense for this home
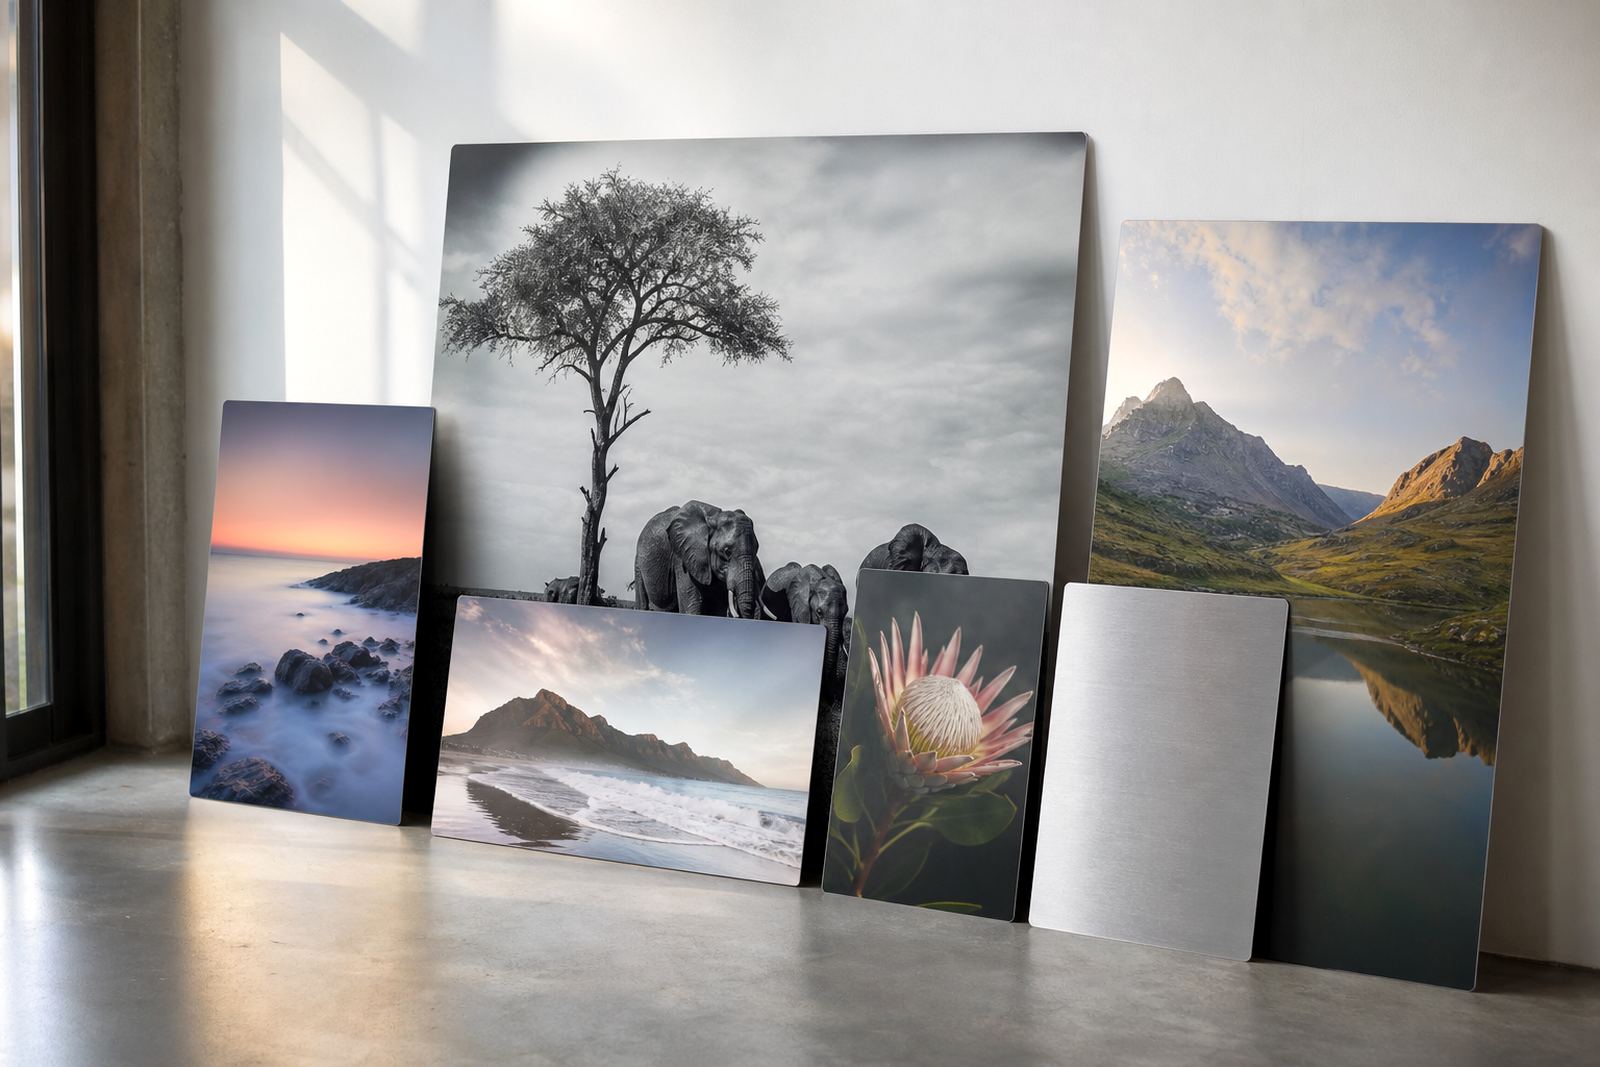
For this project we suggested a coated aluminium panel printed through dye sublimation, because the method locks the image into the coated surface and gives a crisp finish with good colour hold. The homeowners wanted something neat, light enough to mount safely and durable enough for a busy household. Aluminium suits that need well, especially in Gauteng where dust and dry air can build up on textured finishes in odd ways.
We discussed three finish options before production: gloss, matte and white face stock, plus a brushed surface where the metal grain can remain visible in selected areas. For this room the family chose a smooth white face with a matte finish, which reduced glare from the windows and kept skin tones and sky detail looking natural. It also suited the clean lines of the room better than a high shine surface would have done.
- Material: coated aluminium panel for dye sublimation
- Finish selected: matte white
- Panel style: single panoramic format
- Use: indoor feature wall in a family living room
File checks, crop planning and colour work
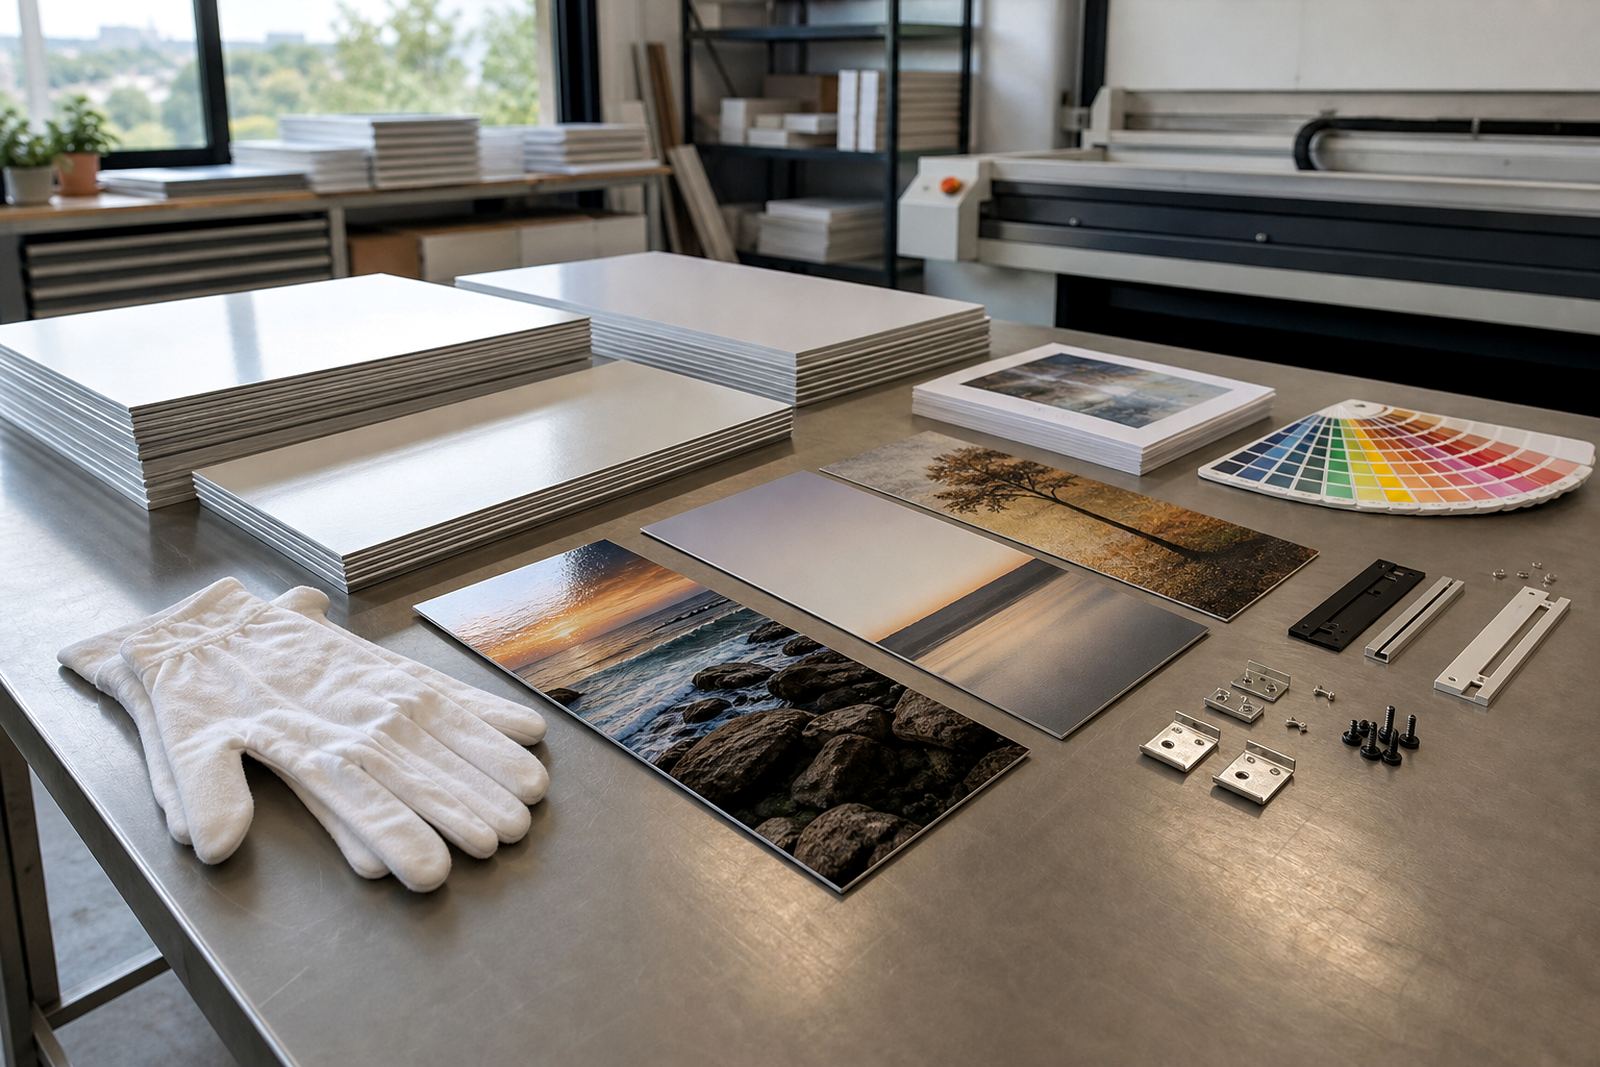
Before printing we ran a file check and resolution review to make sure the supplied image would hold up at the finished size. Large wall panels need enough pixel detail to avoid softness, especially where faces, foliage or horizon lines sit across the centre of the image. We also checked the crop line so no important detail would sit too close to the edge or the hidden fixing points.
Because the room received strong daylight from one side, our colour preparation focused on keeping contrast balanced without crushing the shadow areas. We adjusted the file for the panel profile and built in a small margin for trimming and mounting. The family wanted a clean edge with no visible frame, so we planned the layout to allow the panel to float just off the wall once fitted. That took a bit of back and forth, but it saved a costly remake later.
- Image review for resolution and crop
- Colour preparation for indoor daylight conditions
- Margin allowance for mounting and finish trimming
- File confirmation before production release
What we supplied for the final wall piece
The finished piece was a large panoramic aluminium panel produced as one continuous print, with hidden mounting hardware fitted to the rear. We supplied a mounting system that lifts the panel a few millimetres off the wall, which gives a shadow gap and helps the image feel more present without using a bulky frame. For a family home this is a good compromise, since it looks polished while still being practical to clean and align.
The panel was cut to the agreed custom size, edge finished neatly and packed for local handling and delivery. For larger pieces like this, the back fixing must line up exactly or the panel can sit skew, so we marked the fixings carefully and tested the fit before dispatch. The homeowners wanted a secure solution that would not shift when doors closed or when children moved around the room, so we used a layout that distributes the weight evenly across the back. It is a tidy fix, not flashy, just solid and neat.
- Custom size: panoramic format to suit the full wall span
- Mounting: hidden rear hardware with floating wall effect
- Finish: smooth matte for lower reflection
- Packing: corner protection and face protection for delivery
Three weeks from first file to wall mount
This job ran over three weeks from approval to delivery. Week one was file review, measurements and finish selection. Week two covered production, including print, curing and panel cutting. Week three covered hardware fitting, final inspection and delivery coordination into Randburg.
The timing suited the homeowners because they were also planning a small room refresh and wanted the artwork in place before moving furniture back against the wall. Delays are often caused by late file changes or uncertain wall measurements, so we kept the process tight. The final result arrived ready to fit, which matters when a household does not want dust and tools spread around for long. It is never worth rushing that last stage, even when the image is already looking good on screen.
How the room changed once the panel went up
The finished panel changed the room from a plain lounge into a proper feature space without making it feel heavy. The panoramic format draws the eye across the wall and gives the room width, while the matte surface keeps the image readable from different seating angles. In the late afternoon the print stays calm rather than mirror-like, which was one of the main concerns from the start.
The family also wanted something easy to look after. Aluminium does not need glass and is straightforward to wipe with a soft dry cloth.The result was not just decorative, it fit the way the house is used. The room now has one clear focal point instead of several competing pieces, and the wall no longer feels bare.
What worked well
For a similar family home job, we would again start with a careful resolution review and a proper wall measurement before production. That step prevents stretched images, awkward crop lines and mounting issues later on. We would also keep the finish discussion open until the room lighting is understood, because the right surface can make a big difference to how the print sits in the space.
If the same family asked for a second panel for the dining area or passage, we would match the colour balance to the existing wall piece so the home feels connected without repeating the same treatment everywhere. We would also check the wall condition before installation, since plaster cracks and uneven surfaces can affect the final float gap. Small details like that are easy to miss but they matter a lot once the panel is on the wall.
- Confirm wall measurements before print approval
- Match finish to room light and window position
- Check wall condition before fixing hidden hardware
- Keep colour matching consistent for any future panels
Key facts
| Project | Randburg Family Home |
|---|---|
| Client type | Private homeowner |
| Location | Randburg, Johannesburg |
| Product | Dye sublimation aluminium photo panel |
| Finish | Matte white with hidden mounting |
| Lead time | 3 weeks |