
Why a small panel beats staring at a screen
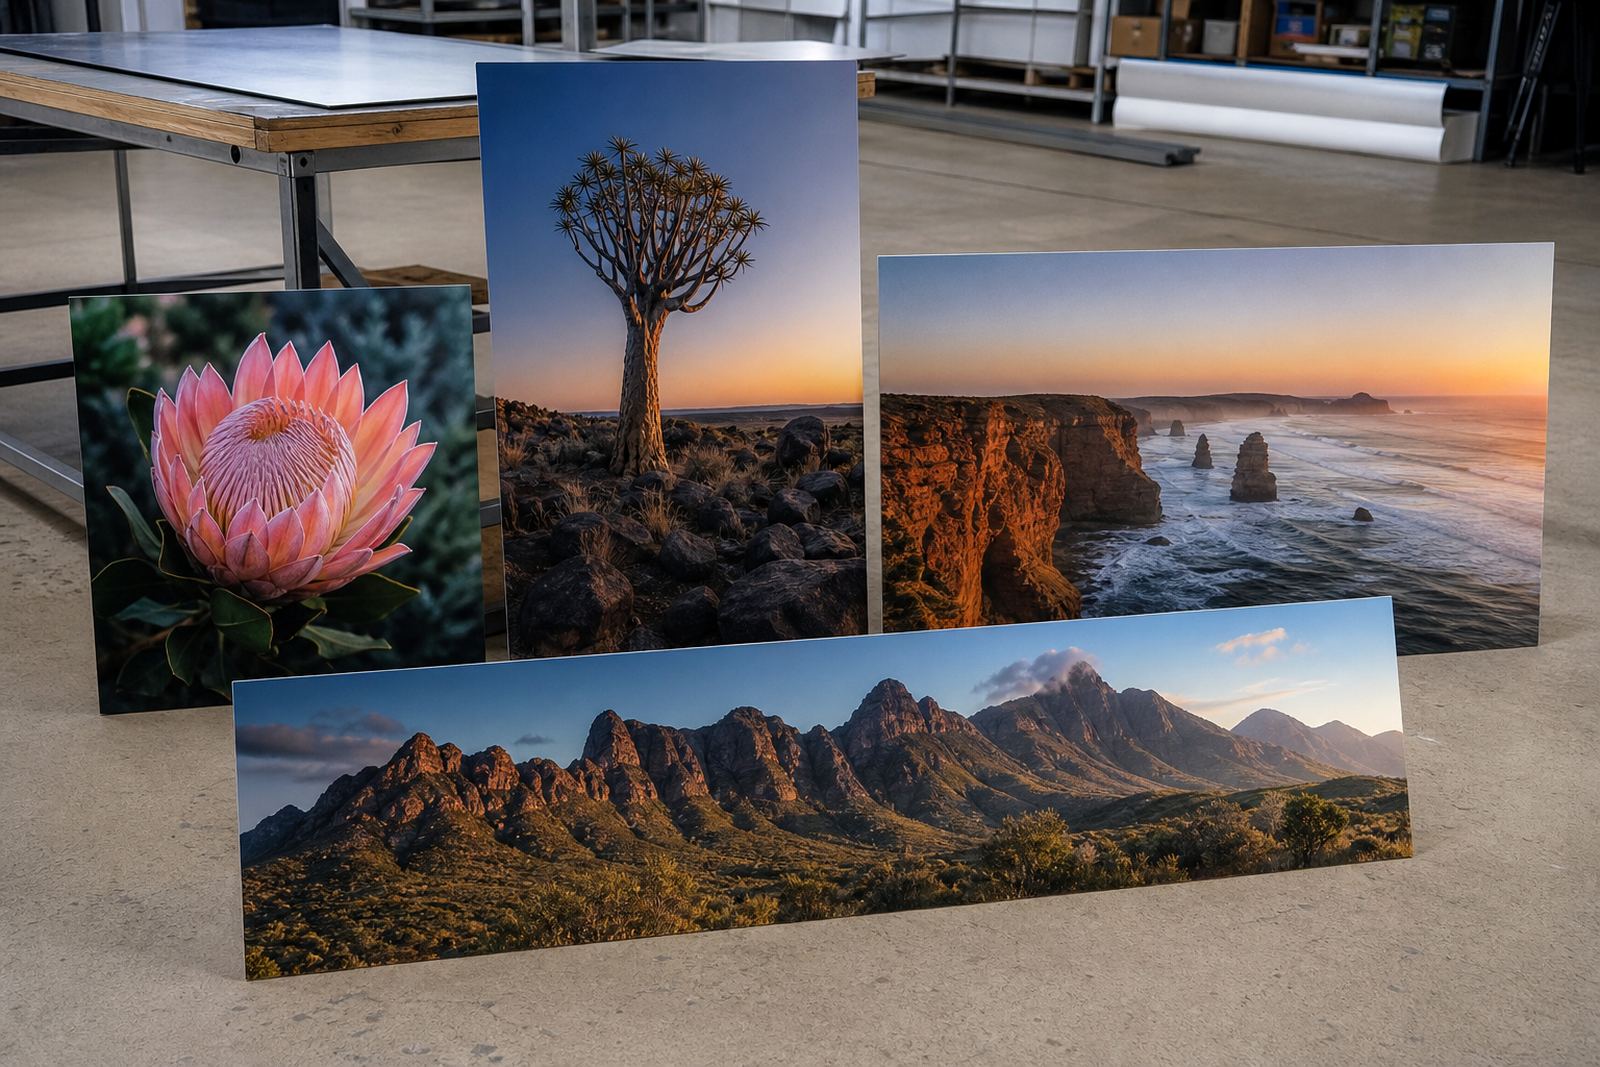
A monitor can hide soft focus, crushed shadows and colour shifts. A proof panel shows how the image behaves once dye sublimation lands on coated aluminium, which is a different result from looking at a file on screen. For photographers, artists and businesses placing larger orders, that one sample can reveal whether skin tones are too warm, dark areas are losing detail, or a wide crop has cut off an important edge.
At our Randburg base in Johannesburg, proofing is most useful when the final pieces are going to homes, offices, galleries or reception spaces where natural light changes through the day. A panel that looks fine under indoor lights can feel very different near a window in Durban humidity or in a bright Cape Town foyer. A proof gives you something concrete to sign off before the bigger batch is pressed.
What a proof should test before you commit
A good proof is not just about image sharpness. It should test the full chain from file to finish, including crop, tone, panel colour and the way the image sits on the metal surface. If the artwork has fine text, deep blacks, subtle gradients or skin detail, those areas need extra attention. The same is true for logos, product photography and heritage images where small shifts in colur can change the whole feel.
- Check crop lines and edge bleed on the exact size you plan to order.
- Review contrast in shadows and bright whites.
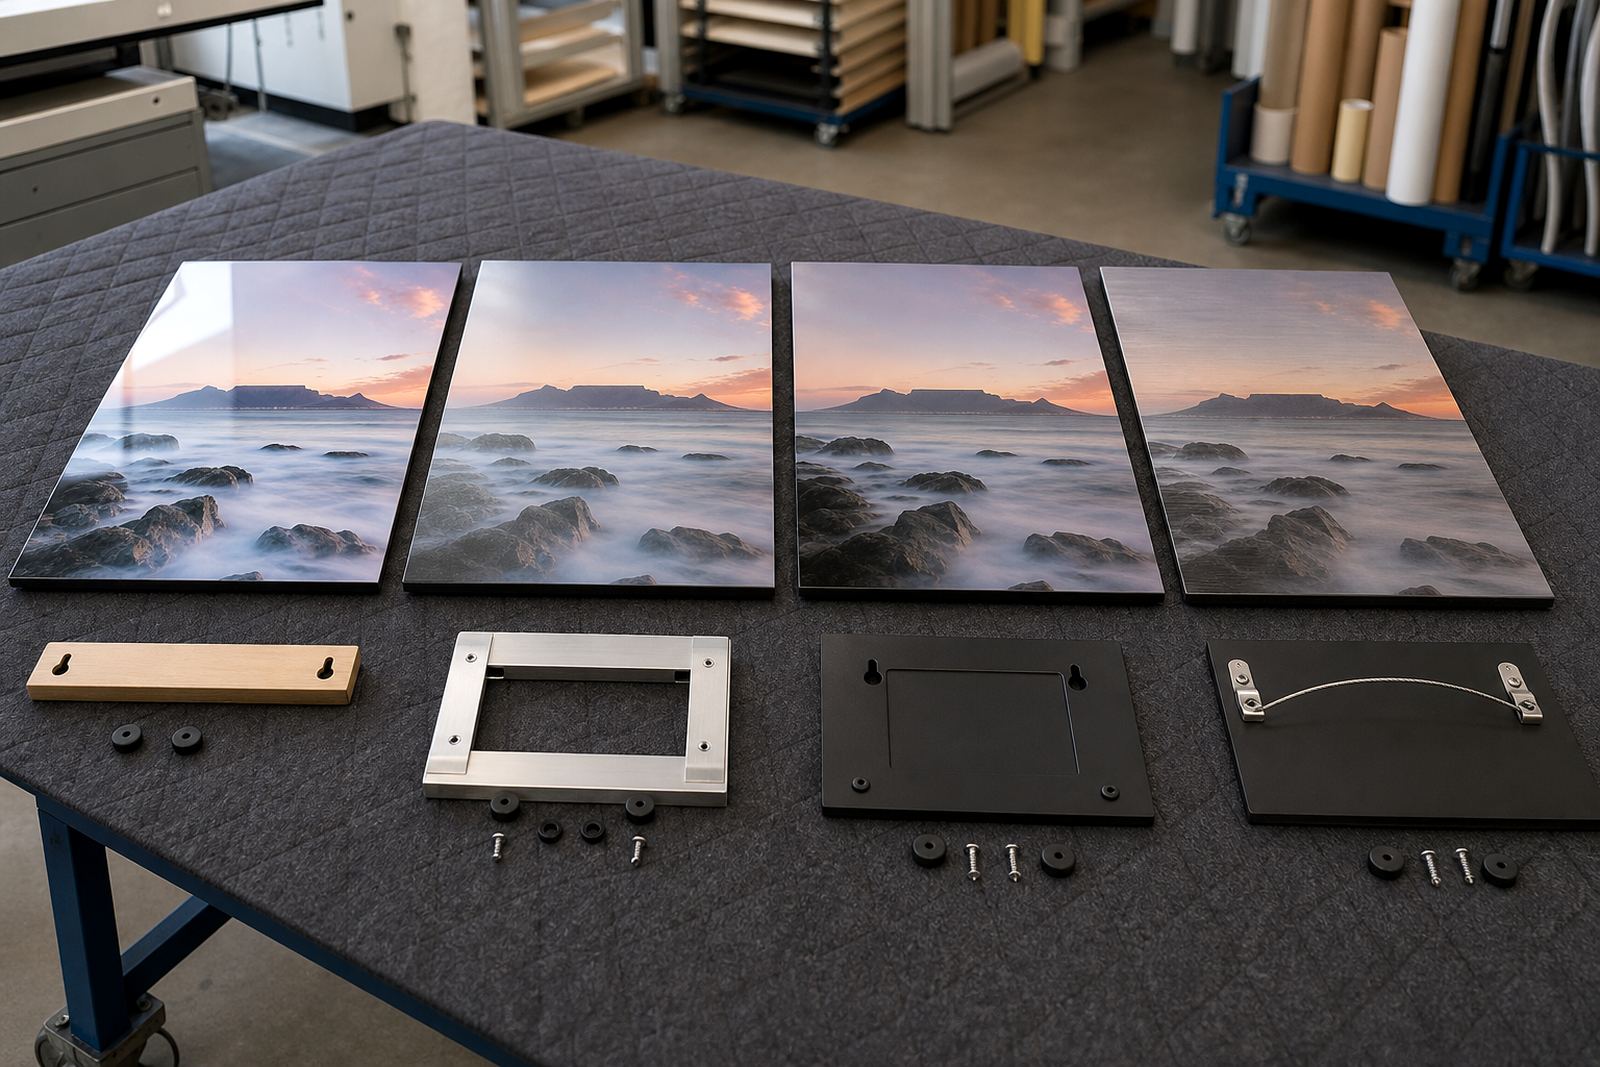
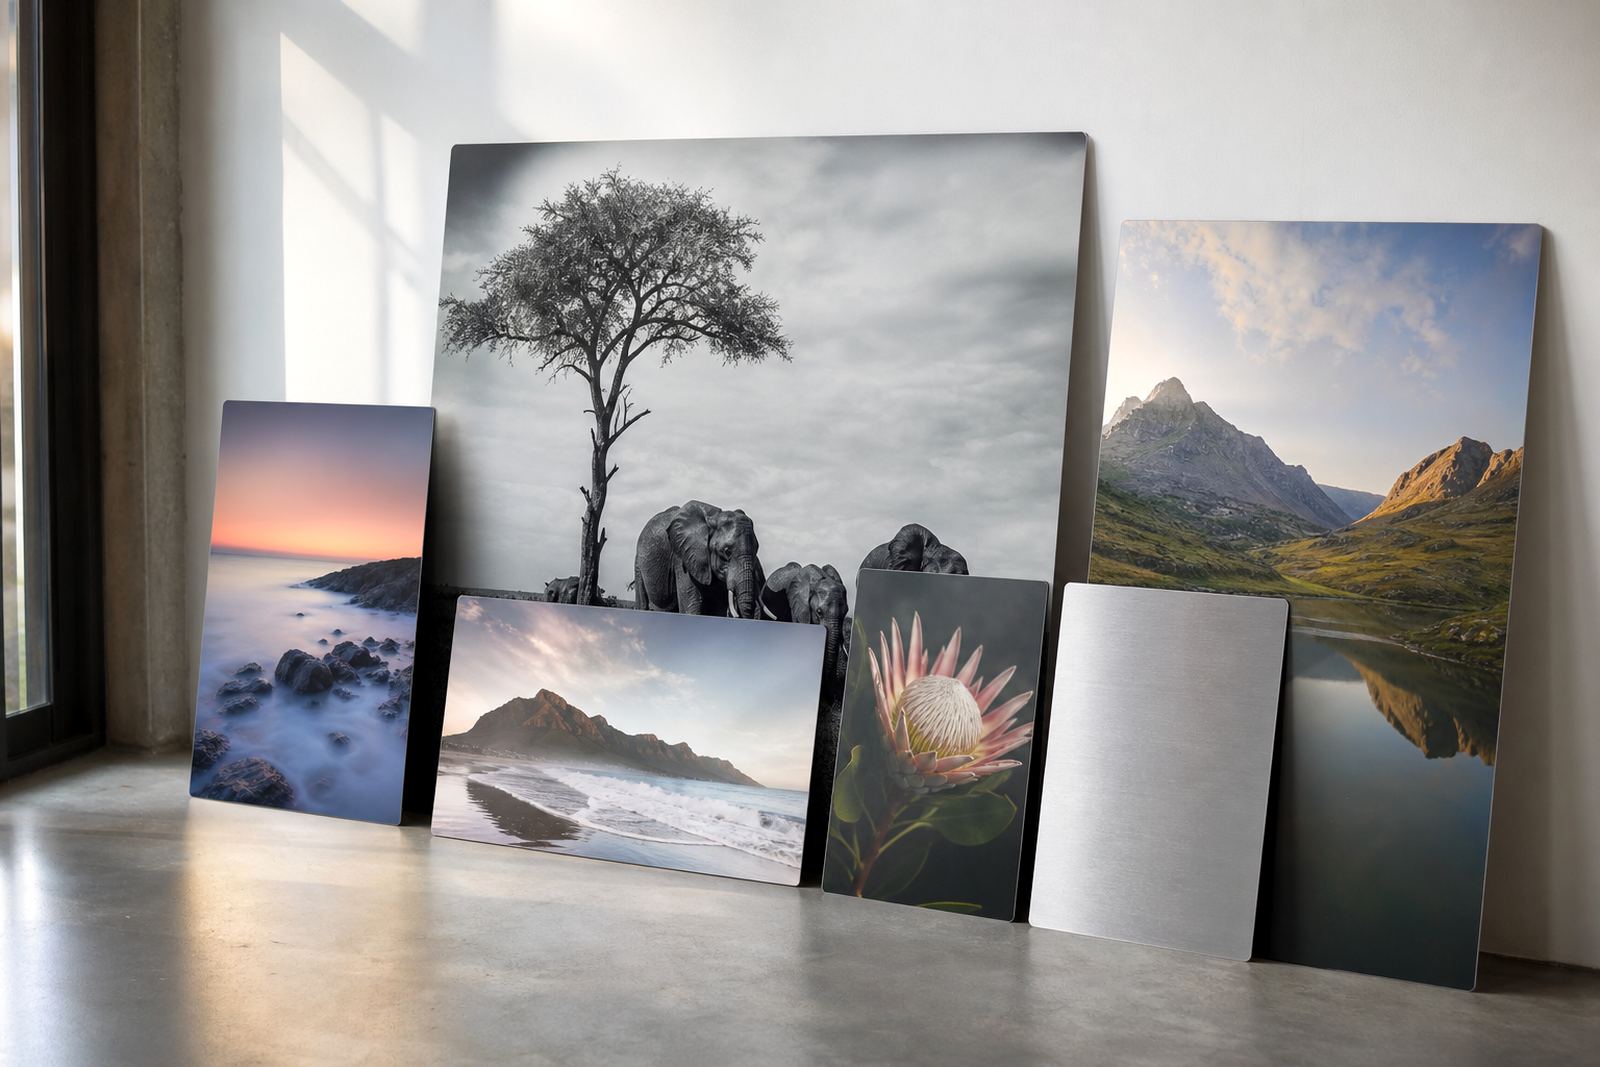
- Confirm whether gloss, matte, white or brushed aluminium suits the image.
- Look at any text, signatures or border details at real size.
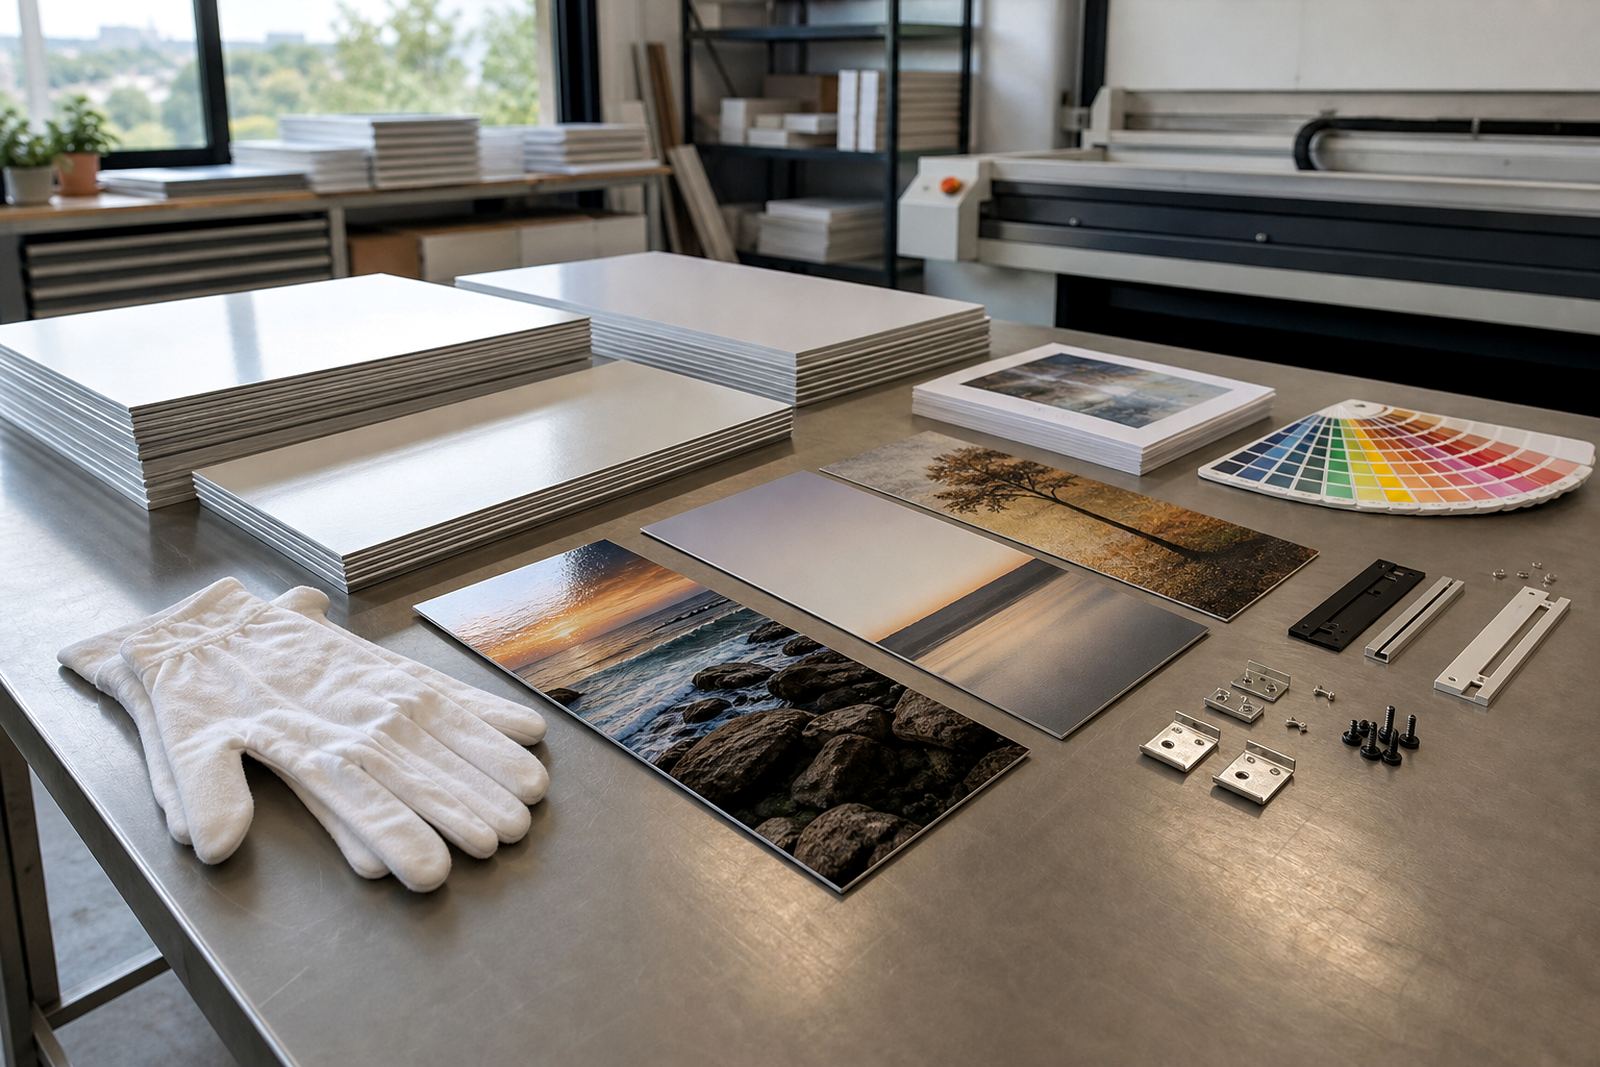
- Decide if the hanging hardware matches the final installation space.
If the proof is approved, there is much less room for surprises when the larger run is produced.
File checks that save money later
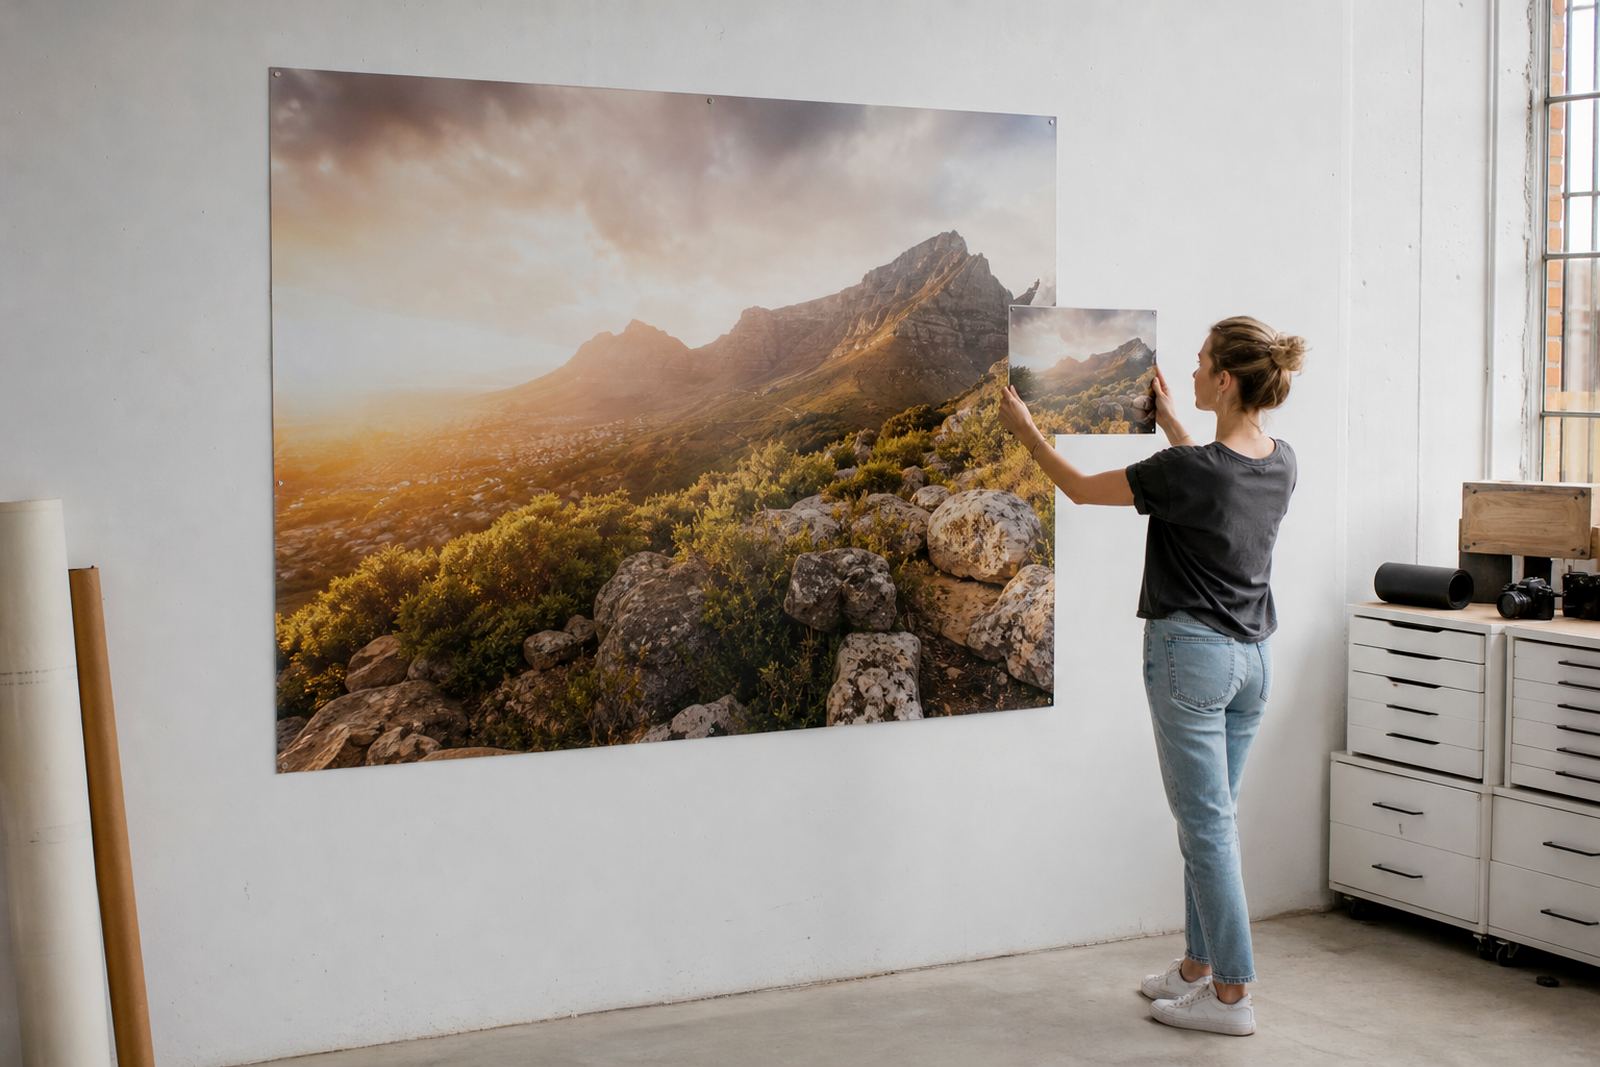
Before a proof is made, the file should be checked for resolution, crop allowance and embedded colour information. Low resolution artwork can look acceptable on a phone, then turn soft once it is enlarged for a 600 mm or 900 mm panel. As a rule, images should be supplied at the final print size, with enough pixels for clean detail. If the file is tight on resolution, we will say so early rather than leave you with a print that feels muddy.
We also look at the source file for damaged layers, mismatched tones and background elements that may need trimming. For multi-panel sets, spacing across the panels must be planned so the image flows cleanly from one piece to the next. That matters for landscapes, event imagery and corporate feature walls where alignment has to be neat from left to right.
- Send the highest quality file available, not a screenshot or compressed messaging app version.
- Keep originals with the best resolution for larger sizes.
- Flag any must-keep faces, logos or text before crop work begins.
- If you need a reprint later, keep the approved file version safe for matching.
Picking the finish that suits the room, not just the picture
Finish choice changes the whole look of the panel. Gloss gives a brighter, more reflective surface and can suit bold colour, product shots and sharp architectural images. Matte cuts reflections and works well in offices, passage walls and spaces with strong sunlight. White-coated panels keep colour clean and accurate, while brushed aluminium leaves parts of the metal grain visible, which can suit industrial subjects, monochrome work or images that need a more textured result.
For coastal areas such as Durban or Gqeberha, finish choice can also depend on where the panel will hang. If the wall gets direct light or sits near an entrance with moisture in the air, a finish that reduces visible glare may be more practical. A proof panel lets you compare these options side by side instead of guessing from a sample chip.
Mounting, spacing and the wall behind the art
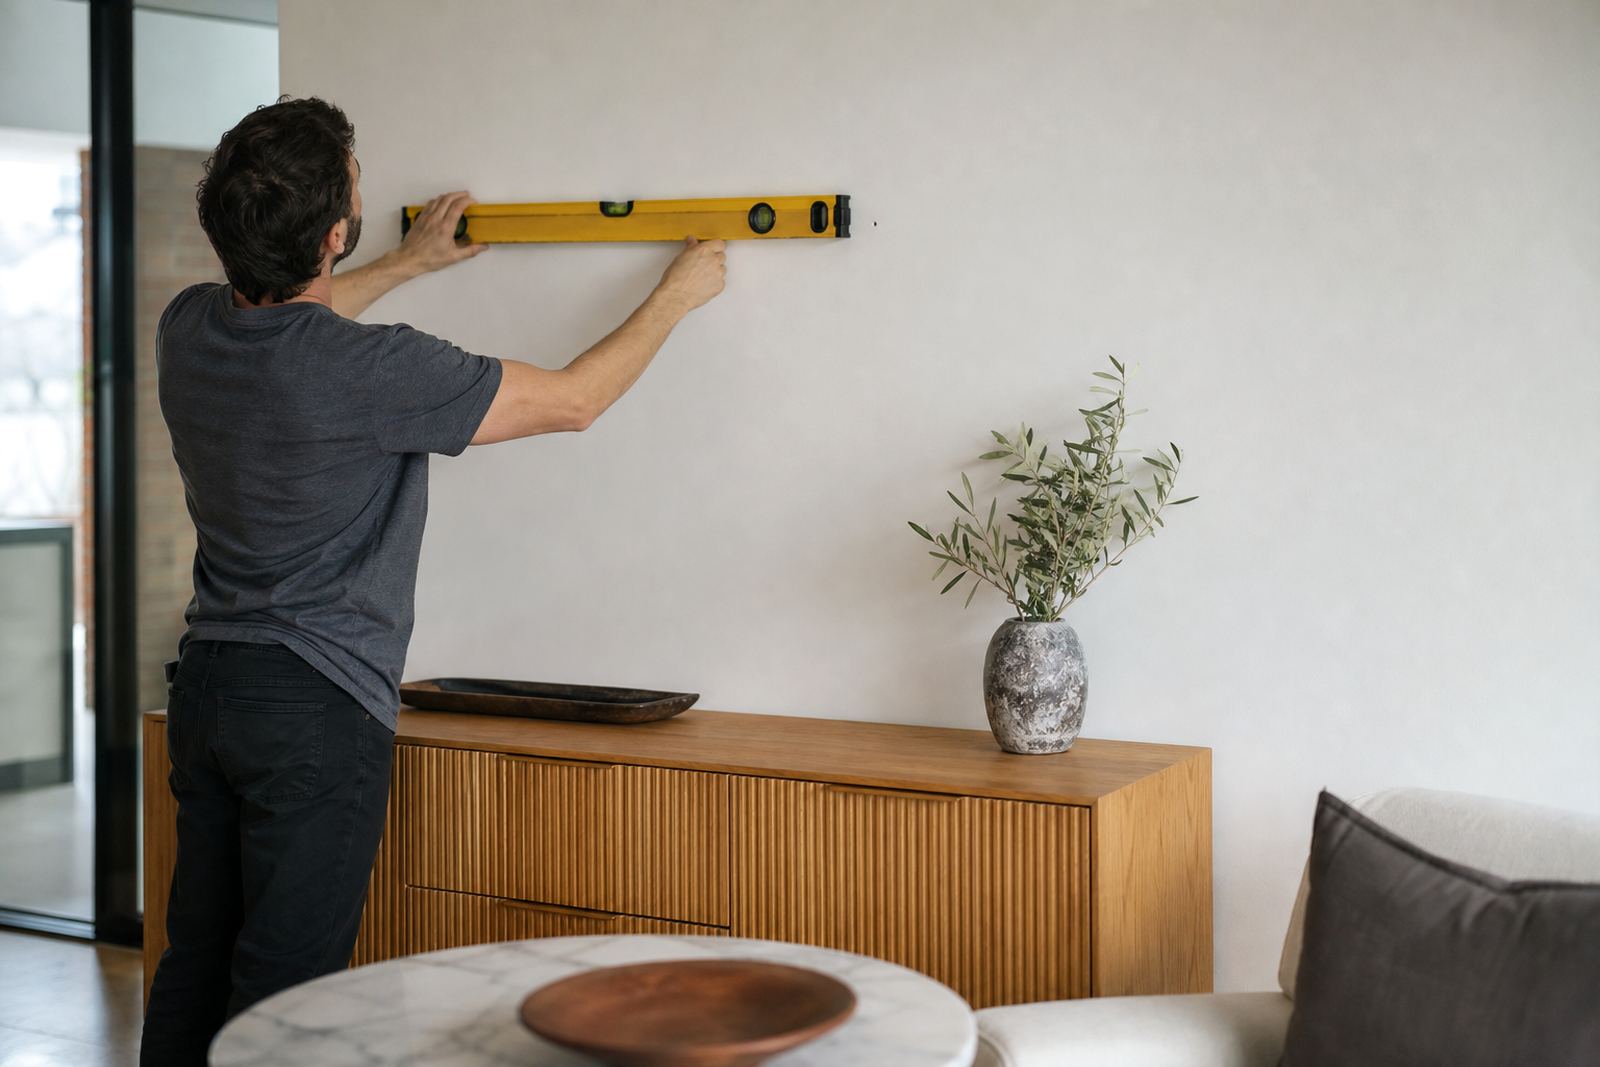
Large panels do best when the hanging method is planned before production. The wall material, weight of the panel and the final height all affect the type of hardware used. In a boardroom in Sandton, a straight float-off-wall look may be preferred. In a home in Pretoria, hidden fixings may need to work around tiles, brick or plaster that is not perfectly level. Proofing is a good time to check where the panel will sit and whether the hardware gives enough stand-off for the image to read properly.
If the final order includes more than one panel, the spacing between pieces should be measured carefully. A few millimetres can make a visible difference across a set of three or four panels. It is better to test that spacing on a small sample first than to fix it later after installation.
- Confirm wall type before choosing hanging hardware.
- Measure the viewing height from the floor to the centre line.
- Check whether the wall is level, tiled or exposed brick.
- Allow enough clearance for cleaning and for any nearby switches or frames.
How the proof process runs at SubAlu
Once your file is received, the process starts with file checks, resolution review and colour preparation. If needed, crop planning is done before a test panel is produced. That proof panel is then examined for tone, finish and fit. If changes are needed, they are noted before the larger order moves ahead. This is especially useful for photographers and businesses placing a full wall display across Johannesburg, Cape Town, Durban, Pretoria or Gqeberha.
Our team handles the practical side end to end, from colour review through to packing and delivery. Mandla Chetty oversees the business, while Lerato Ntsele manages production, Johan Mafokeng leads colour and prepress, Ayesha Moagi handles client service, Sibusiso Salie manages finishing and mounting, and Nicole Adams coordinates logistics and dispatch. That way, the same people checking the proof are close to the final output, which helps keep the result consistent.
What to approve before the bigger run starts
Use the proof as a final yes or no point. If the colour is right, the crop works and the finish suits the room, the larger order can go ahead with fewer unknowns. If something feels off, it is better to adjust it now than after the full batch is printed. A slight shift in shadow depth or border width is easier to correct on a proof than on ten or twenty panels.
Good proofing protects your budget and your reputation. It also helps when you need the next print to match the first one, because the approved sample becomes a reference for future matching. That matters whether the work is for a gallery wall, a hospitality space or a branded office display.
- Approve the crop, finish and mounting position together.
- Check the proof in the same light where the final panel will hang.
- Keep notes on the approved size and finish for future reprints.
- Tell us if the next run must match an existing panel exactly.
For proof panels, custom sizing and larger production runs, use the enquiry form on our contact page and send the file for review.