
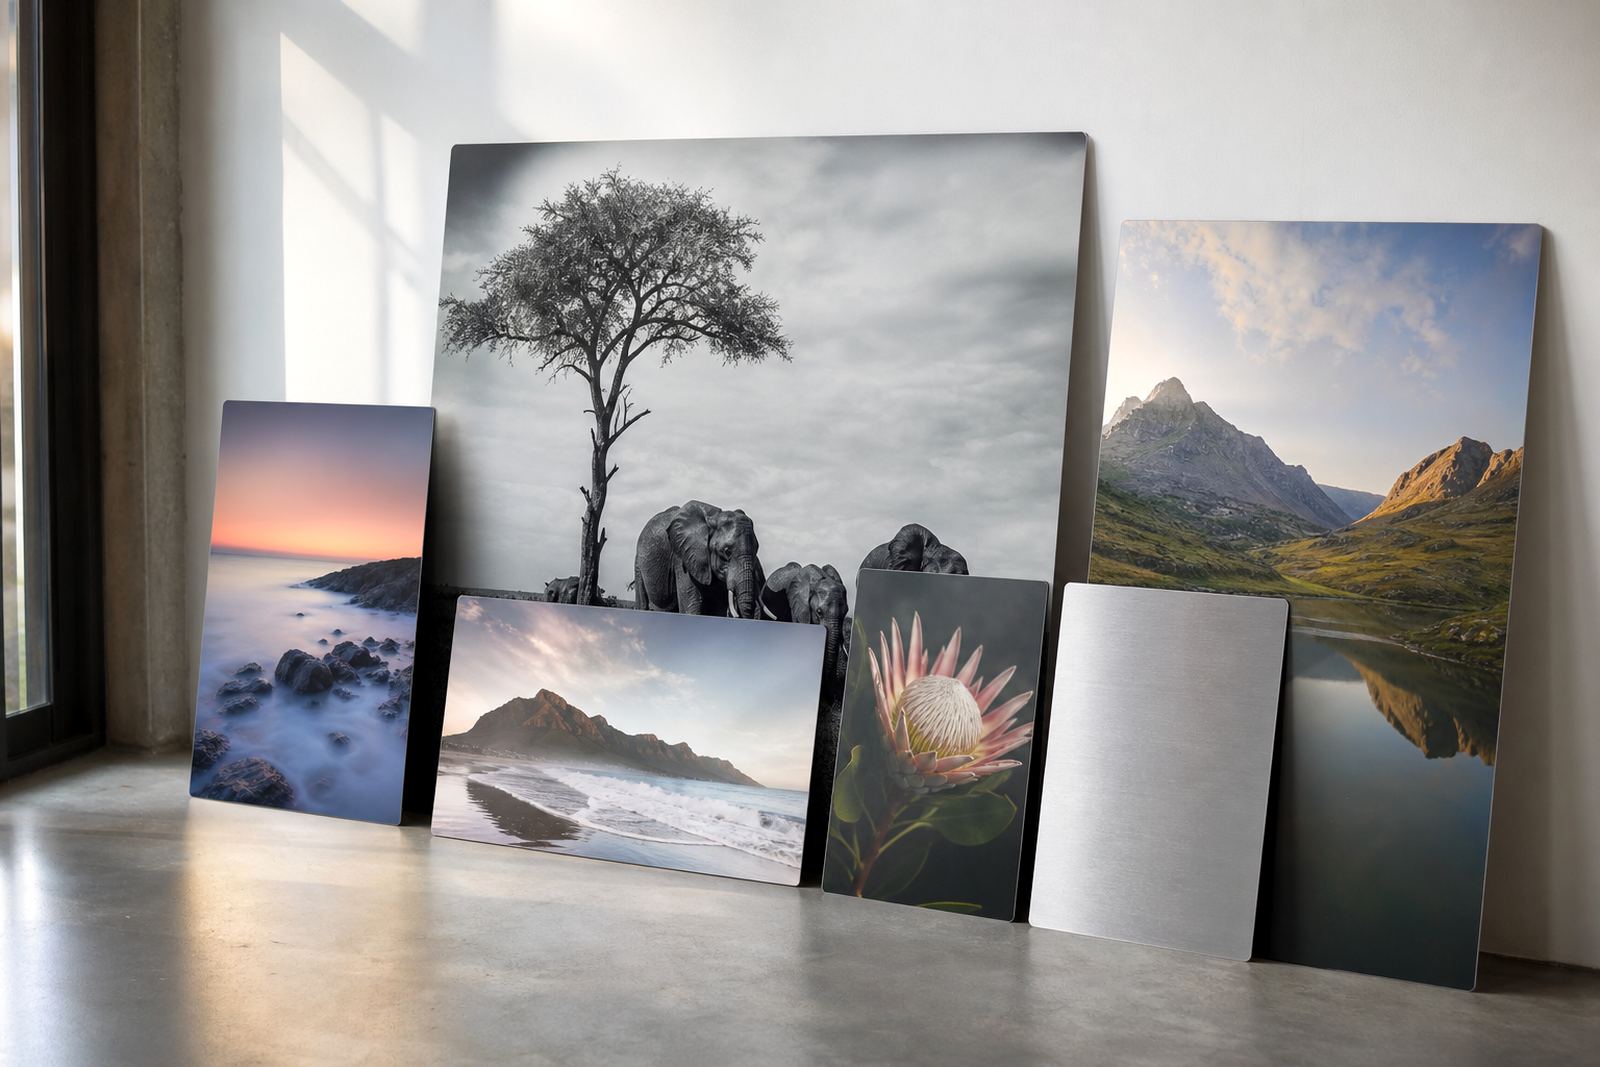
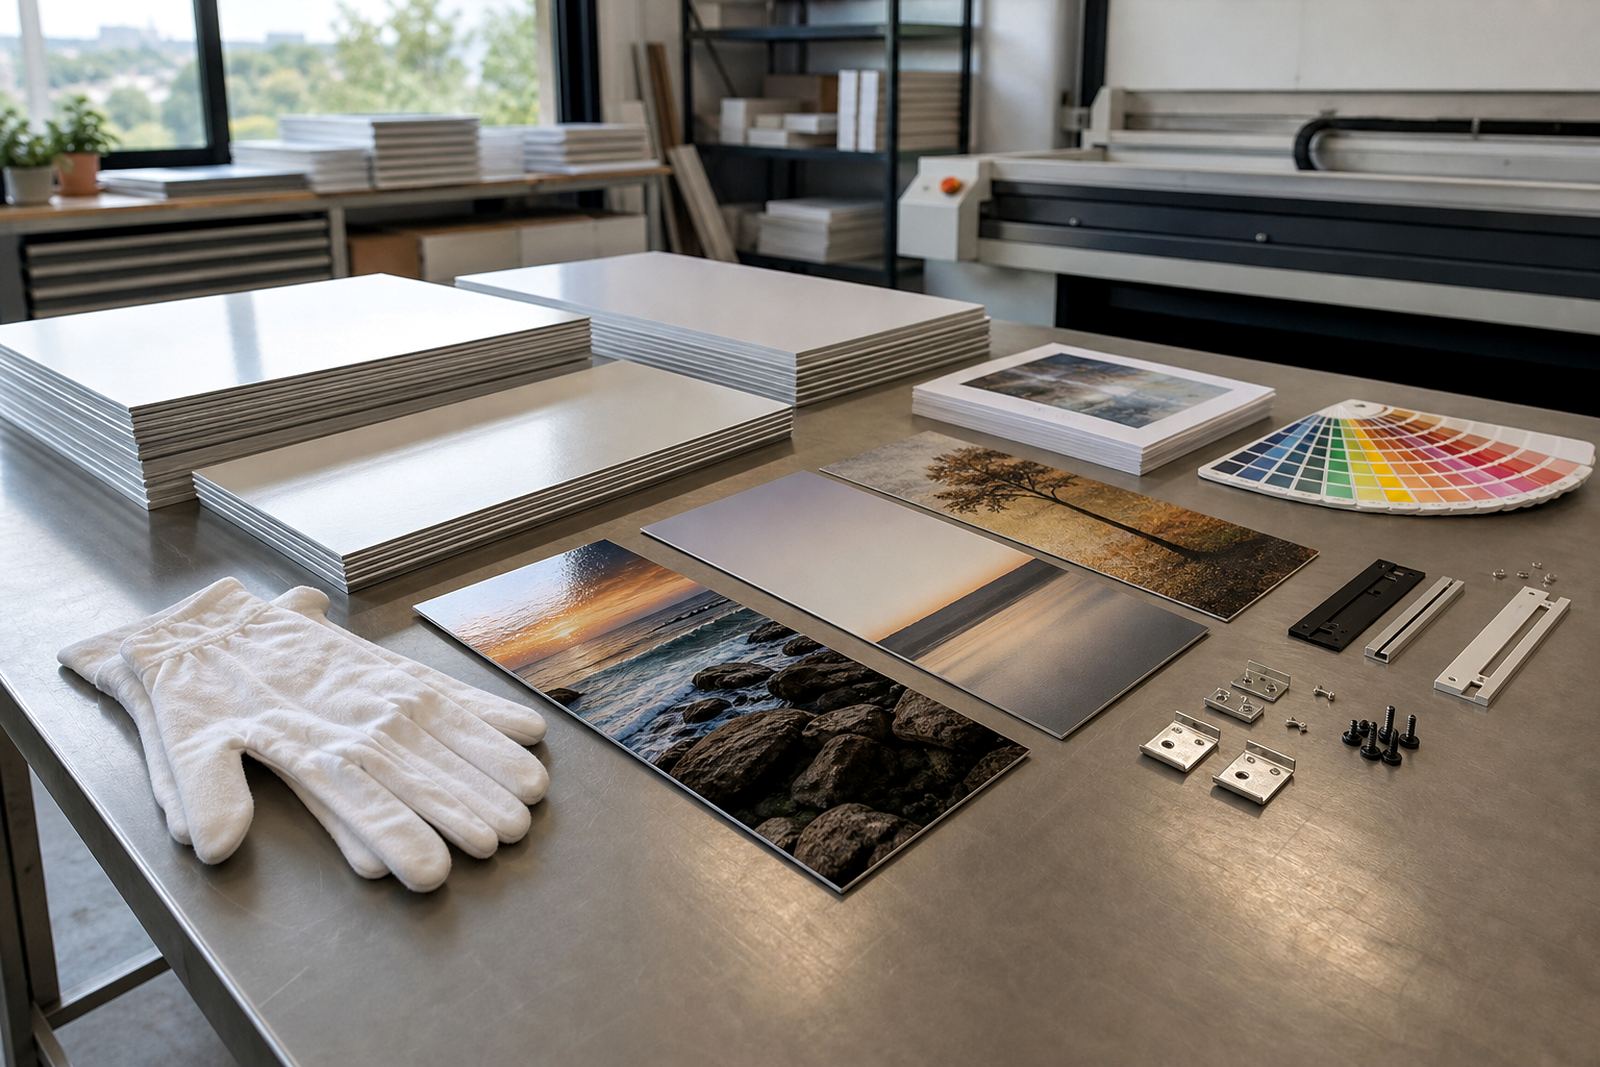
Start with the room, not the panel
Before choosing a mounting method, look at where the panel will hang or stand. A panel for a humid Durban office, a bright Cape Town gallery, or a Pretoria reception must handle different light, traffic and wall conditions.
Think through how the panel will be viewed. A single image in a narrow passage has different needs from a multi-panel layout above a boardroom sideboard. If the panel will be moved often for events, or swapped for seasonal work, choose a method that makes removal and refitting less risky.
- Measure the wall space in millimetres, not rough estimates.
- Check if the wall is plaster, brick, drywall or tiled.
- Note glare from windows, downlights and glass doors.
- Decide if the panel must sit flush or float off the wall.
Float mounts for a clean shadow gap
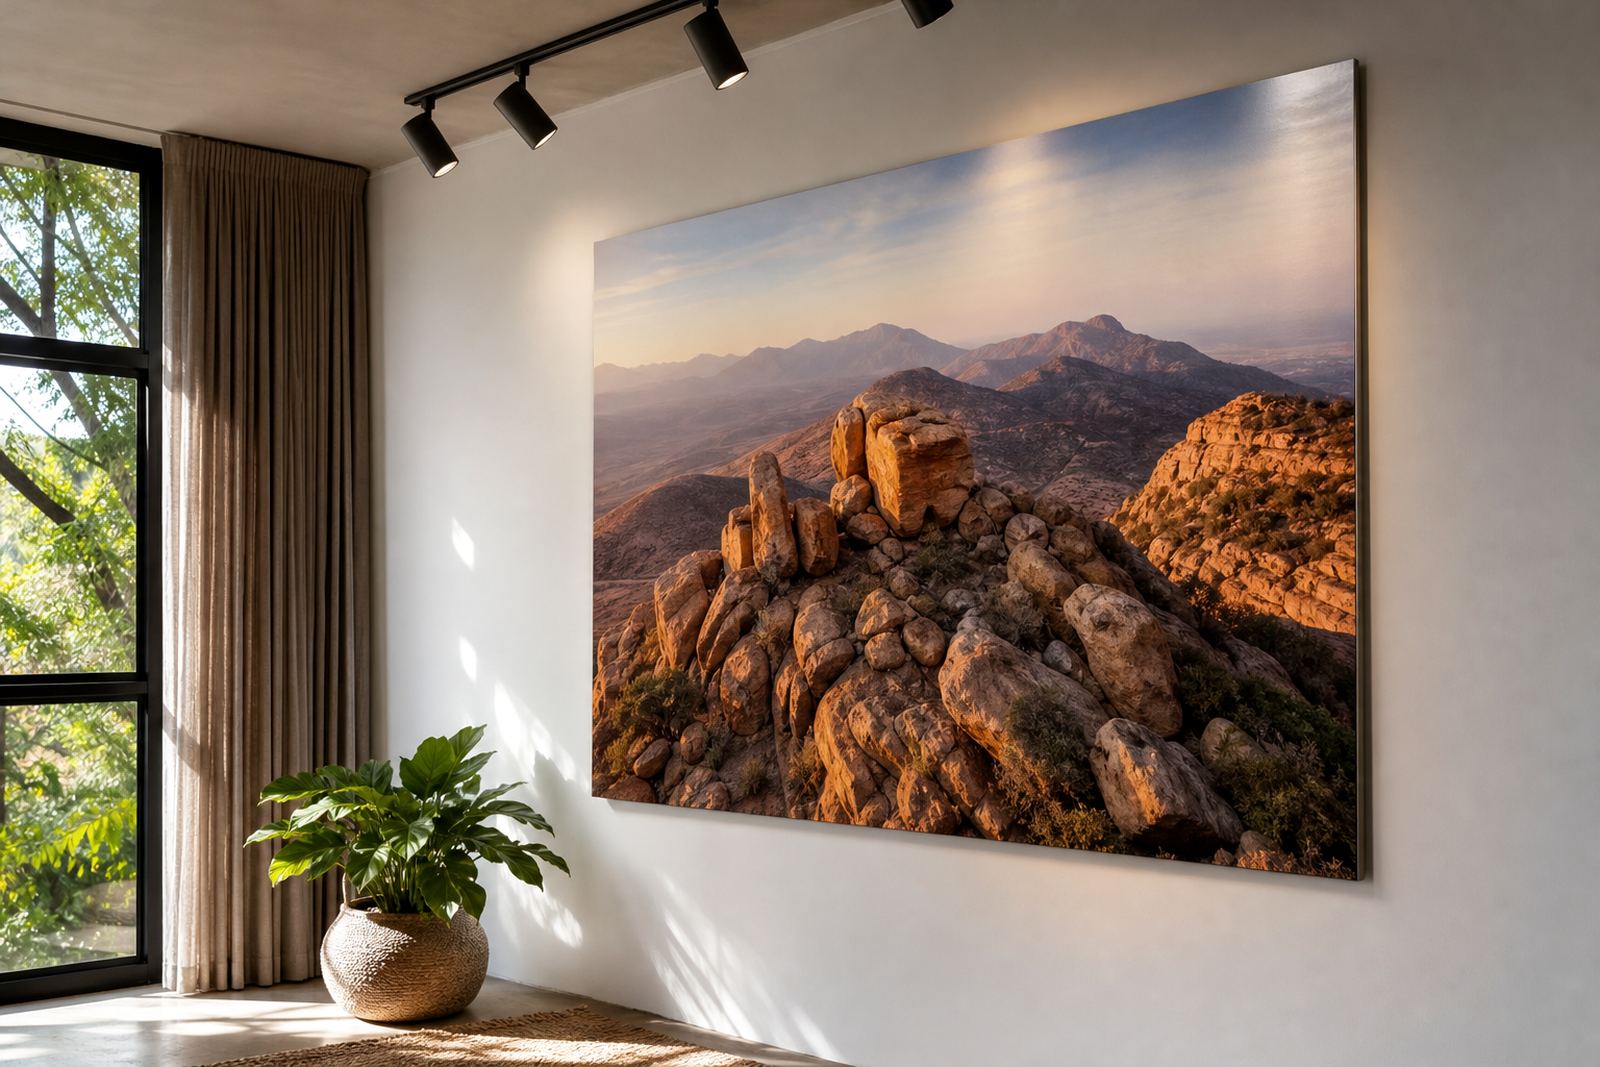
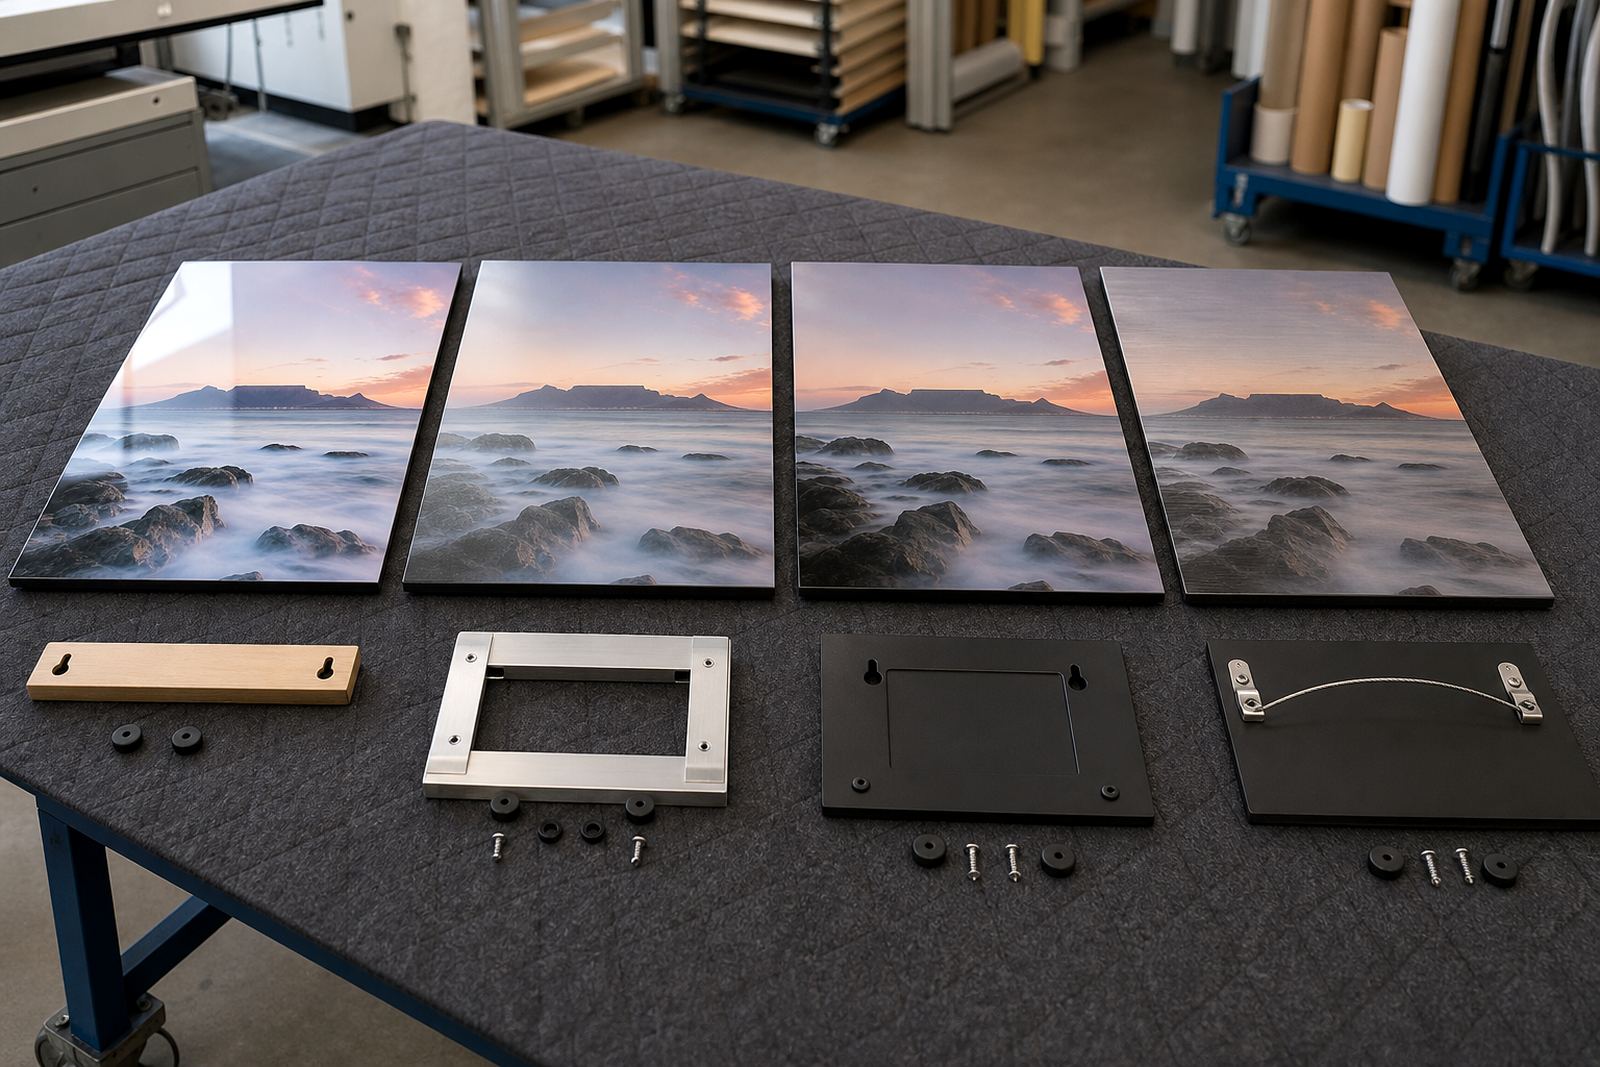
Float mounting gives the panel a raised look with a small shadow gap around the edge. This method suits homes, studios and offices where the image should appear to hover slightly off the wall. It works well on coated aluminium panels because the surface stays rigid and the mount can be kept neat and square.
Float mounts are a strong choice for feature walls, reception areas and art displays. They are often preferred when the image itself should take centre stage and the hardware must stay out of sight. On larger panels, the mount needs proper spacing and balanced fixing points so the panel sits flat and does not twist over time.
- Best when you want a modern, framed feel without a visible frame.
- Suitable for medium to large panels with careful wall fixing.
- Allows a tidy gap that can hide slight wall irregularities.
- Works well with matte, gloss, white and brushed finishes.
Rails when the panel needs steady support
Rear rails spread the load across more of the panel and suit long or wide pieces, especially where the wall may not be perfect. A rail system can make installation easier on heavier formats and helps keep the panel level when there are multiple hanging points. It is a practical choice for offices, clinics and commercial interiors where the panel must stay stable for years.
Rails are useful when the image will be handled less often but still needs secure support. They can also help with alignment if you are installing a set of matching panels. On custom sizing, the rail position should be planned with the artwork crop so no fixing point interferes with the image edges.
- Good for wider panels and long panoramic work.
- Helps distribute weight more evenly across the back.
- Makes level installation easier on brick or plaster walls.
- Useful where a panel may need a little more stiffness.
Visible fixings when the hardware is part of the look
Some spaces benefit from exposed standoffs, screw caps or other visible fixings. This is common in workspaces, retail interiors and industrial-style rooms where the hardware should look intentional rather than hidden. Visible fixings can be neat and reliable, and they make panel removal straightforward when a display changes.
The key is to plan the fixing layout carefully so it feels deliberate. The fixing points should suit the panel size and not compete with the image. If the panel has a brushed finish, the metal look can work well with visible hardware. For full colour images, the fixing positions should be checked against crop lines before production starts.
- Useful when you want a more technical, architectural look.
- Often easier to remove and refit for updates.
- Can suit commercial signage and branded wall pieces.
- Needs careful spacing so the hardware does not distract from the artwork.
Freestanding options for counters, shelves and events
Freestanding mounting works well for smaller panels placed on shelves, counters or plinths. It is handy for exhibitions, retail displays and temporary setups where drilling is not allowed. In Johannesburg malls and office buildings, this can save time where wall changes need approval or the landlord wants minimal disturbance.
Freestanding pieces should still be stable, especially in busy areas where they may be nudged. The base or support must suit the size of the panel and the surface it will stand on. If the panel travels between venues, packing protection becomes important so the edges and finish stay clean.
- Good for temporary displays and product launches.
- Useful where walls cannot be drilled.
- Works for smaller panels and table-top presentations.
- Needs a stable base and careful transport.
A quick pre-order check before the panel goes to print
Mounting should be confirmed before printing because the fixing method affects trim, edge clearance and overall balance. Customers must own the images or have the rights to use them, especially for commercial work, team portraits and branded displays. A clear file check helps avoid surprises when the panel is mounted and hung.
Use this checklist before approving the job:
- Confirm the panel size and intended viewing distance.
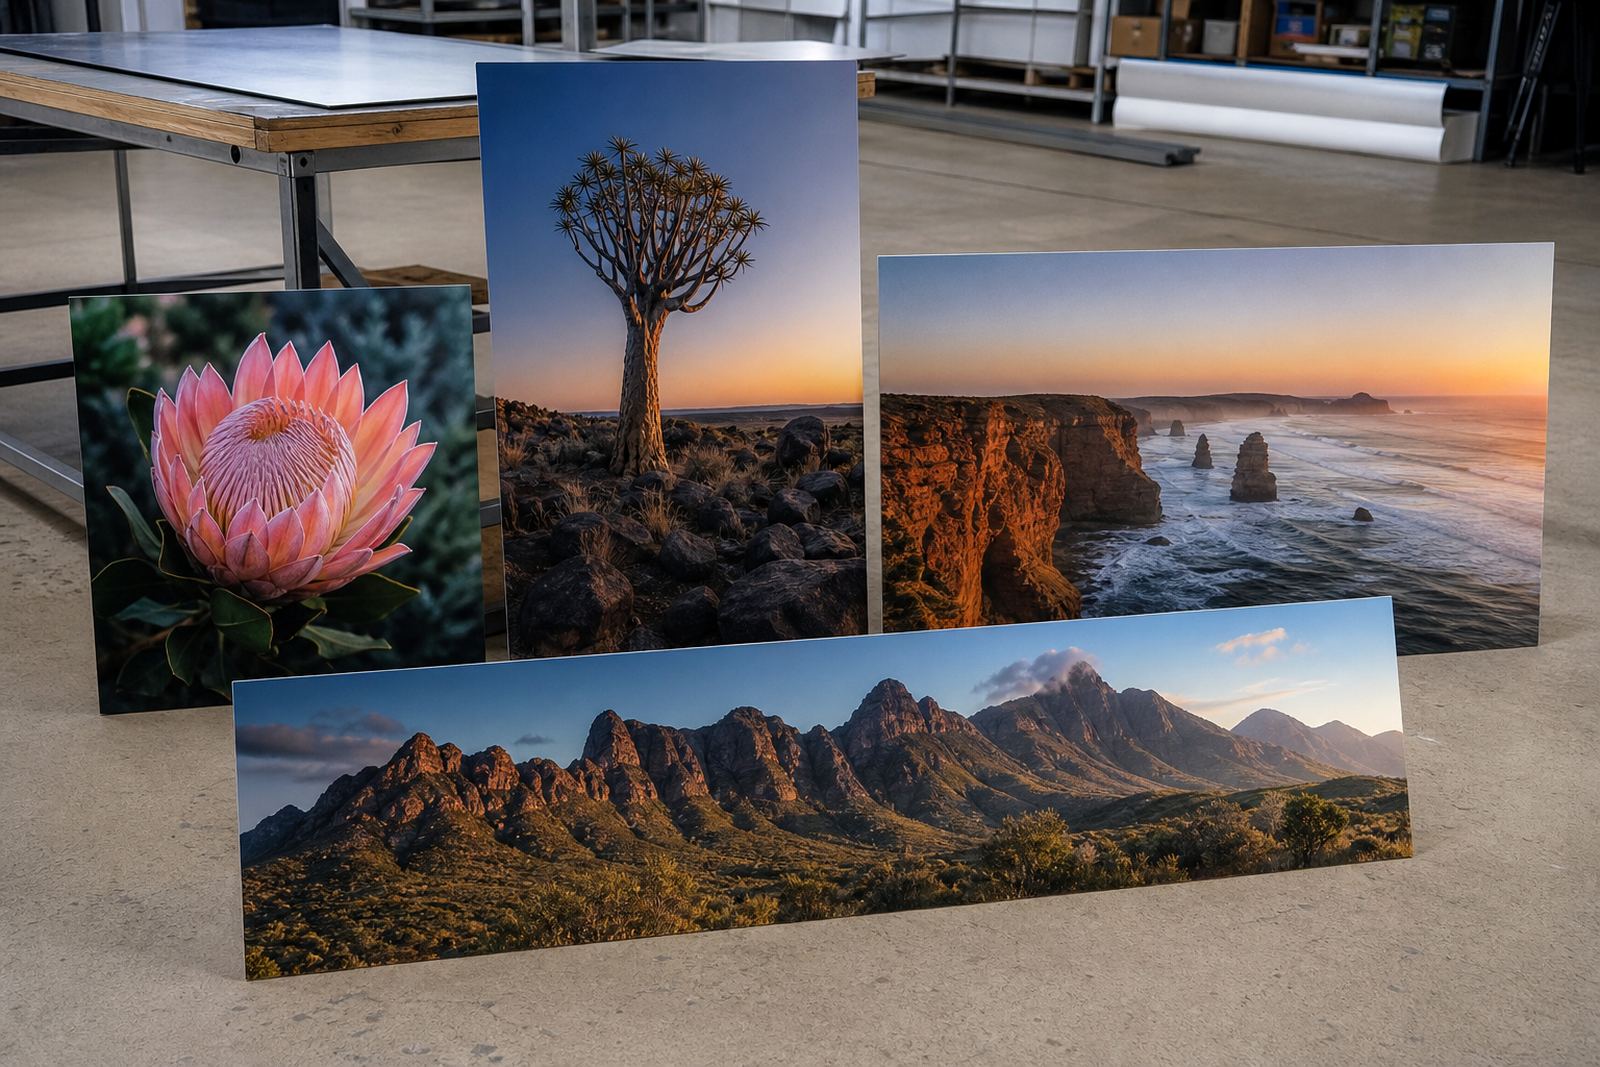
- Choose gloss, matte, white or brushed based on light and image style.
- Check the file resolution is strong enough for the final size.
- Mark where the fixings must sit in relation to the image crop.
- Decide whether the piece will hang, stand or travel between sites.
If the work is going to Cape Town, Durban, Pretoria, Gqeberha, Midrand or Sandton, factor in transport and handling too. A panel with the wrong mount may arrive fine and still install badly, which wastes time on site.
When the final choice still feels tight
If you are torn between two methods, start with the wall and the image size. Smooth walls and smaller panels often suit float mounting or visible fixings. Larger pieces, long panoramas and wall surfaces with slight movement usually do better with rails. Freestanding options are the safest answer where drilling is not allowed or the display needs to move often.
For photographers, artists and businesses across South Africa, the best result is the one that keeps the panel square, secure and easy to live with. A good mounting choice makes the print look settled in the room, not just placed there.