
Read glare before you commit to a size
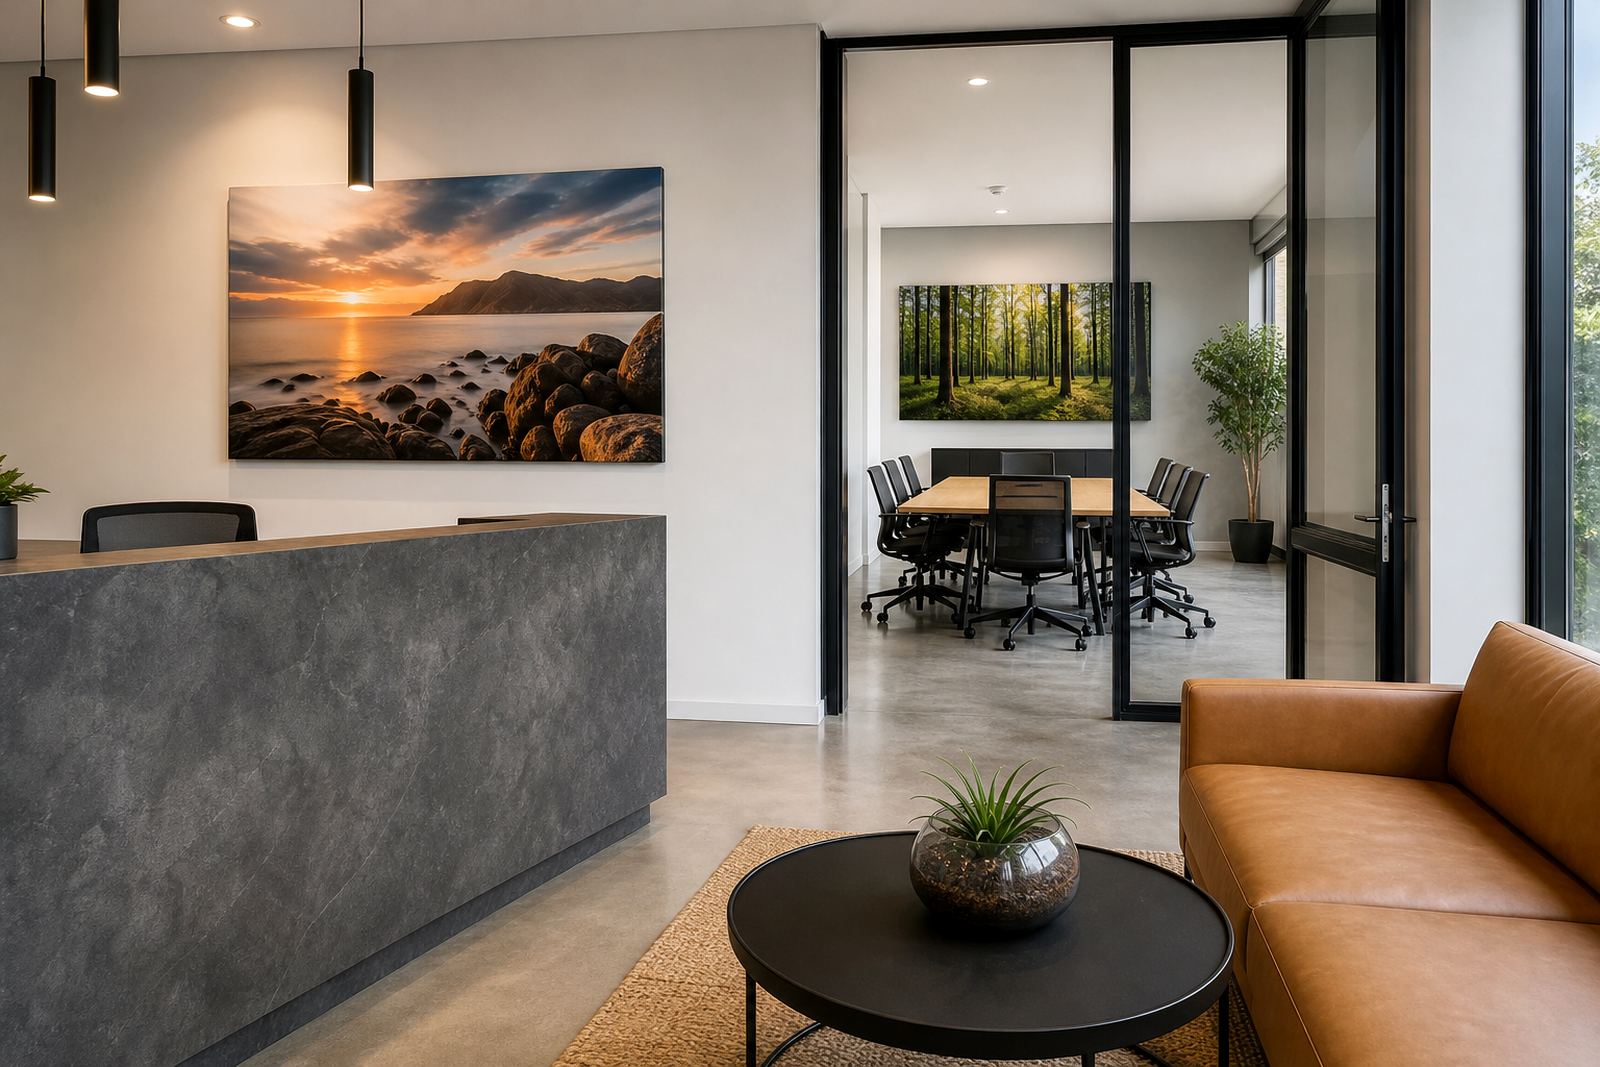
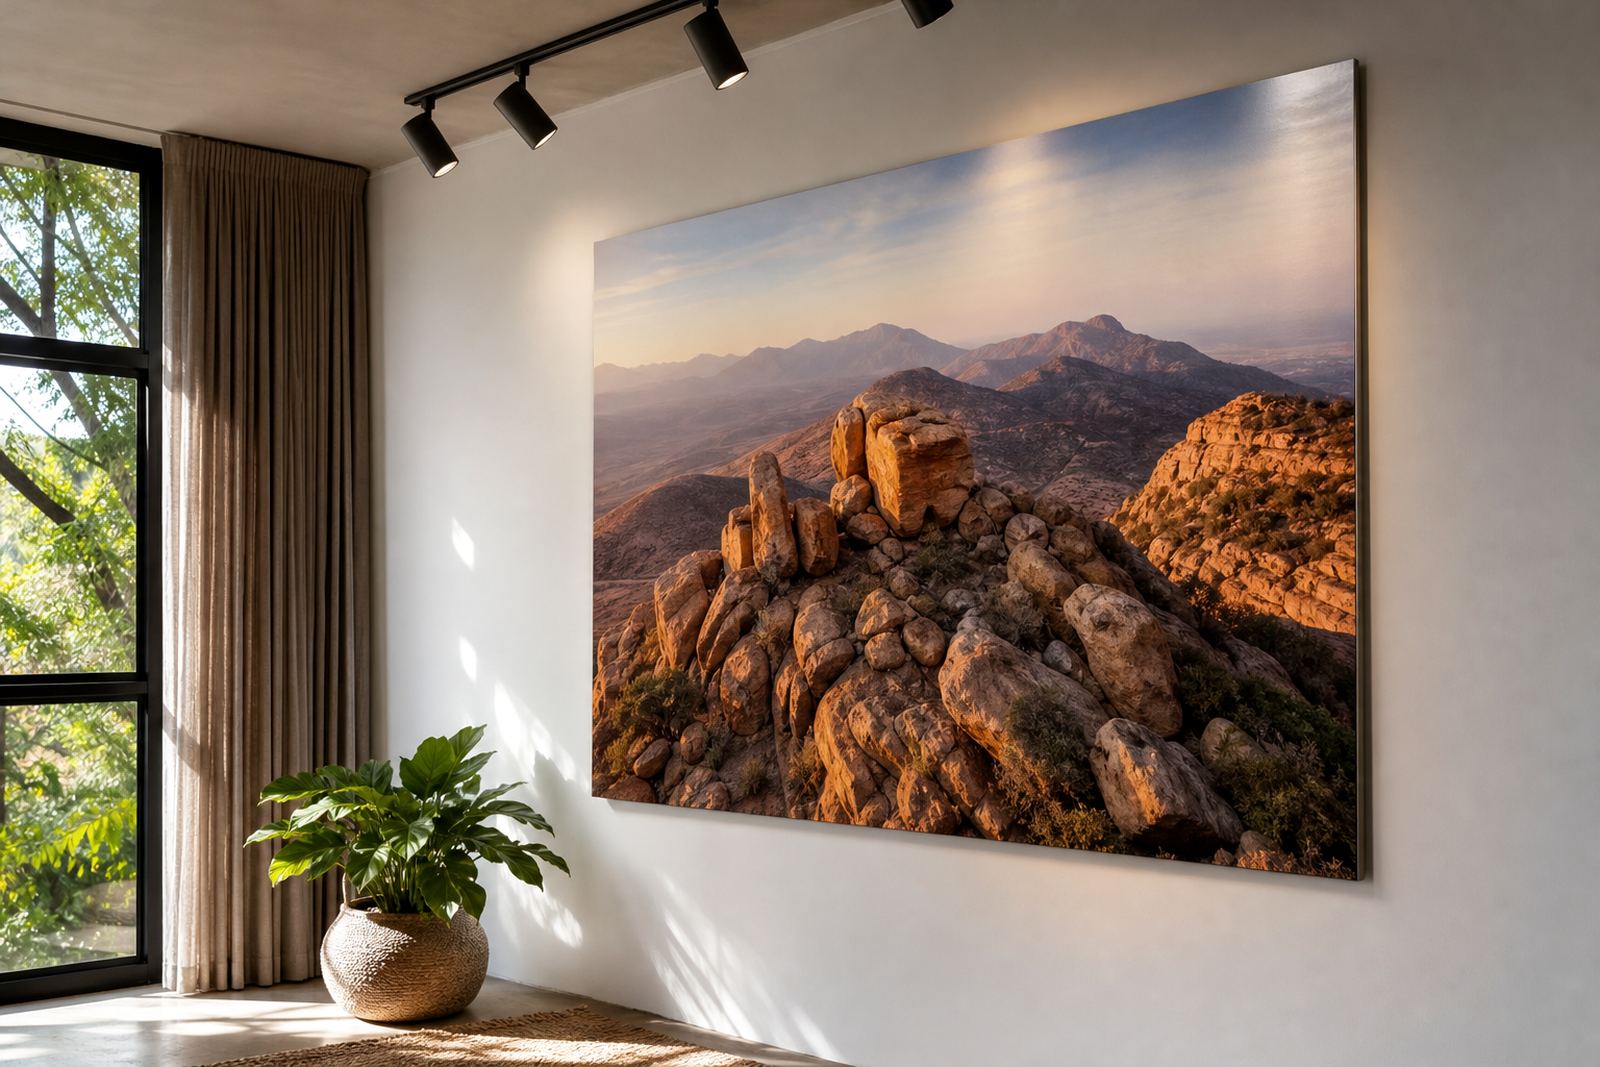
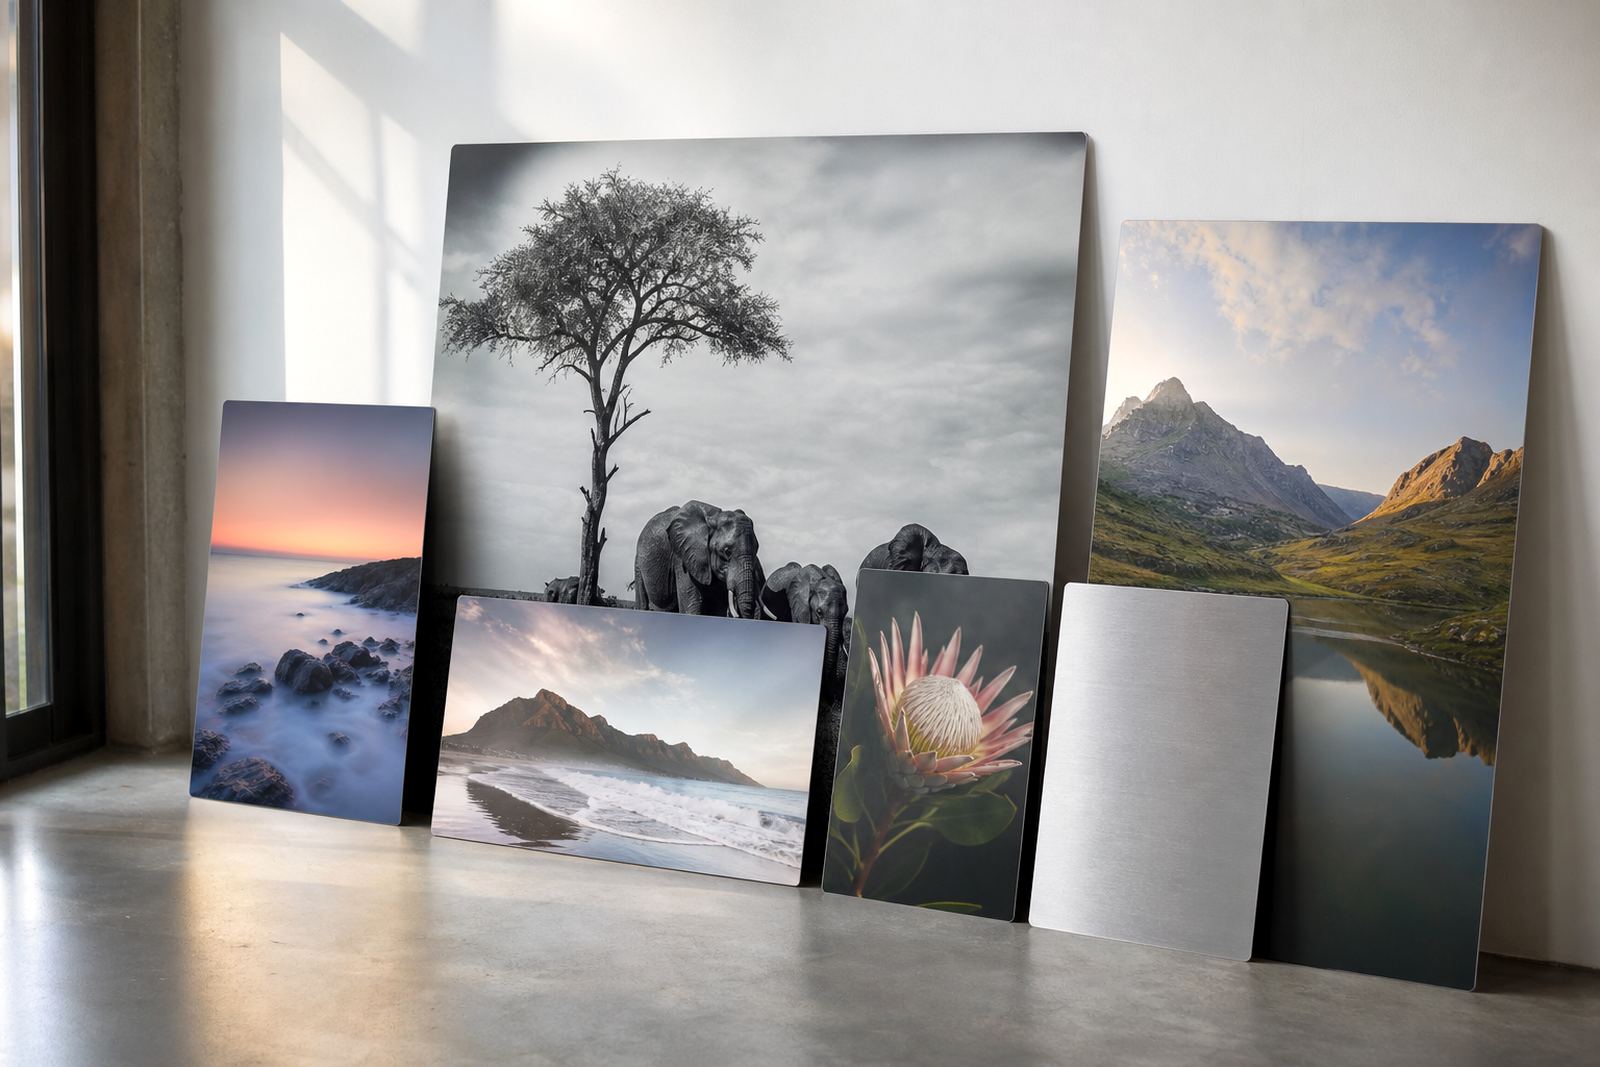
Gloss gives strong colour punch and a wet look finish, but it will reflect more of the room. It suits controlled spaces, darker walls and images that can handle a bit of shine, such as bold colour work or clean studio portraits. Matte softens reflection and helps in brighter rooms, especially where direct sun cannot be avoided. It can also make viewing easier in offices where people walk past at different angles.
White coated panels usually give the cleanest colour base and suit detailed photography, product images and bright artwork. Brushed aluminium adds a visible metallic grain, which can work well for industrial subjects, monochrome images or pieces where the metal surface is part of the appeal. If the image contains fine text or small detail, a smoother finish with strong source files usually gives cleaner results.
- Gloss: best for rich colour and controlled light.
- Matte: better where glare would be a problem.
- White: good for most full colour images and crisp detail.
- Brushed: useful when you want the metal texture to show through.
Use test panels when the room is tricky
The best print can still sit poorly if the hang height is off. Light from the ceiling, a nearby window or a glass cabinet changes how the panel reads from a doorway versus straight on. In Pretoria offices, for example, a panel placed too high can catch ceiling glare, while one hung too low can sit in shadow. Plan the centre line against the eye level of the people who will actually view it.
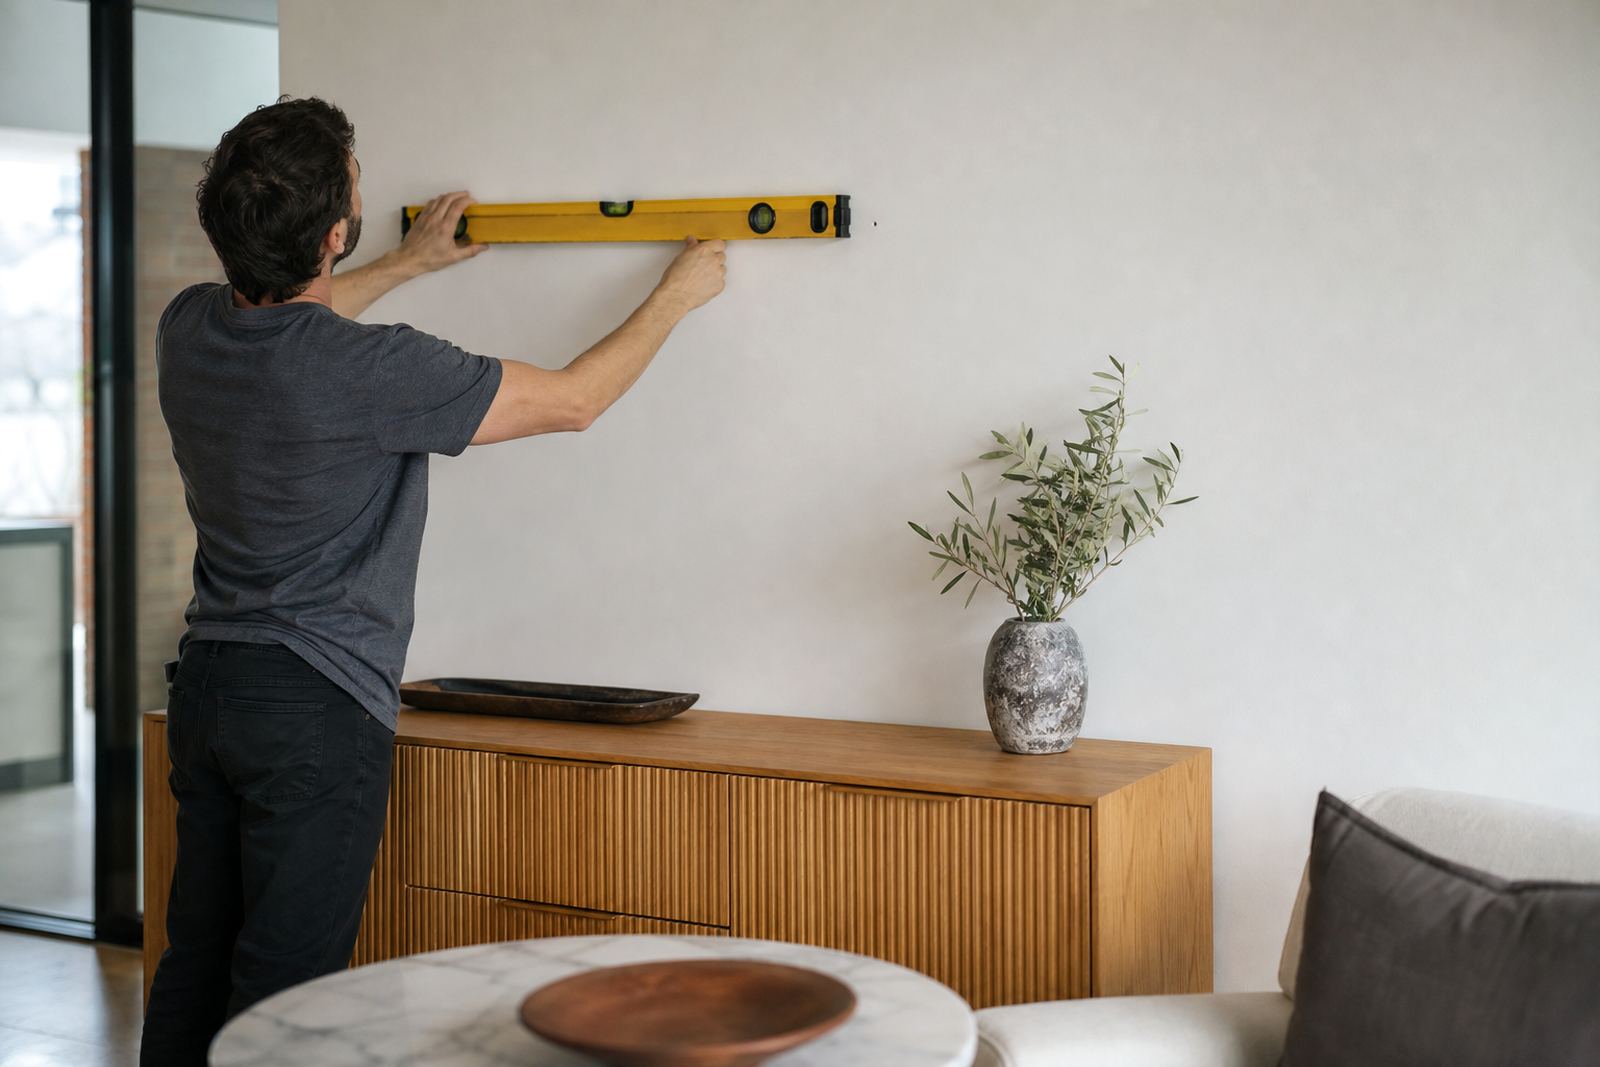
Hanging hardware should suit the panel size, the wall material and the weight of the piece. Concrete, brick and drywall each need different fixing methods. For larger panels, especially in multipanel layouts, make sure the spacing is measured properly so the composition feels even across the wall. If the space has strong afternoon sun, think about side lighting and whether a matte finish may be easier to live with.
- Confirm wall type before choosing fixings.
- Mark centre height with the main viewing position in mind.
- Check level lines for multi panel sets.
- Leave enough gap from skirting, sockets and switches.
A short room-by-room checklist before ordering
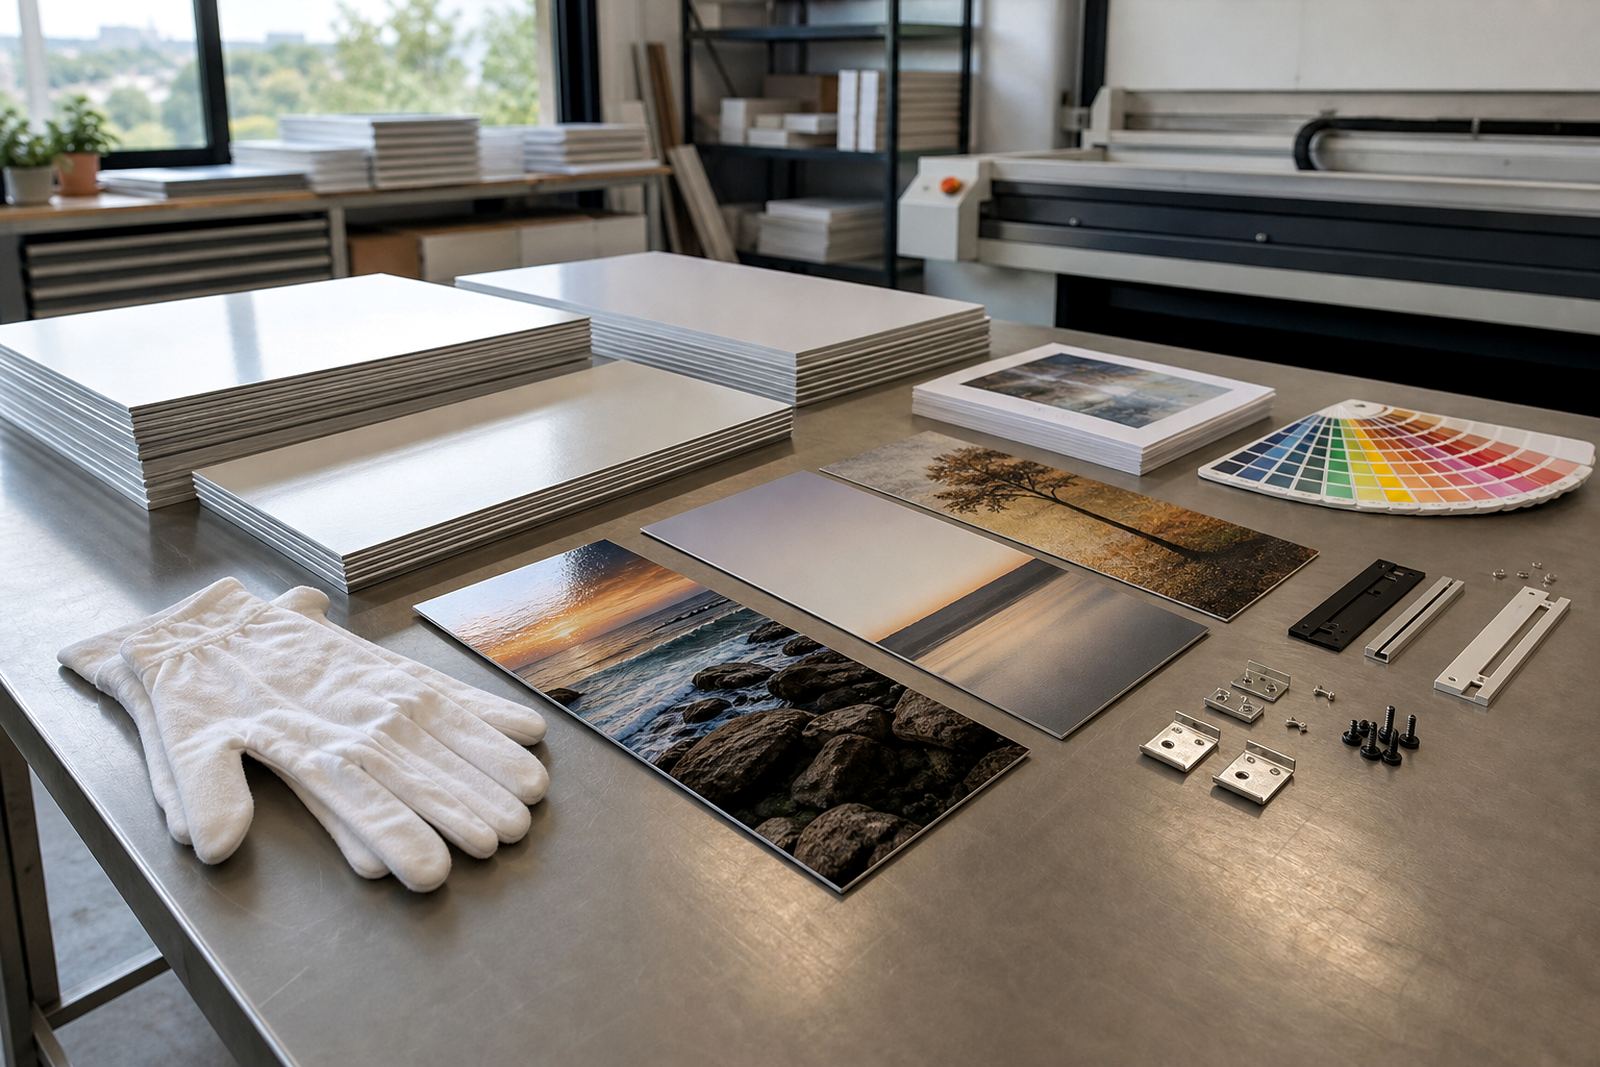
Some spaces are difficult by nature. A hotel corridor in Gqeberha, a retail space in Midrand or a coastal home with large windows may have changing light through the day. In those cases, a test panel is worth doing before the final run. A smaller test shows how colour, contrast and highlight detail behave on the chosen finish, and it helps decide whether the image needs a slight adjustment.
During colour preparation, look at skin tones, blacks and bright whites. Under warm lighting, whites may appear creamier. Under cool LEDs, some colours can feel flatter. That is normal. The job is to balance the file so it still looks natural in the room where it will hang. If the image will be used in a corporate setting, check that logos and brand colours are still read correctly at a distance.
- Review the image under daylight and artificial light.
- Check whether shadows still hold detail.
- Make sure bright areas do not wash out.
- Keep any small text large enough to read from across the room.
Keeping the panel looking right after delivery
After a panel is installed, the lighting still needs a little thought. Coastal humidity, dust from open windows and direct sun can all affect how a surface looks over time, even on coated aluminium. In home interiors and workspaces across South Africa, the practical choice is often the one that suits the actual conditions, not just the brightest sample on the table.
Use a soft dry cloth for cleaning and avoid harsh chemicals. If the panel sits near a window, rotate the room layout if possible so the main viewing angle does not catch constant glare. For offices, galleries and reception areas, keep a note of the finish used and the hanging position, so any future reprint matches the original closely. That helps when the panel needs to be replaced or extended later on.
- Dust gently, do not scrub the printed surface.
- Keep strong sunlight off the panel where possible.
- Record the finish and size for future matching.
- Store the original image file safely for reorders.