
Walls that have to sell before the sales team speaks
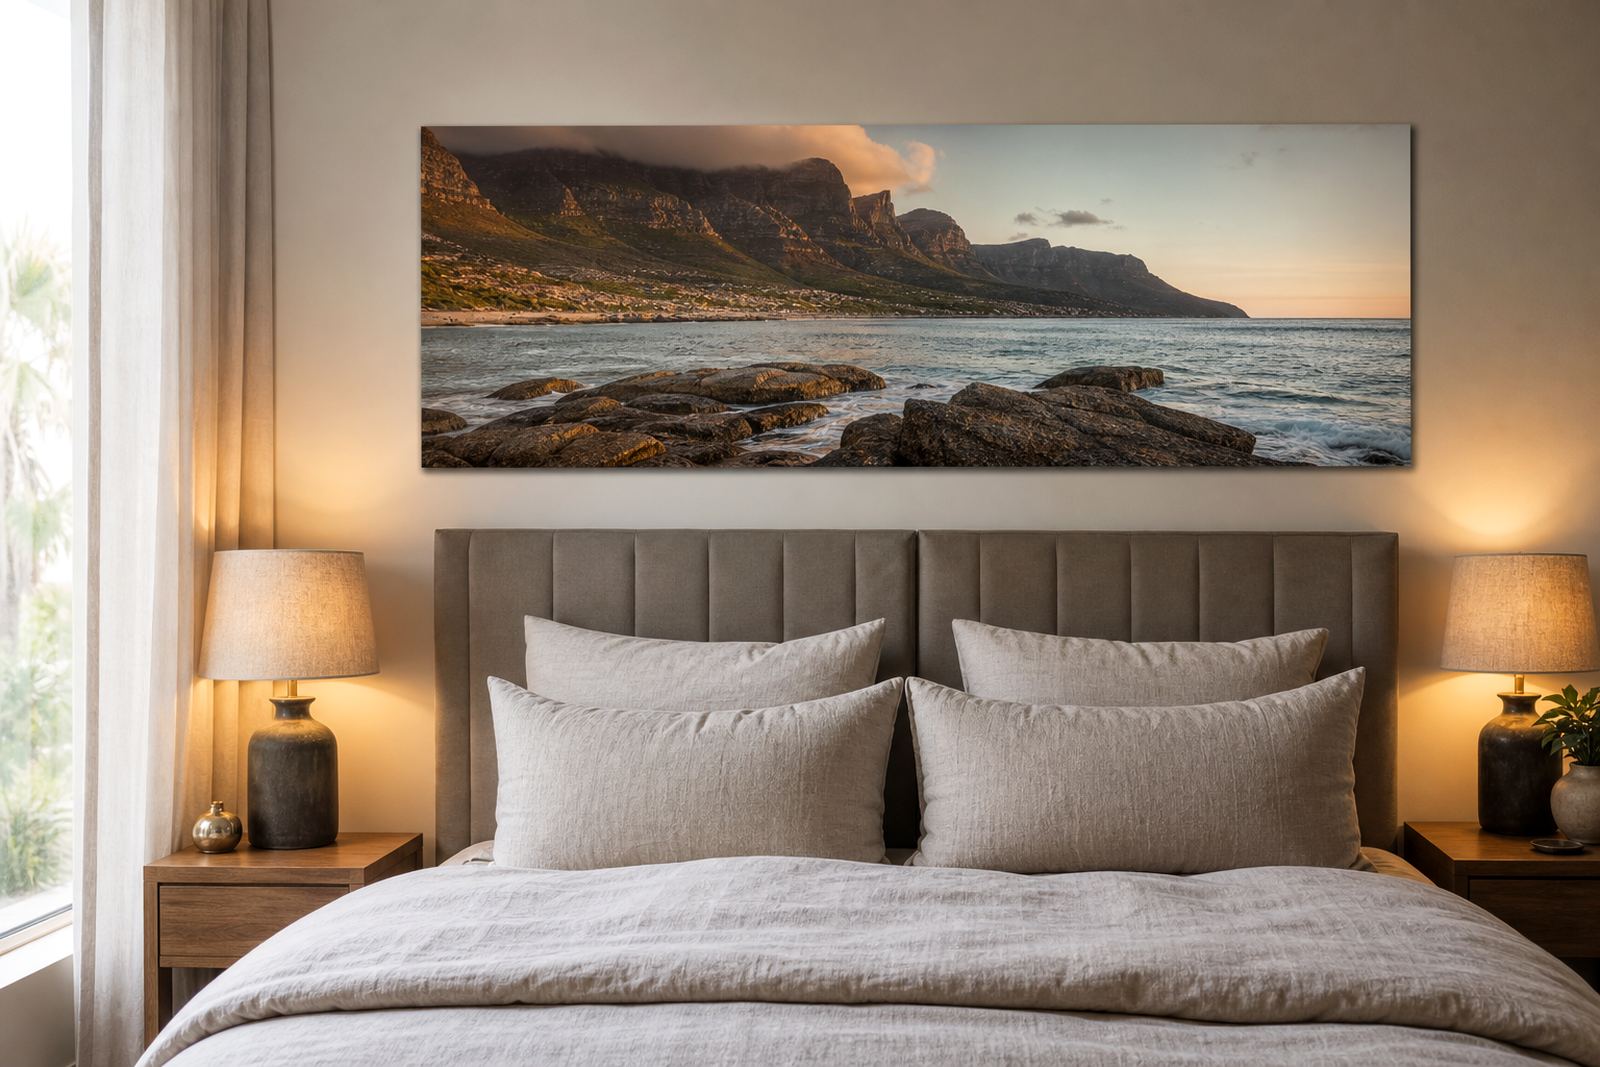
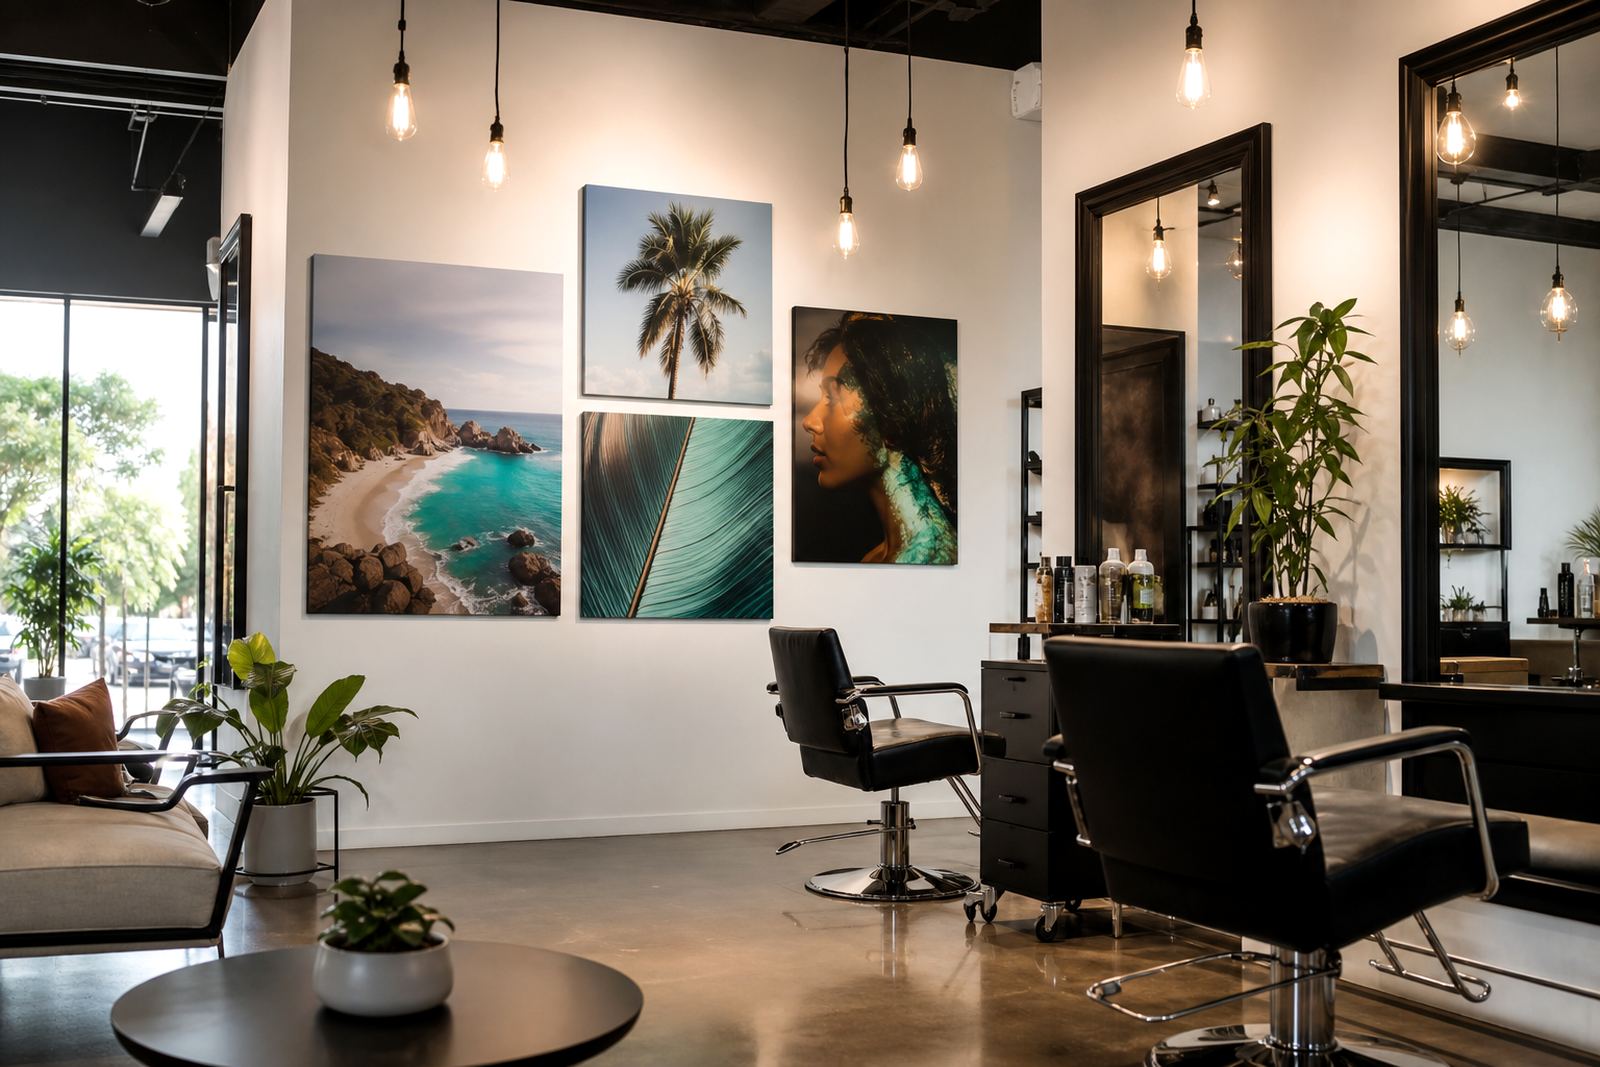
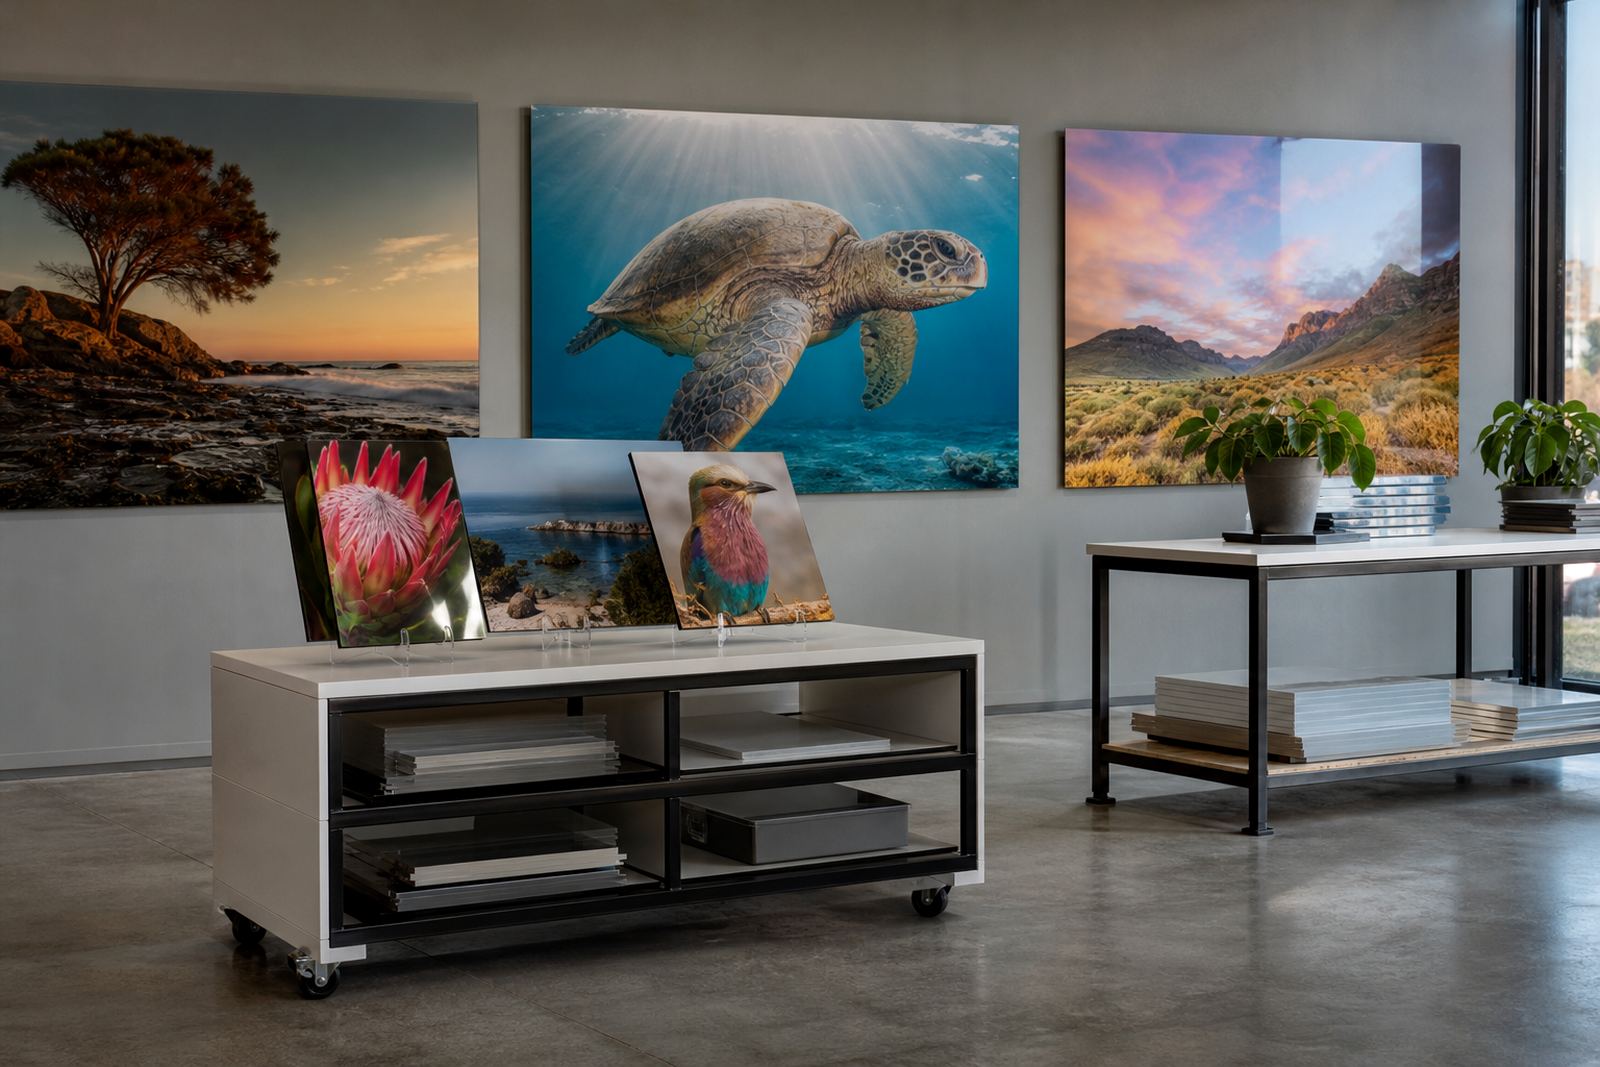
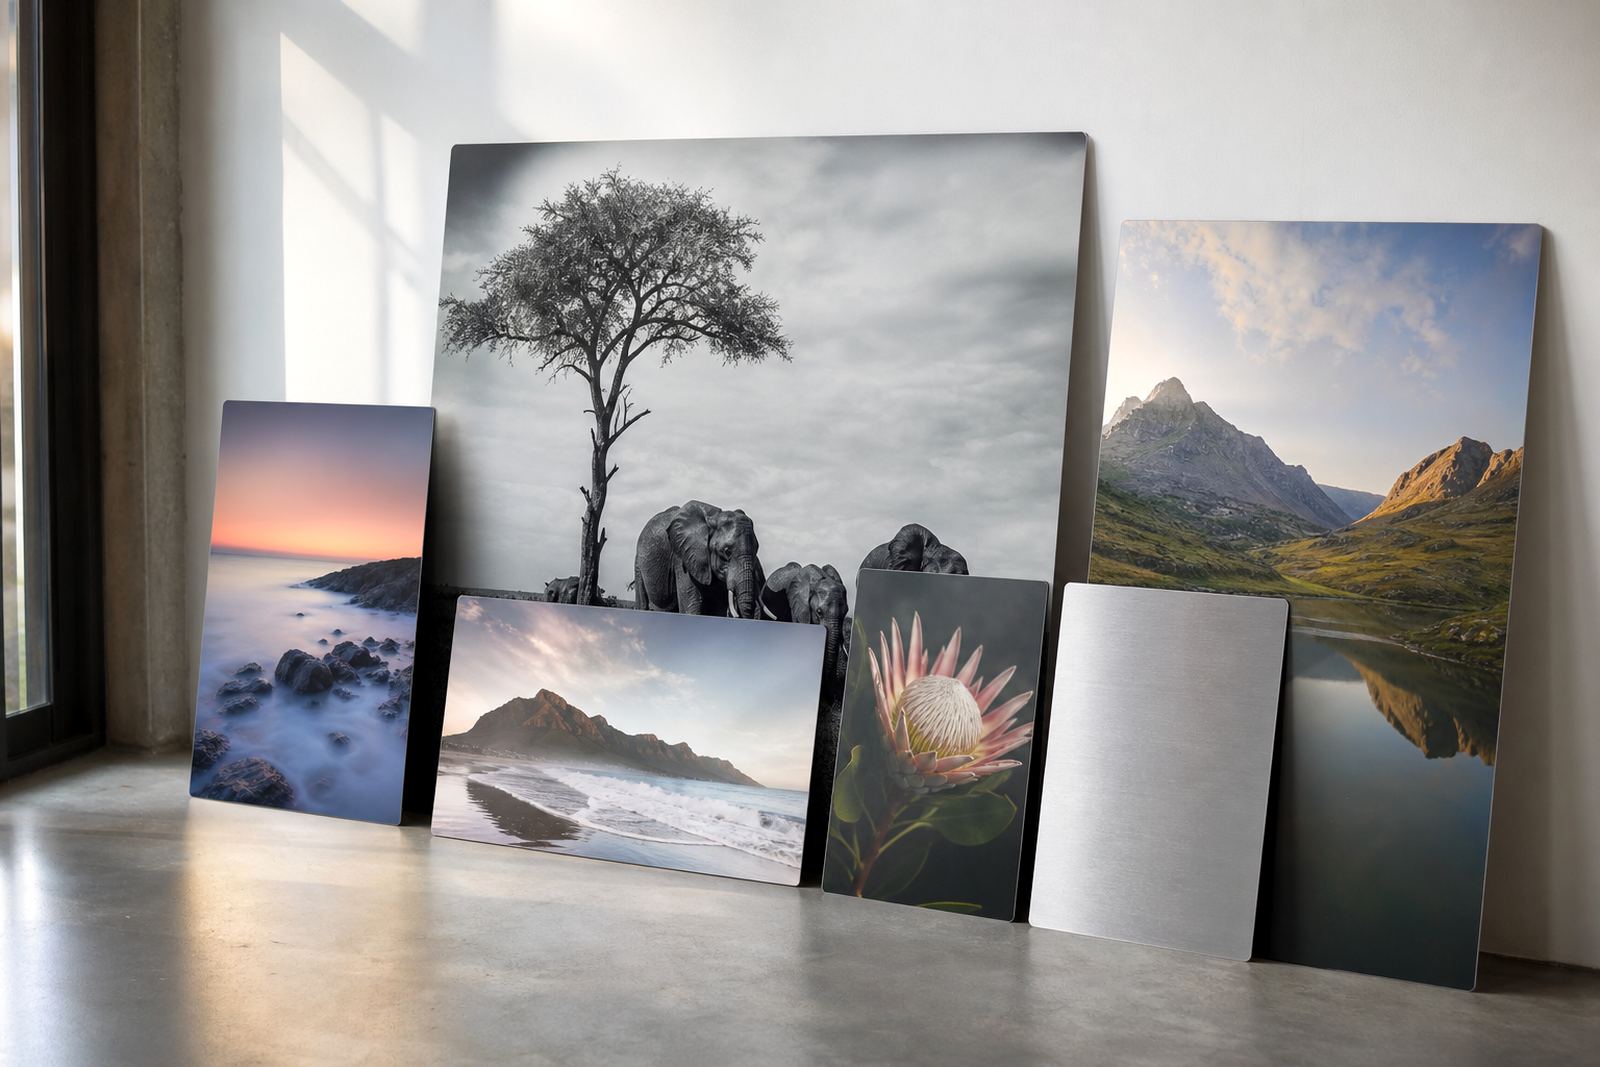
In a showroom, the walls do more than fill empty space. They need to support product mood imagery, guide the eye, and make the displayed range feel considered from the moment a client walks in. Dye sublimation onto coated aluminium panels works well here because the print becomes part of the panel surface, with colour that reads clearly under spotlights, daylight and mixed indoor lighting.
For furniture showrooms, tile displays, bathroom ranges, vehicle accessories, kitchens and corporate demo areas, the finish needs to look clean from a few metres away and still hold detail up close. In Johannesburg and Pretoria this often means bright light and glass partitions, while Cape Town and Durban showrooms also deal with coastal humidity and salt in the air. Aluminium handles those conditions better than many paper based display options, provided the artwork is set up properly.
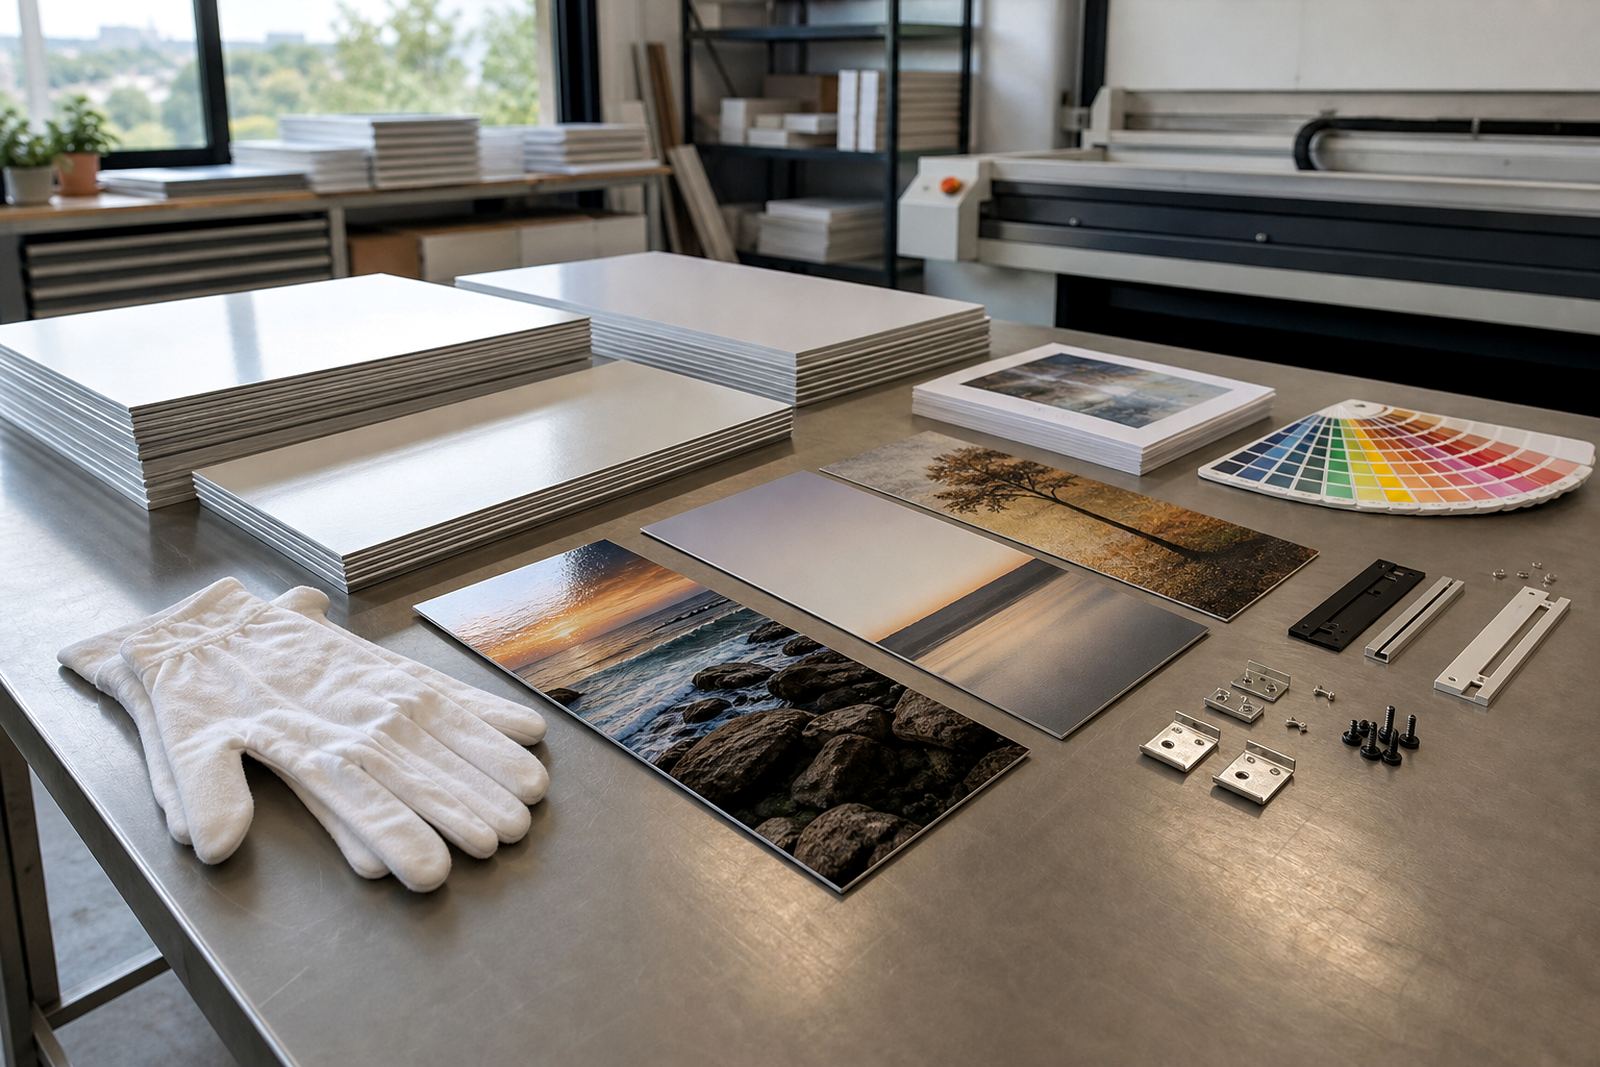
What usually goes on the order list
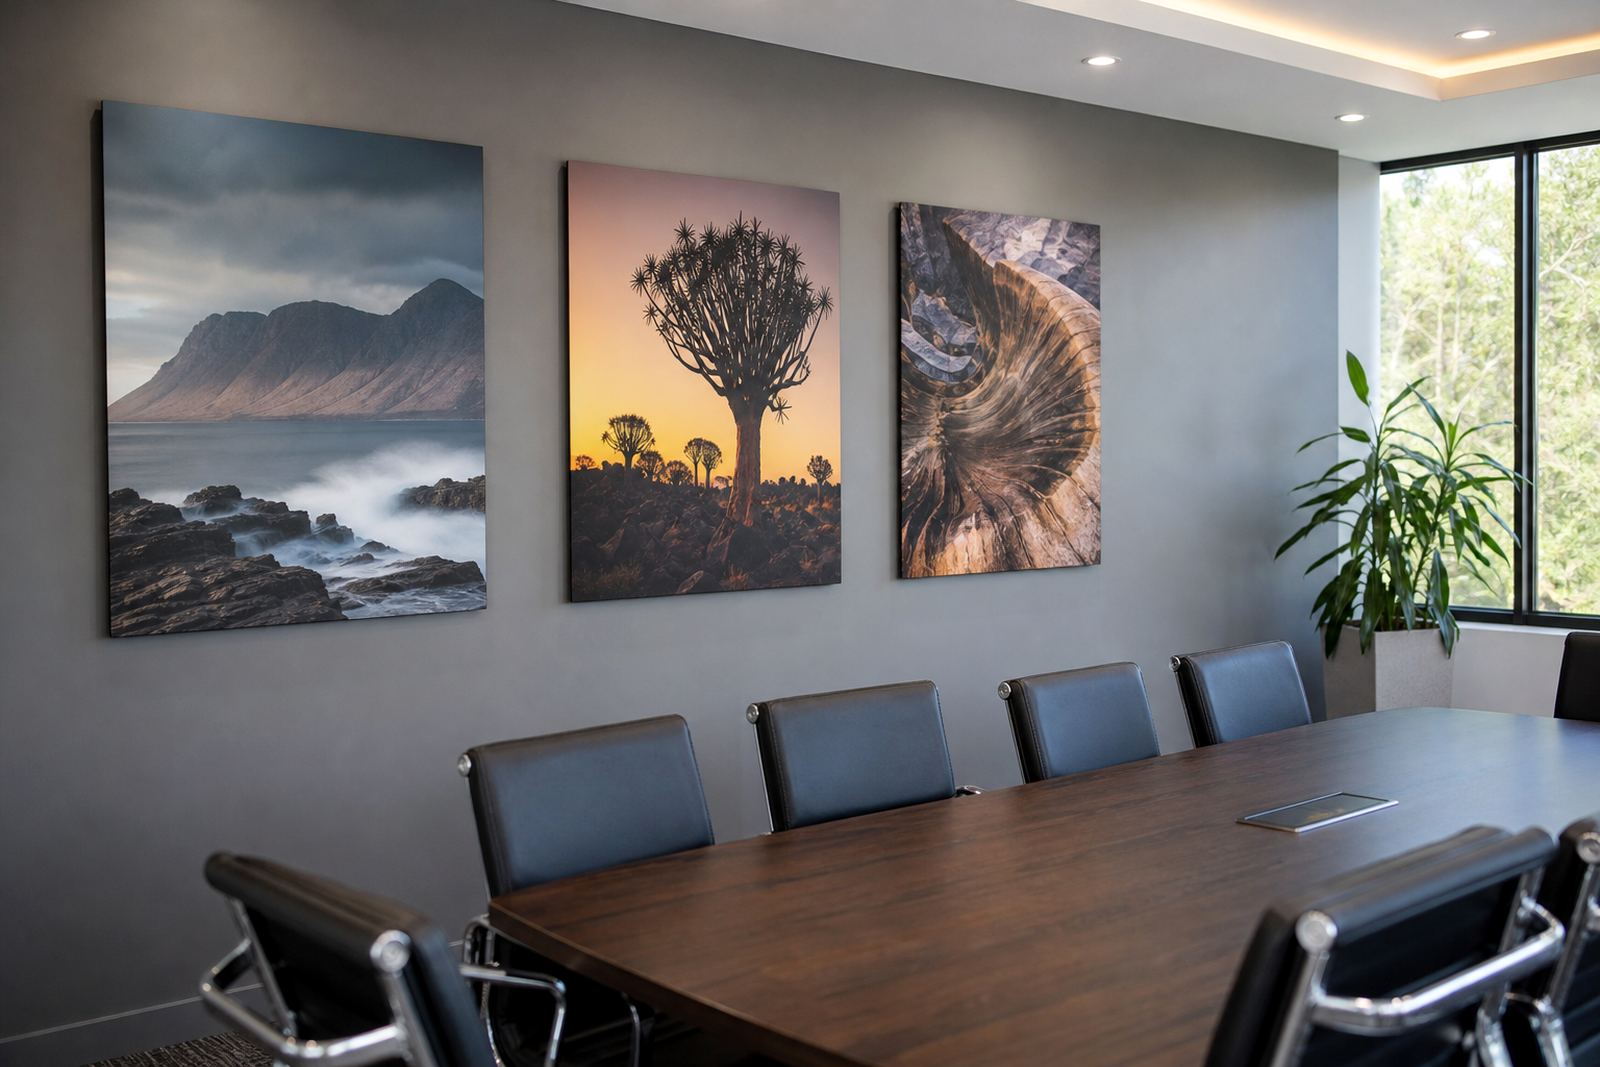
Most showroom projects use a practical mix of single panels and grouped layouts. A reception wall might take one hero image, while a longer sales floor wall uses a sequence of three to six panels that repeat a colour story or product range. White panels suit crisp, high contrast images. Brushed aluminium works better where a metallic surface finish should show through. Gloss panels add punch, while matte reduces glare in areas with strong overhead fittings.
- Coated aluminium photo panels for direct dye sublimation
- White, gloss, matte and brushed finish choices
- Custom sizing for narrow columns, feature walls and long runs
- Hanging hardware selected for the wall type and panel weight
- Optional test panels for colour and finish checks before a full run
The right format depends on the wall, the distance viewers stand from it, and whether the space is used for product launches, sales meetings or everyday walk-in traffic.
Planning the wall so it reads well from the floor
Showroom walls work best when the image scale matches the room. A small panel on a long wall can look lost, while oversized artwork in a tight space can crowd the display. We normally plan height, width and sightline together so the panel sits naturally above counters, shelving or product stands. If the wall includes windows, glass, mirrors or glossy tiles, the finish choice matters even more because reflections can interfere with the image.
File quality is another big part of the planning. For sharp results, source images should be high enough in resolution for the final panel size, with clean crops and enough room for edge trimming if needed. For multi panel layouts, it helps to keep key faces, logos and product details away from joins. That little bit of planning saves awkward reprints later, and it keeps the wall looking intentional rather than patched together.
- Measure the wall twice, including skirting, trims and power points
- Allow clear space around product displays so the image is not cut off
- Use landscape panels for broad feature walls and portrait pieces for narrower zones
- Check viewing distance before confirming the finish
- Keep image files in the best available format to avoid soft edges and banding
Mistakes that show up the moment the lights switch on
The most common showroom mistake is choosing artwork that is too busy. Lots of product detail, fine text and multiple focal points can compete with the actual merchandise on the floor. Another frequent problem is low resolution artwork, especially when a panel is sized up for a large wall. On a backlit screen that may pass, but on aluminium it will show if the file is stretched or over sharpened.
Gloss can also be overused. It looks striking in some rooms, yet in spaces with strong downlights or large windows it can create glare that makes the panel hard to read. Matte is often a safer choice where clients walk the floor for longer periods. Another issue is poor mounting. A panel that is not level, or sits too far off the wall, can distract from the rest of the presentation. It sounds small, but buyers notice it fast.
We also see showrooms trying to mix too many finishes in one space. A brushed panel next to a gloss panel can work, but only when the imagery and wall plan support it. Too many surface types in one line can feel uneven and make the room harder to read.
Typical budget bands for showroom walls
Budgets for showroom wall panels depend on size, finish, quantity and mounting requirements. A small single panel for a reception point will sit in a different range to a full wall set across a sales floor. As a working guide, smaller custom pieces often start in the lower hundreds of Rand, while medium feature panels and grouped layouts move into the low thousands. Larger wall runs, bespoke sizing and multiple finishes will sit higher again.
For businesses planning several locations across Randburg, Sandton, Midrand, Pretoria, Cape Town, Durban or Gqeberha, it often makes sense to standardise sizes and layouts first. That can reduce rework and help keep a consistent look across branches. Reprint matching is useful when one panel is damaged or a showroom grows and needs another piece to match the original batch.
Clear planning also helps with municipal and building rules in some centres, especially where there are fire rated walls, fitted joinery or landlord restrictions on drilling. The mounting method should suit the wall and the site, not just the artwork.
How the work moves from file to fitted wall
The process usually starts with a file check and resolution review, then colour preparation, crop planning and finish selection. If the project needs it, a test panel can be produced before the full run. Once approved, the panels are printed, trimmed, mounted and packed for delivery or collection. In Randburg and Johannesburg we handle local orders and deliveries, while projects heading to Pretoria, Cape Town, Durban and Gqeberha are packed with extra care for transit and handling.
Showrooms often operate on tight opening hours, so the fitting plan has to fit around stock movement and customer visits. Good packing matters too, because a corner chip or scratched face will stand out under showroom lighting. For busy retail spaces, it is worth specifying where each panel will hang, which fixings are allowed, and whether future swaps may be needed. That avoids last-minute site changes and keeps the install day calm.
Customers sending artwork must own the images or have the rights to use them. That applies to campaign visuals, product photography and any supplied artwork with logos, people or licensed content.