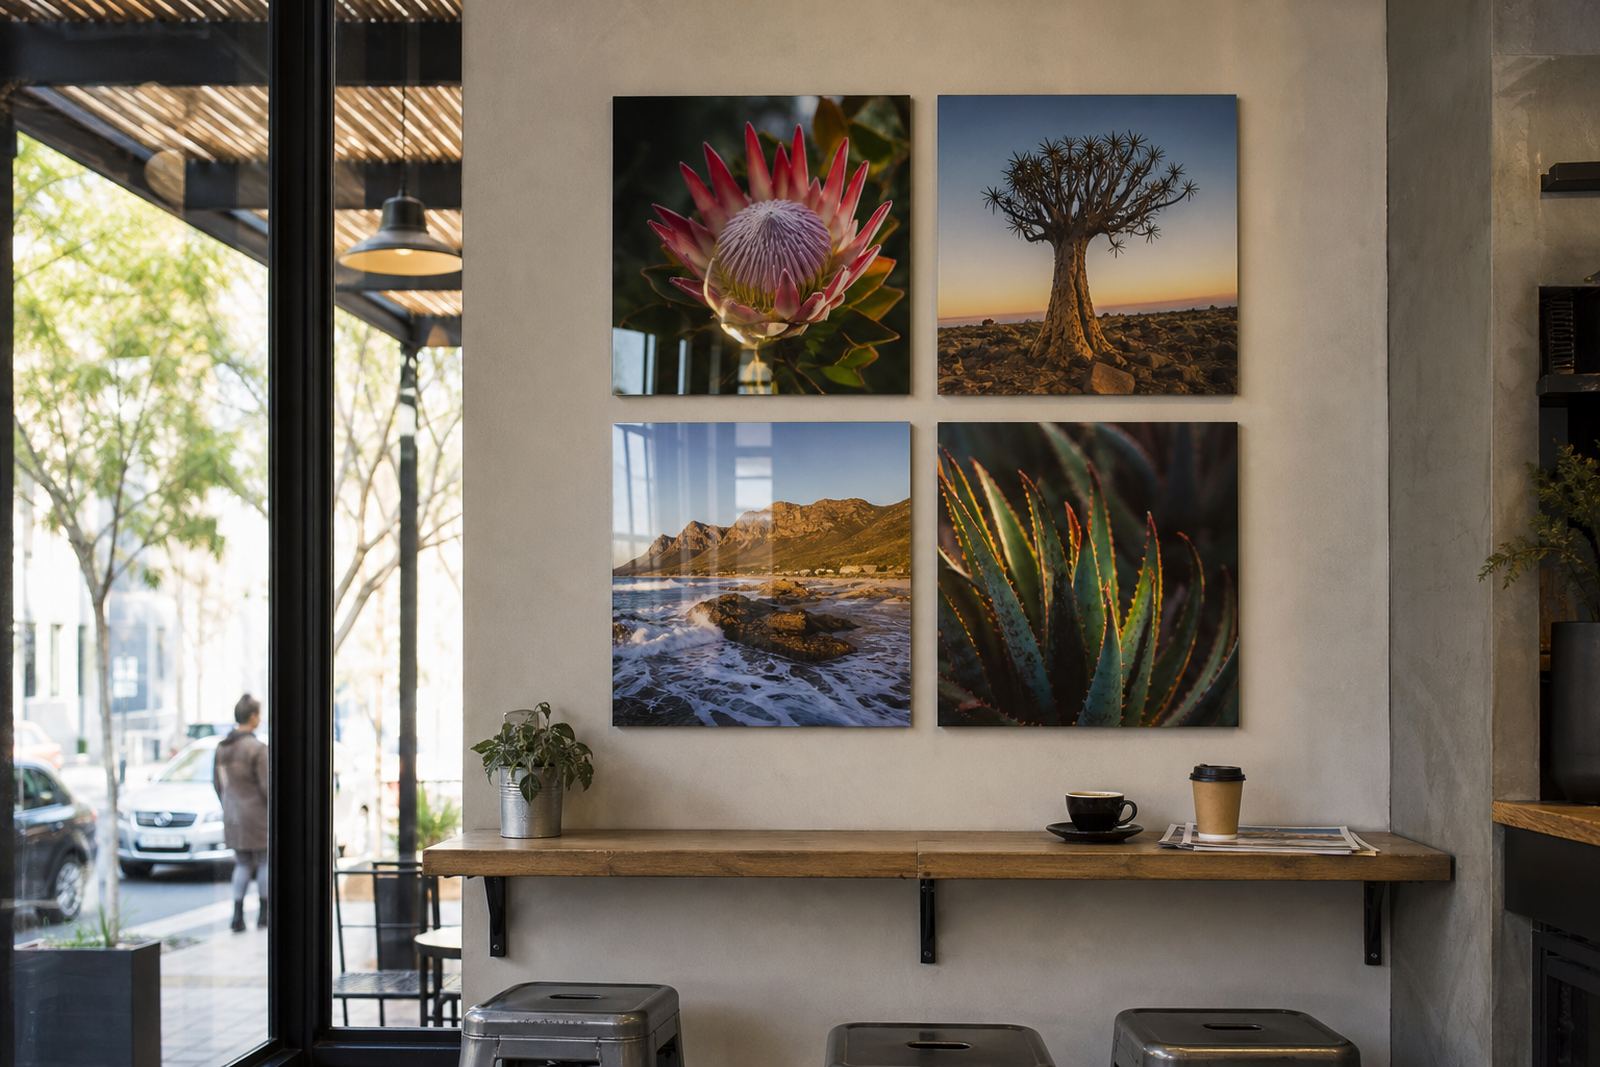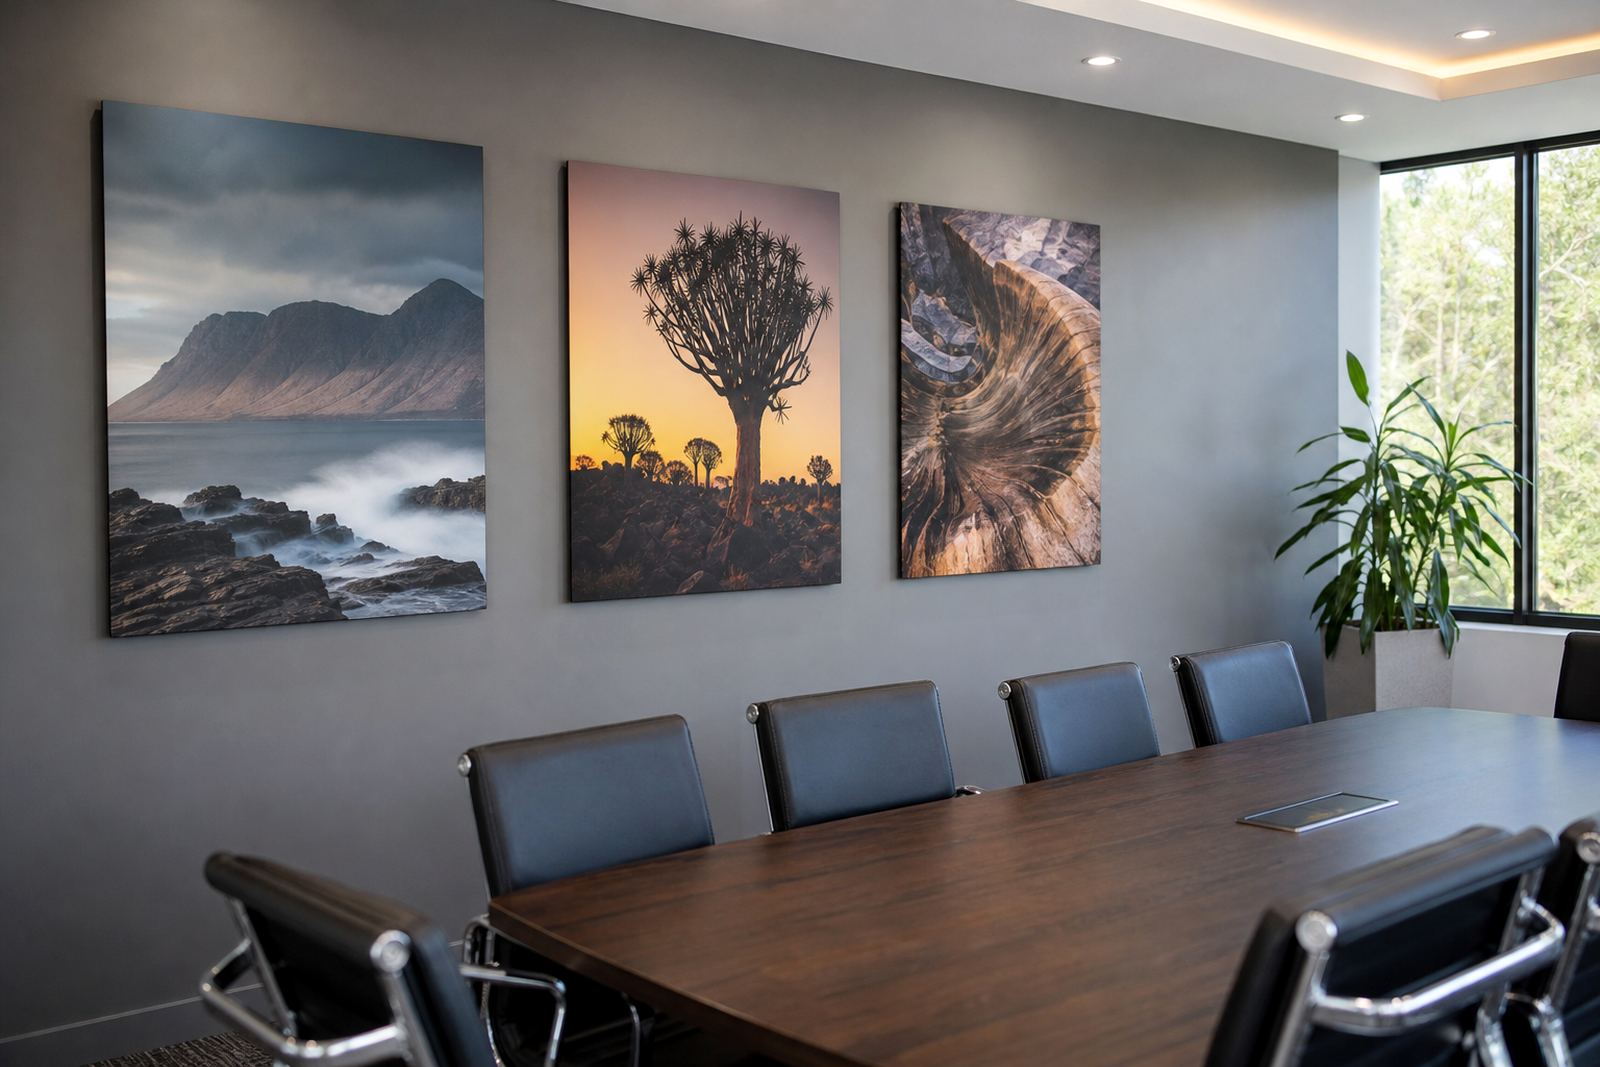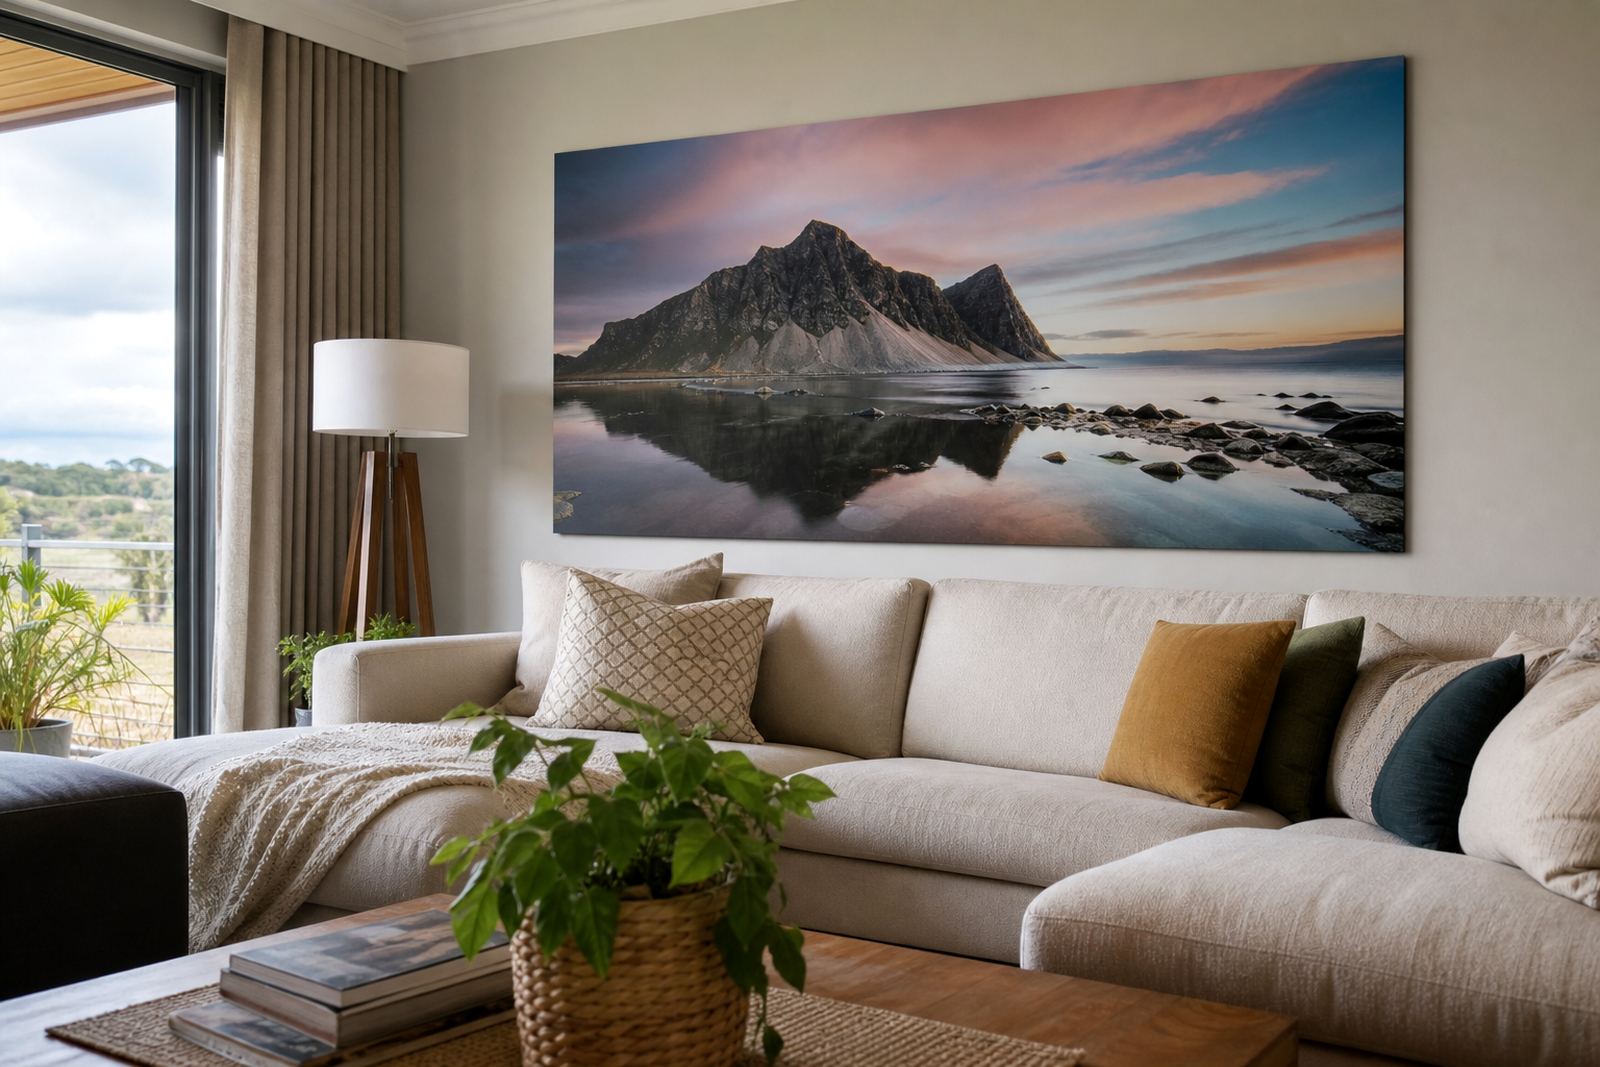

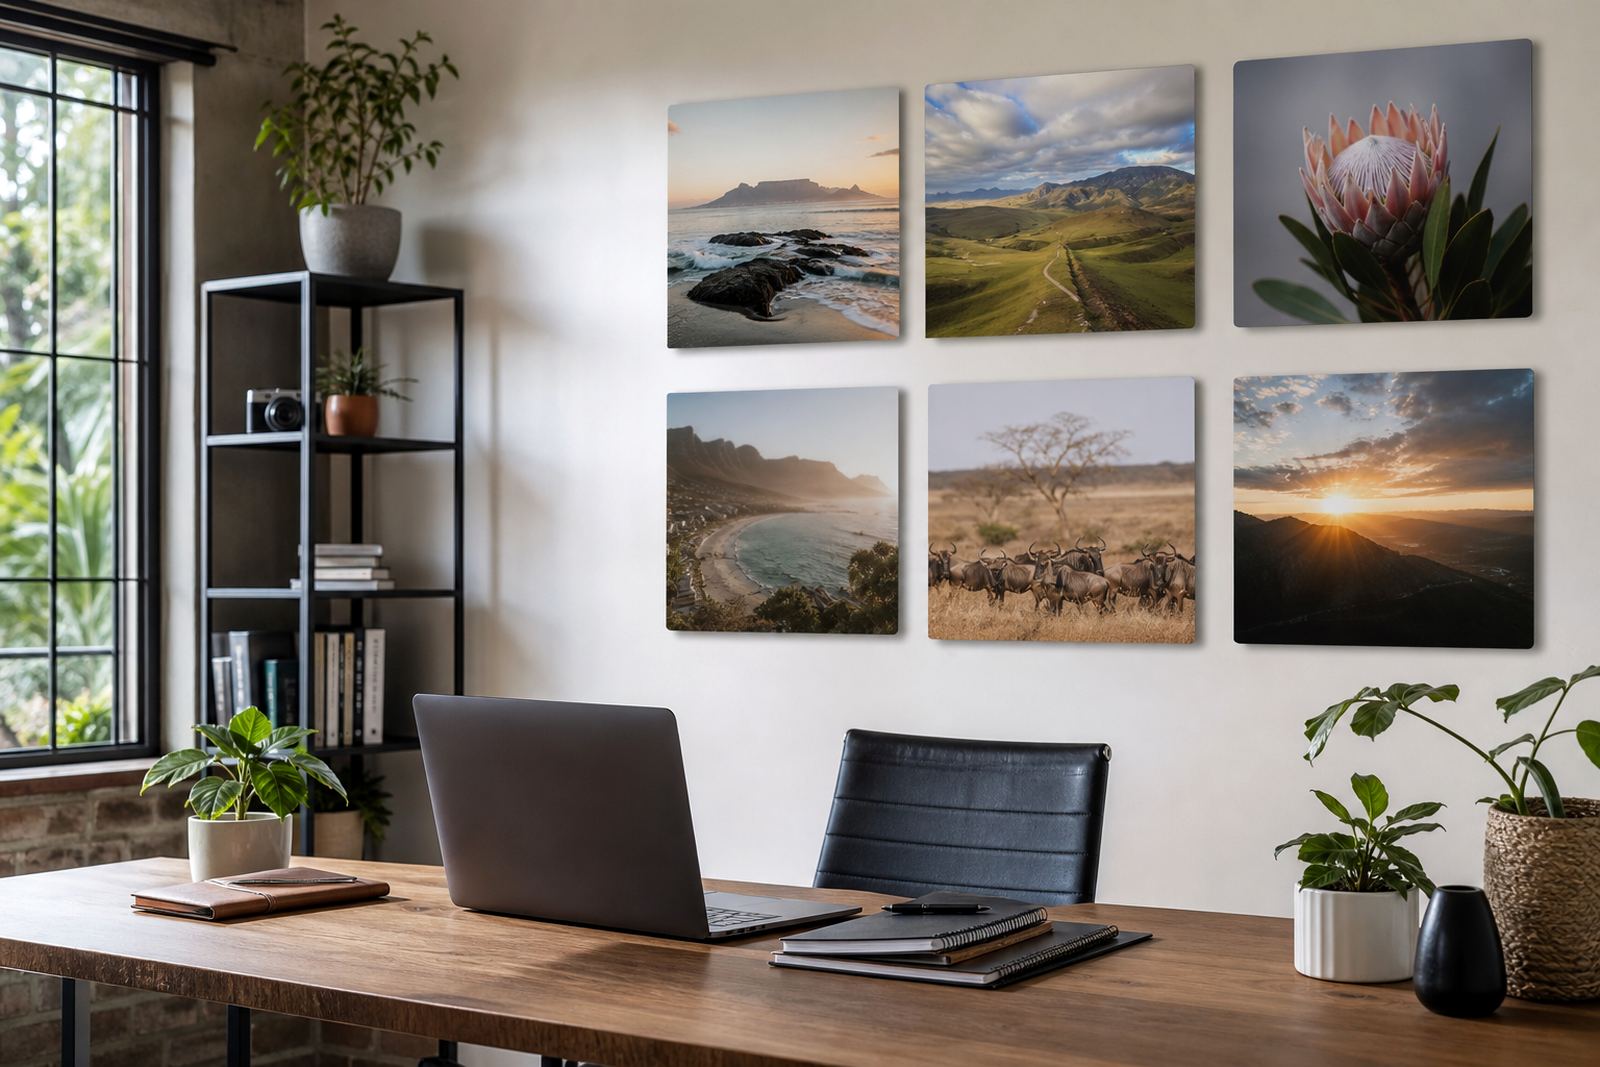
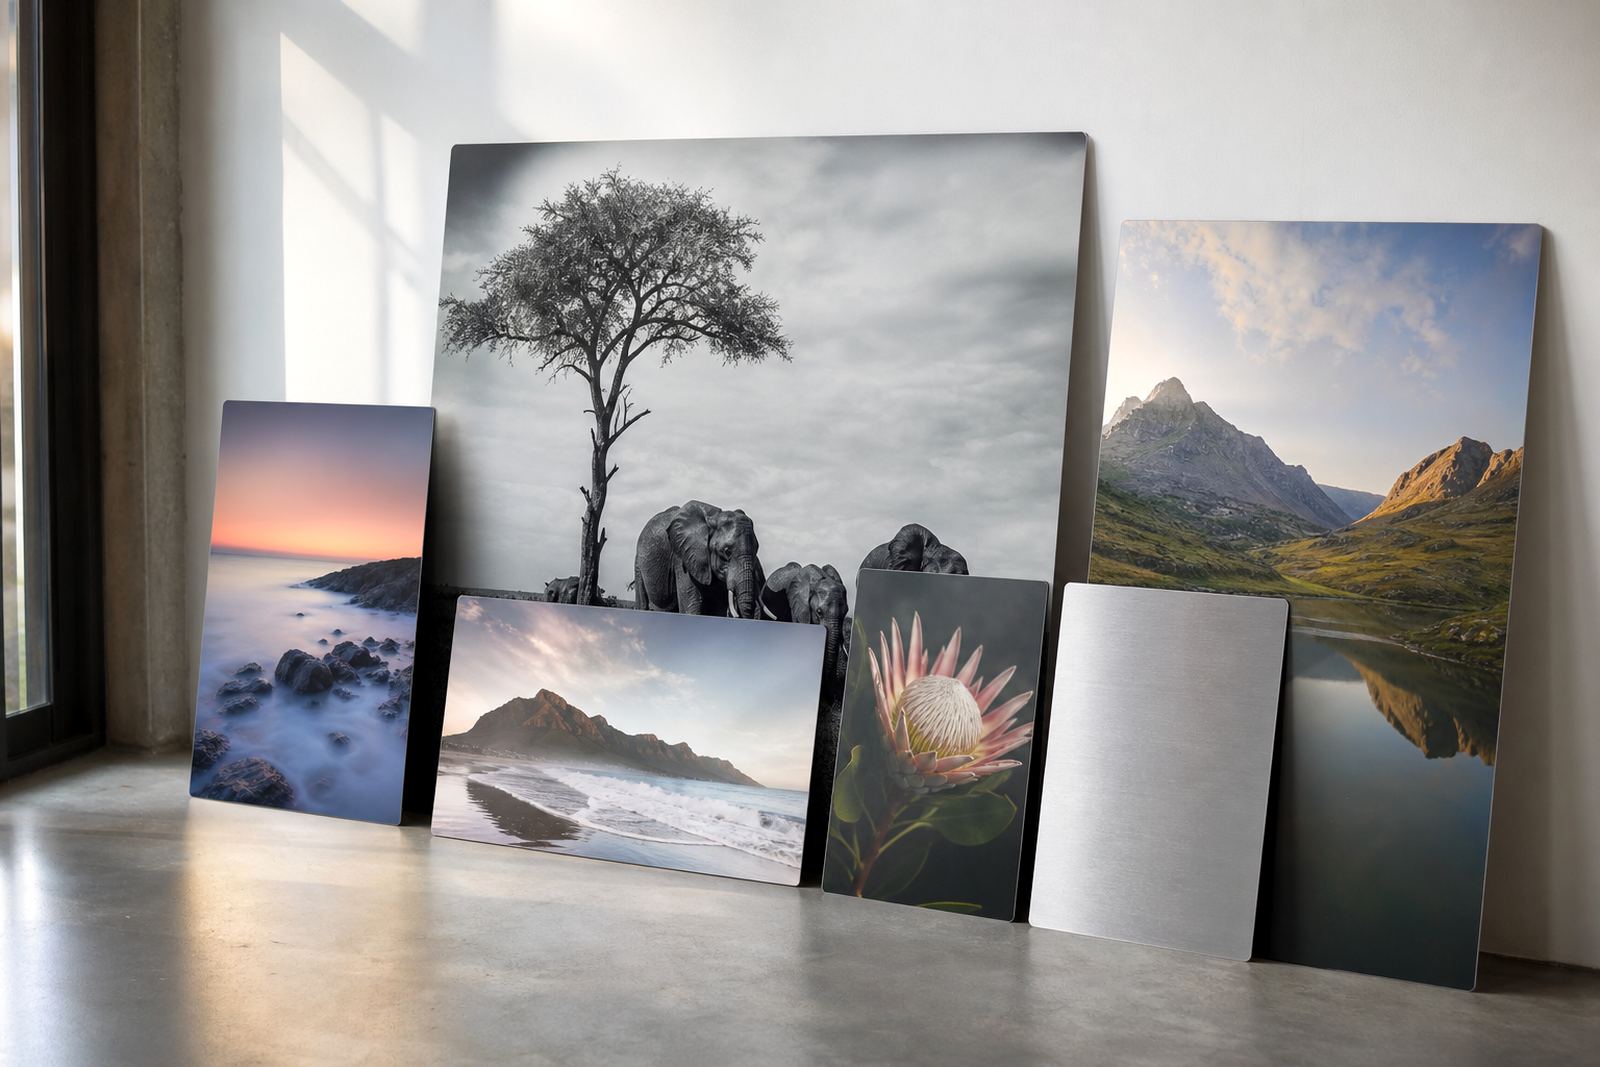
A work wall that stays sharp through the week
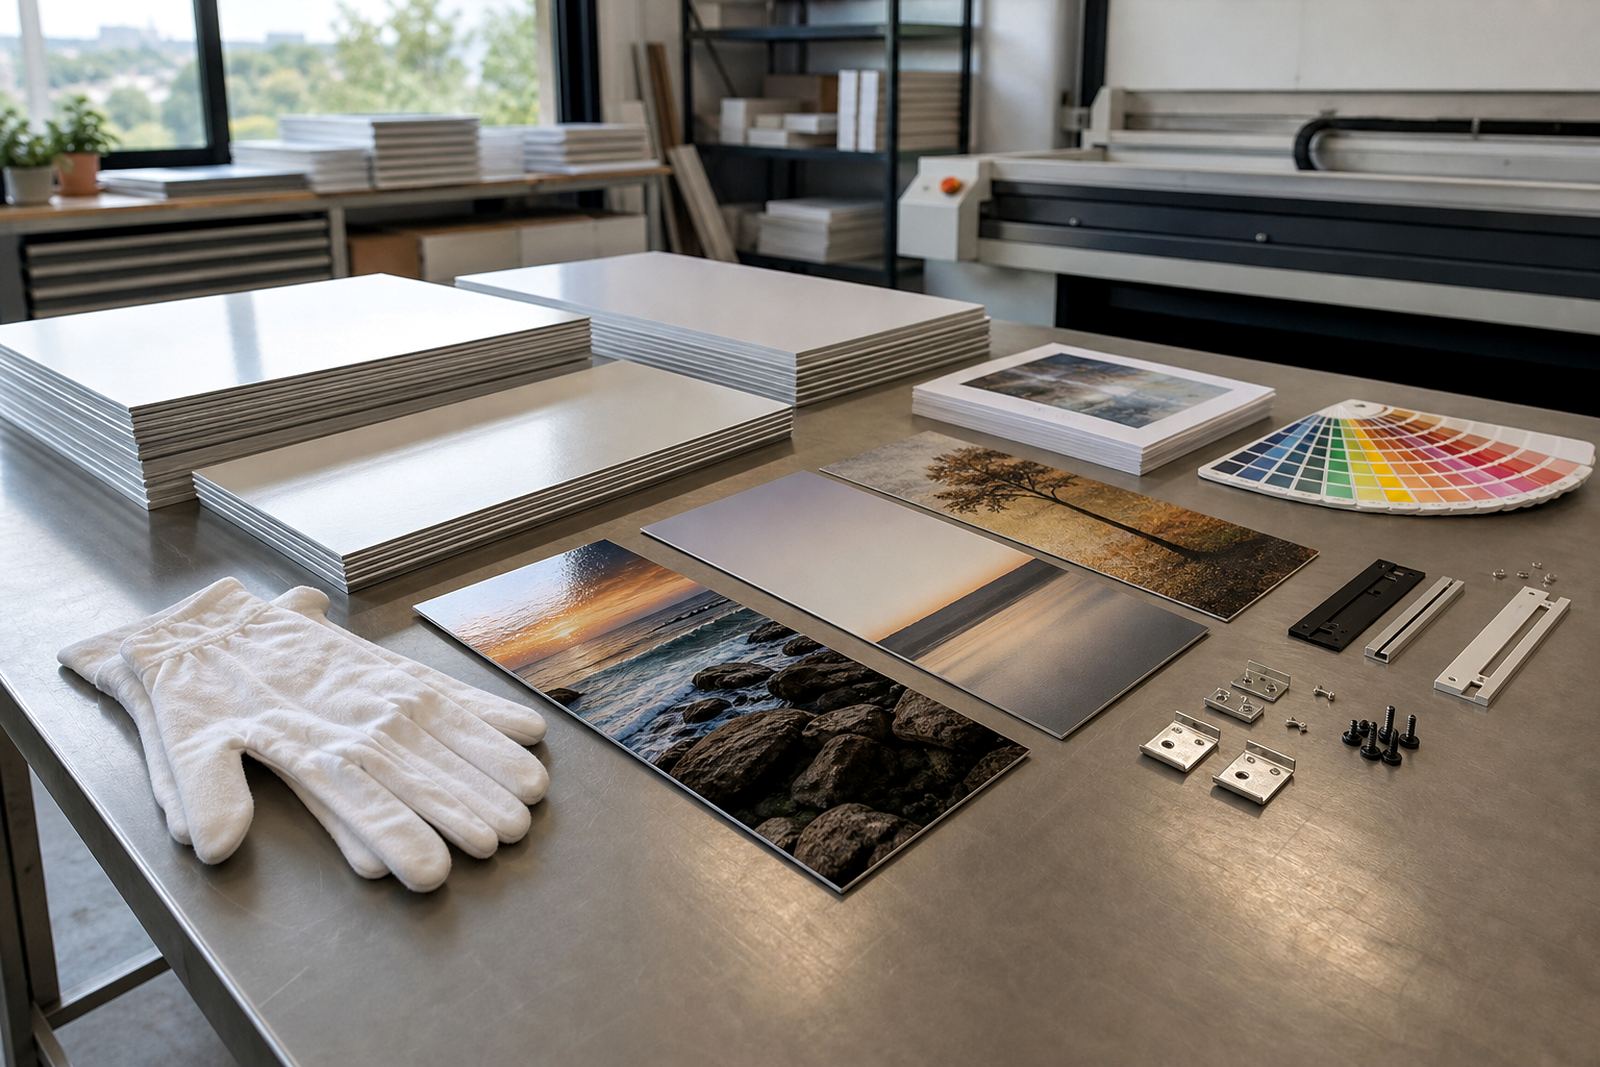
Home offices take a beating from long hours, sunlight, dust, and the odd cup of coffee on the move. Dye sublimation onto coated aluminium gives you a hard wearing surface that handles daily use better than paper prints or stretched canvas, especially in rooms with strong afternoon light or coastal humidity in Durban and Gqeberha. The image is infused into the coated panel under heat and pressure, so colour sits in the surface rather than on top of it.
That makes these panels a strong fit for accountants, designers, consultants, architects, tutors and small business owners working from home. You get a neat finish that reads clearly on camera during meetings, and it still looks tidy when clients visit in person.
- Gloss finish for bold colour and deeper contrast
- Matte finish for reduced reflection near windows or screens
- White panels for full colour artwork and bright photographic work
- Brushed aluminium for a more industrial look with selective metallic detail
The kind of files that give a clean result
Most home office panels start with a portrait, product image, brand visual, motivational artwork or a calm landscape tied to the work you do. For best results, the source file should be sharp enough for the final panel size, because enlarging a soft image can show blockiness around fine lines and text. We review resolution, crop, and composition before production so the finished panel does not lose faces, logos or important detail at the edges.
If the panel will sit behind a chair or near shelving, allow for part of the image to be hidden by furniture. It is also worth checking how the panel will look from 1 metre away and from the far end of the room. In smaller studies, a file that looks fine on a laptop can feel too busy once it is on a 900 mm panel above a workstation, so scale matters more than people think.
- Keep logos and text well inside the trim area
- Use the highest resolution file available, not a screenshot
- Avoid small web images for large wall panels
- Ask for a test panel when the colour balance is critical
Planning the layout around monitors, shelves and sunlight
Home office walls usually carry more than one job. The panel may need to sit above a monitor, between shelves, or beside a whiteboard and printer. That means the layout should be planned around clear sight lines and practical access, not only the art itself. A single centre panel can work well in compact rooms, while a two or three panel arrangement suits longer walls in a converted spare room or studio corner.
We help with custom sizing, finish selection and multi panel layouts so the image feels balanced against the room. In homes with strong direct sun, matte or brushed finishes reduce glare. In tighter work areas, a lighter image on a white panel can stop the room feeling cramped. If you need to match an existing chair rail, shelf line or wall socket placement, the measurements should be taken carefully first, otherwise the mount points end up awkward and that is a pain to correct later.
- Measure wall width, furniture height and viewing distance
- Leave breathing space around switches, plugs and cables
- Choose one hero image rather than crowding the wall
- Check whether the panel should sit landscape or portrait
Hardware that suits a home office wall
Hanging hardware should match the wall type and the weight of the panel. A lightweight panel on plasterboard may need different fixings to one mounted on brick or concrete. For many home offices, a neat floating look works well because it keeps the panel slightly off the wall and gives a cleaner shadow line. Other clients prefer flush mounting where the panel sits close and stable, especially in narrow rooms where anything protruding becomes a bump hazard.
We supply hanging options generically according to the format requested, and can advise on placement so the panel sits level above a work surface. If the wall is subject to vibration from traffic, doors or regular chair movement, secure mounting matters. It is also worth considering where cables run behind the wall. A panel placed too close to a power point can make later changes awkward, so the mounting position should leave enough room to work around it.
For businesses working from home in mixed-use premises, the finish and hanging method can also help keep the space looking professional during client visits, without feeling overdone. A clean mount with tidy spacing does more than a heavy frame ever will.
Budget bands for a focused work room
Home office panel pricing depends on size, finish, number of panels, and the amount of file preparation required. Small single panels for a study wall usually sit in a lower budget band, while larger custom pieces and multi panel sets move higher because they use more material and handling time. Custom sizing, colour preparation and special mounting can also shift the total, so it helps to budget with a range rather than a single figure.
As a practical guide, many home office orders fall into the following bands in Rand:
- Small single panel for a compact room: about R650 to R1 200
- Medium panel or paired set: about R1 250 to R2 800
- Larger custom wall feature or multi panel layout: about R3 000 to R6 500+
That range can move depending on the image dimensions and the finish selected. A glossy panel with a strong photograph may cost the same as a matte version of similar size, but any special planning for text, logos or exact colour matching can add preparation time. For offices in Sandton, Midrand or Pretoria where the room does double duty as a client space, it often makes sense to invest in a more considered layout rather than a quick one-panel fix.
The mistakes that make a home office wall feel untidy
The most common problem is choosing an image that is too small, too dark or too crowded for the size of the wall. Another issue is ignoring glare from a window or monitor, which can make even a good photograph hard to enjoy. Some customers also place the panel too high, so it floats above the room instead of anchoring the work area. In a home office, the wall art should support the space, not compete with the screen.
Other mistakes are more practical. A panel ordered without checking wall space can clash with shelving, and a finish picked without thinking about light can become reflective at the worst time of day. We also see problems when people send images they do not have rights to use, which is not workable for production. If the artwork, brand visual or family image is yours to use, and the file is suitable, the process is straightforward.
- Do not size artwork from memory, measure the wall first
- Do not use low-resolution phone captures for large panels
- Do not ignore sun paths, especially in west-facing rooms
- Do not choose a finish before checking reflections