
Match the hanging method to the wall, not just the picture
Coated aluminium panels are light for their size, but the wall still needs the right fixing. A small panel in a passage can use a different approach to a wide feature piece over a reception counter or sofa. For plasterboard, use fixings made for hollow walls. For brick or concrete, use plugs and screws suited to the surface. In tiled bathrooms or kitchens, the fixing point needs care so the tile is not cracked during drilling.
If the wall is exposed to coastal humidity, like in Durban or Gqeberha, it is worth choosing hardware that resists rust. In air-conditioned offices in Johannesburg or Pretoria, standard hardware can be fine, but the load and spacing still must be right. If a panel is large or will hang in a public area, plan the mount before the print is finished so the back fixing matches the wall. That saves rework and keeps the panel square.
Hardware choices that work well on aluminium panels
Different hanging systems suit different finishes and room layouts. A panel with hidden stand-off points gives a clean floating look, while a rear frame or batten mount is useful where the wall is uneven. For a more direct fixing, D-ring style hangers or picture wire can work on smaller panels, although the panel should stay level and not swing.
- Stand-off mounts: best for a premium floating gap and good airflow behind the panel.
- Rear batten or sub-frame: useful for larger panels and uneven walls.
- D-rings with wire: practical for lighter panels and standard picture hooks.
- French cleat style hanging: neat for heavier pieces and easier levelling.
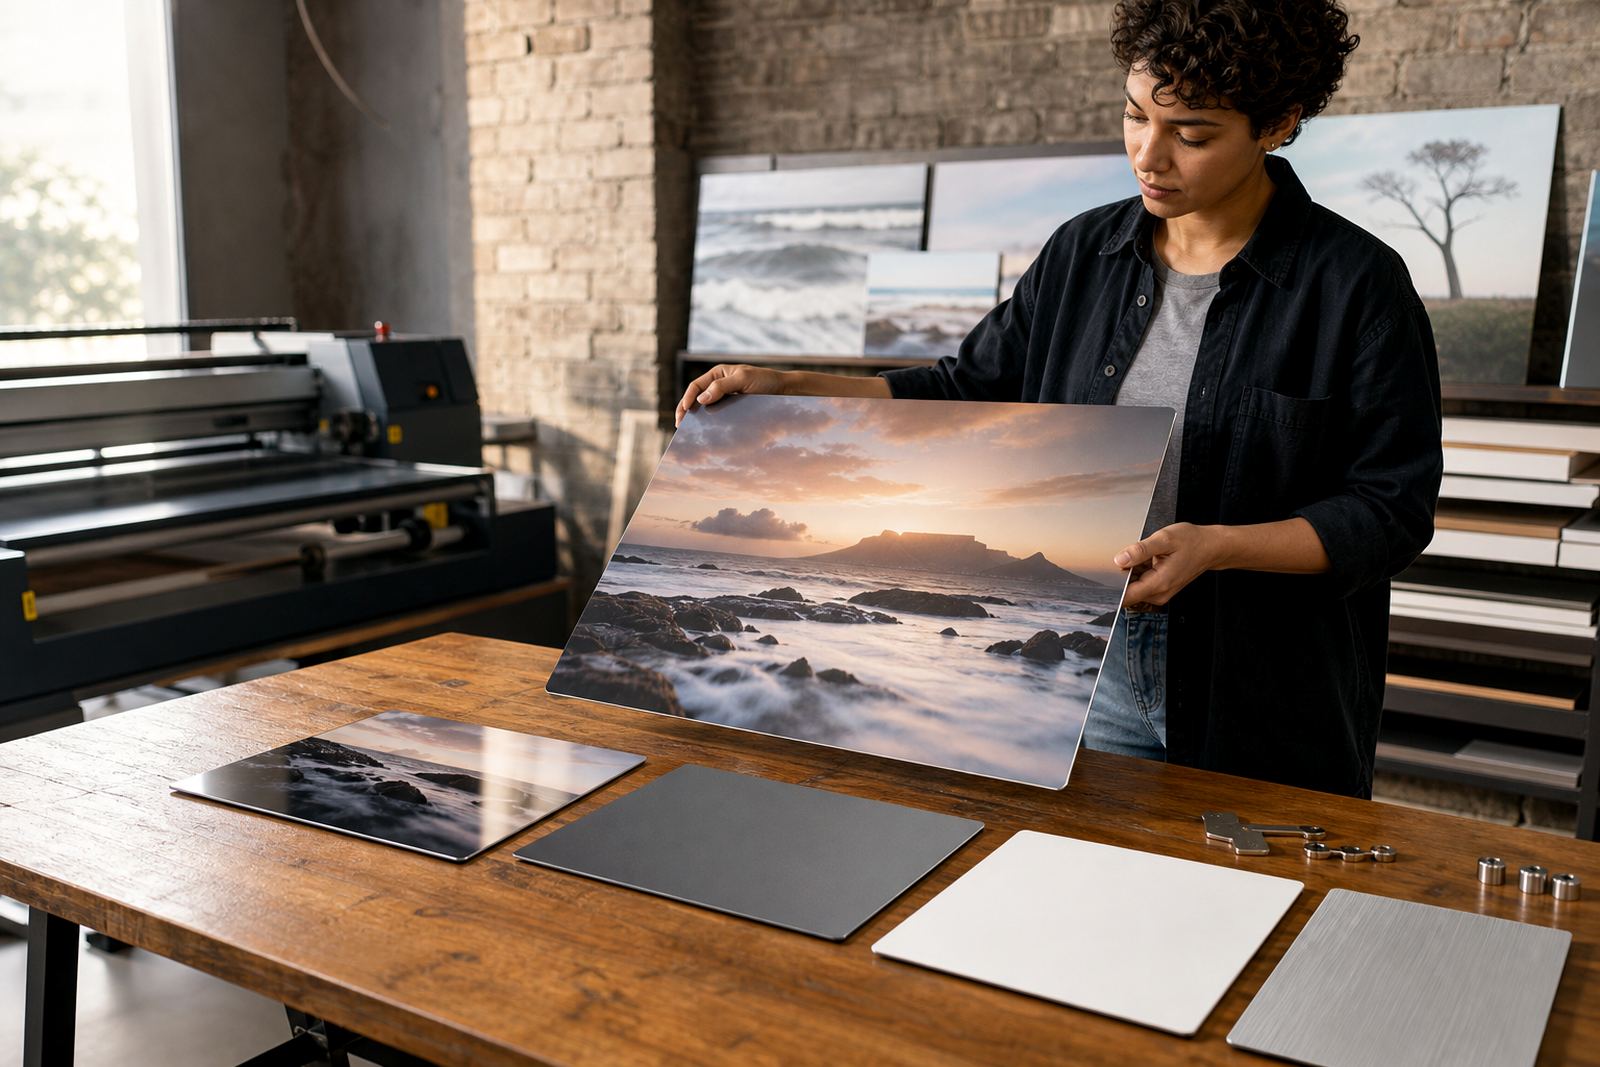
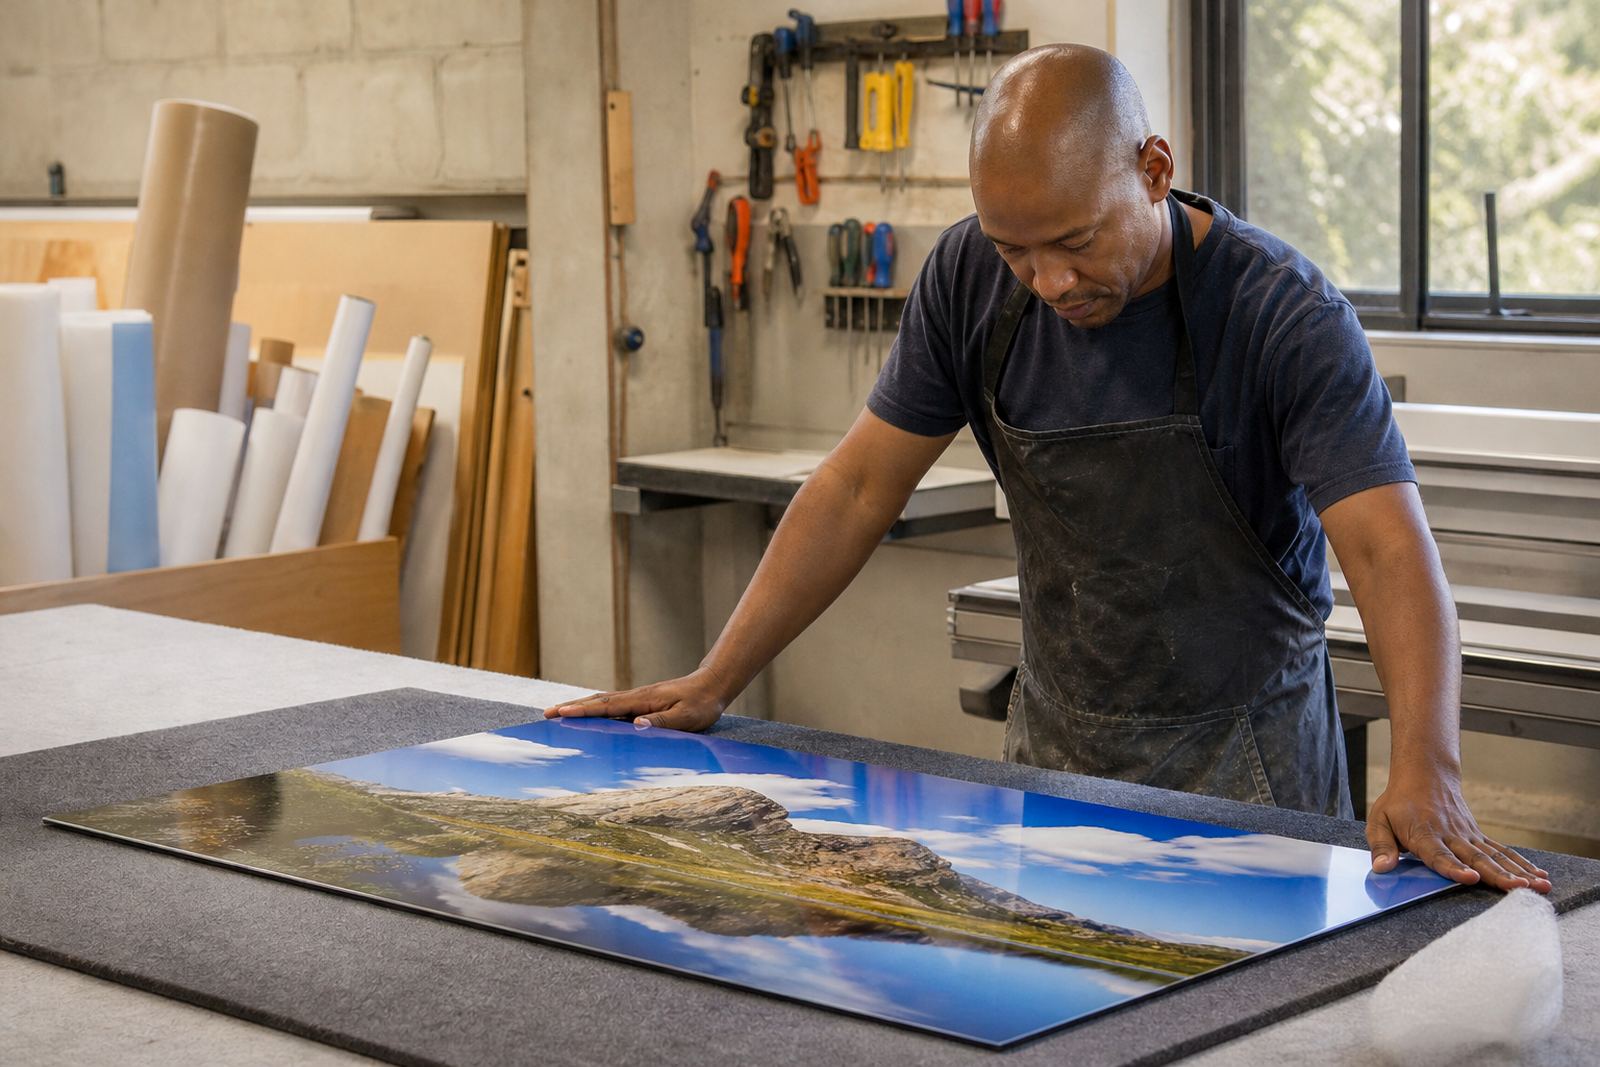
On brushed aluminium panels, the finish can show light differently across the surface, so use hardware that sits true and does not twist the panel. On gloss panels, keep fingers off the face during installation because marks show quickly. A small detail like this is often overlooked, yet it makes a big difference once the piece is on the wall.
How to prepare the wall before drilling a single hole
Start with the room layout and view height. Measure where the centre of the panel should sit, then mark the fixing points with a level. If the artwork will hang above a couch, reception counter or boardroom table, make sure the bottom edge sits high enough for clear movement, but low enough to feel connected to the space.
Before drilling, check for hidden pipes, electrical cables and weak plaster. In older properties, wall surfaces are often not perfectly true, so a spirit level and tape measure matter more than guesswork. If the wall is painted in a soft sheen, use low tack tape for marking rather than writing directly on the paint. For tiled walls, use the correct bit and go slowly so the drill does not wander.
- Measure the panel and mark the centre line first.
- Confirm the wall type before selecting plugs or anchors.
- Allow for the hanging gap if stand-off hardware will be used.
- Check that the panel will not strike doors, blinds or light fittings.
Room by room mounting notes for South African spaces
A home lounge usually allows for a larger statement panel, but the wall finish and traffic matter. In passageways and stairwells, a slimmer panel with secure fixings is often safer. Offices and client areas need mounting that handles regular cleaning and vibration from doors, so a fixed frame or stand-off system is often better than a loose wire. In retail spaces, wall anchors should be chosen with foot traffic and security in mind.
For coastal homes, keep the panel a little away from direct salt air and rain blown in through open windows. In dry inland rooms, heat from sun-facing walls can build up behind the panel, so a small air gap helps. If the panel is going into a kitchen, avoid spots above kettles or stoves where steam and grease build up. Good placement helps the print keep its colour and the mounting stay sound.
When a test panel saves time and holes
If you are unsure about finish, size or how a piece will hang, a test panel can help before full production. This is useful for photographers checking crop balance, artists reviewing edge behaviour, and businesses matching brand colours to a room. It is also a practical step when the wall is not straightforward, such as textured plaster, odd brickwork or a feature wall with uneven lines.
A test panel lets you check glare on gloss, softness on matte, and how the image reads under natural and artificial light. It can also help decide whether the artwork should sit portrait or landscape, or whether the fixing points need to move slightly for a cleaner line. If the wall already has a previous picture hook or old screw point, do not assume it will suit the new panel.
Cleaning, retightening and the small checks after installation
Once the panel is up, give it a final check from across the room. Make sure it sits level, the hardware is not visible where it should not be, and the spacing looks even. After the first few days, especially in busy offices or humid rooms, check the fixings again. Screws can settle slightly into plaster or timber, so a quick retightening may be needed.
For cleaning, use a soft dry cloth or a lightly damp microfibre cloth. Do not use abrasive pads or strong solvents on the coated surface. If the panel needs to be removed and stored, keep the packing flat and away from heavy pressure on the corners. Customers should own or have rights to the images they send for printing, and the final result is best when the file quality and the mounting are handled with the same care.