
When the studio wall has to do more than look tidy
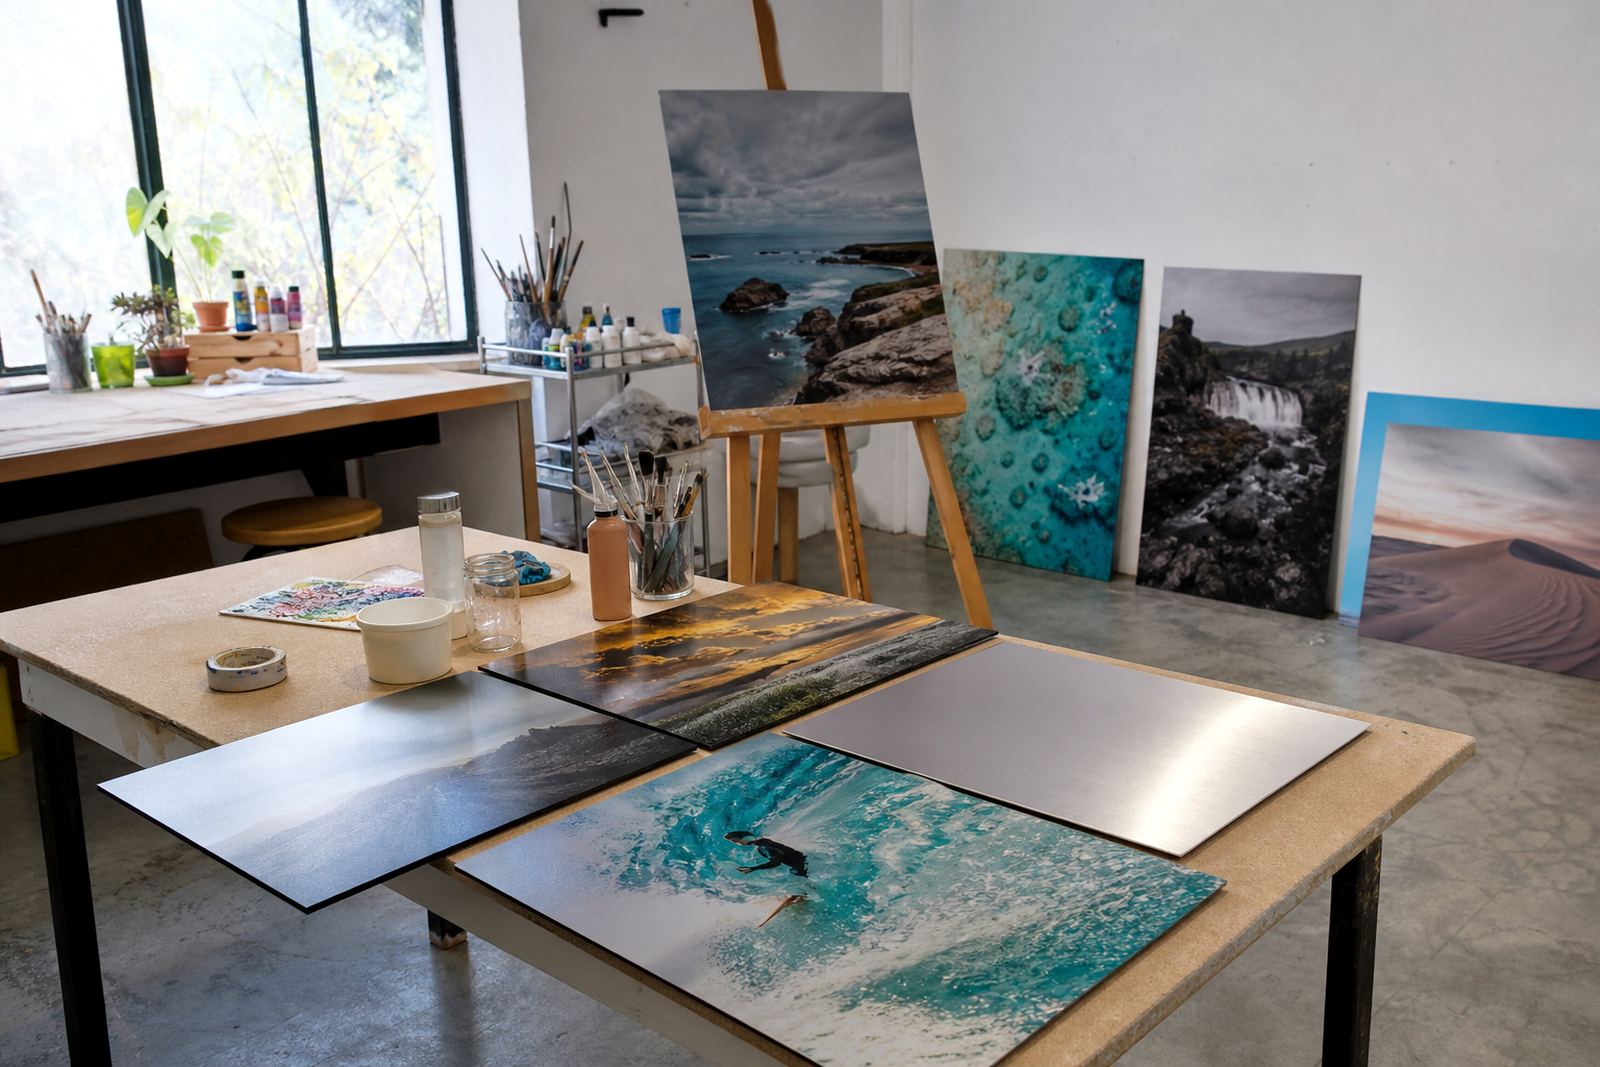
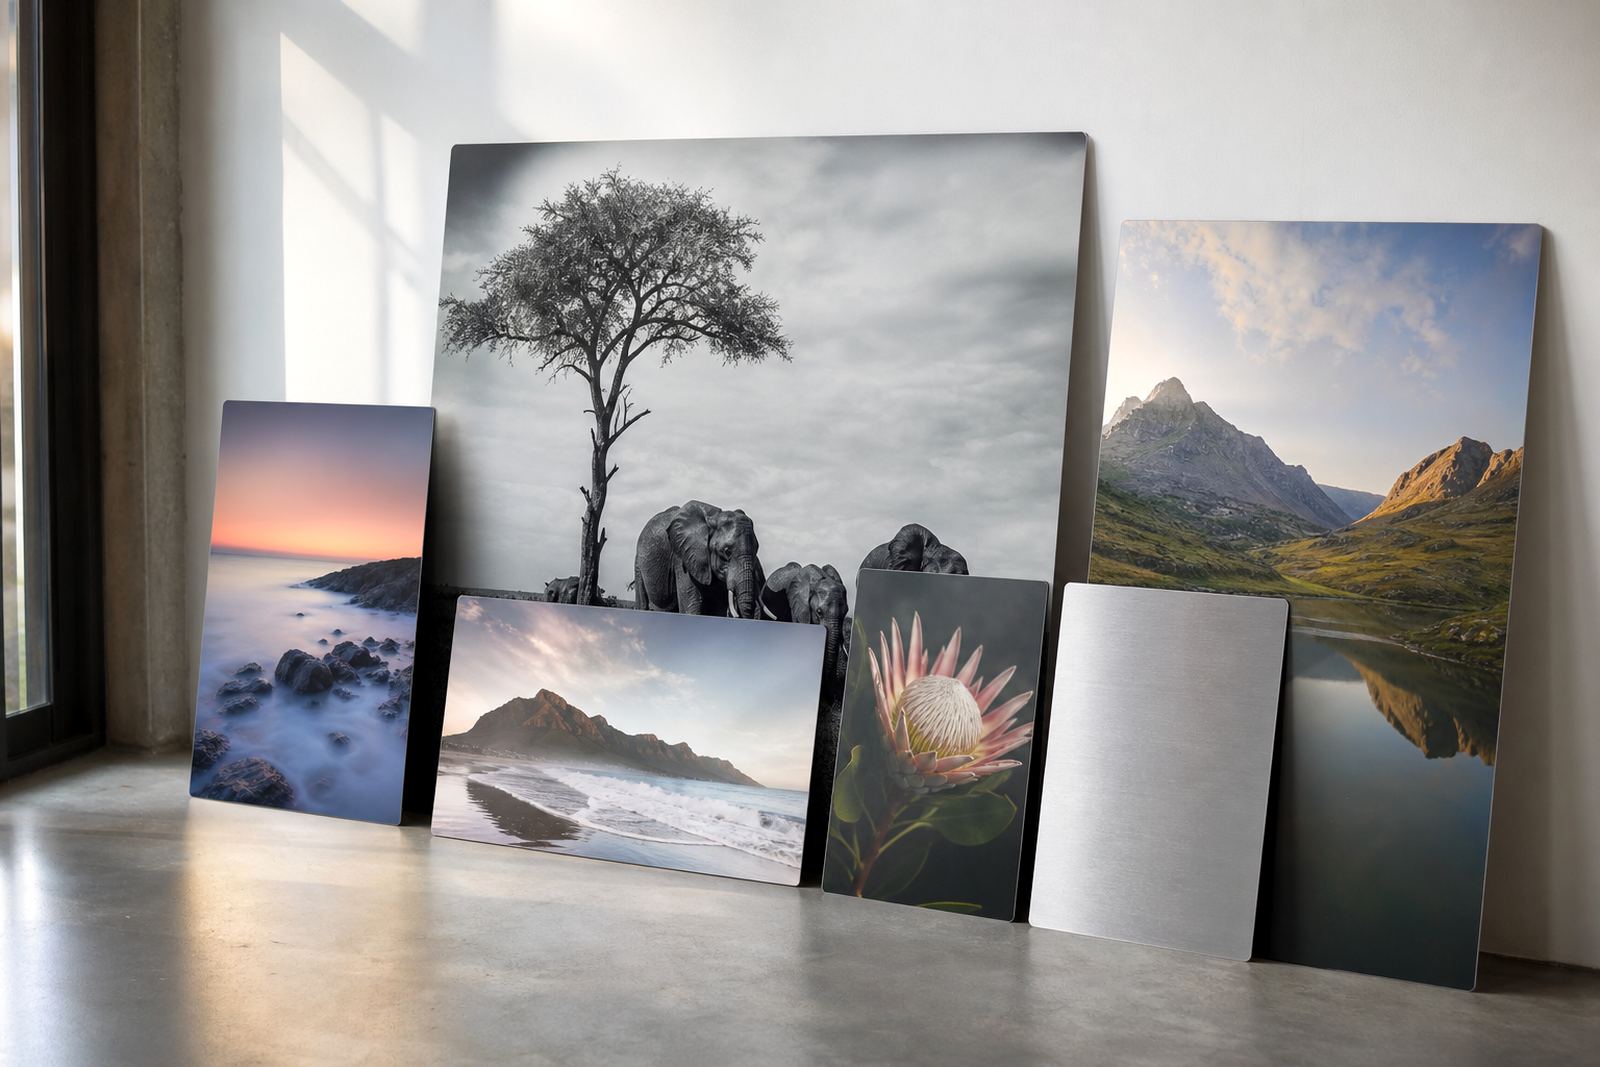
Artists often need a surface that can carry a strong image without curling, bubbling or showing the texture of a paper base. Dye sublimation onto coated aluminium gives a clean, direct finish that suits edition work, portfolio pieces and display panels in working studios. The panel stays flat, which helps when you are comparing tones, checking crop flow or moving work between framing, photographing and hanging.
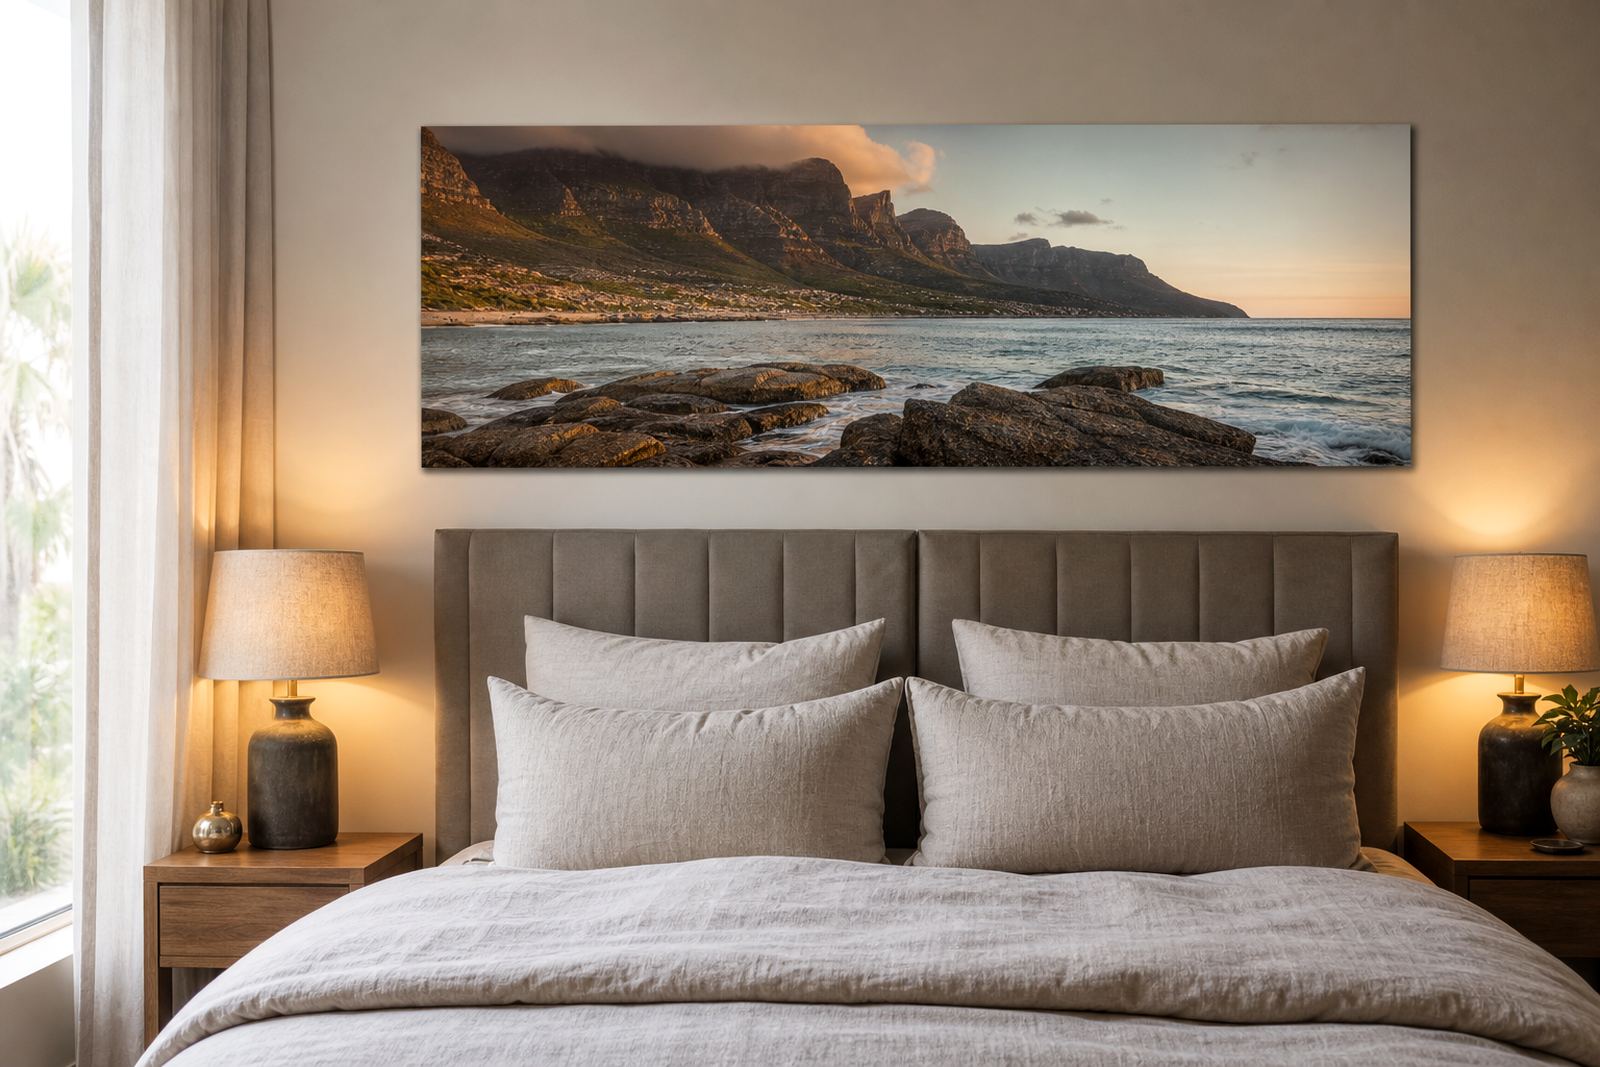
Aluminium panels help keep the presentation consistent. They are also useful for coastal clients in Cape Town, Durban and Gqeberha where humidity can be hard on unsealed paper products and board.
For edition display and reference walls, the aim is not just print quality. The panel needs to match the way the artist works day to day, whether that means a brushed surface for a softer contemporary look or a gloss finish for stronger depth in colour.
What studio buyers usually send through
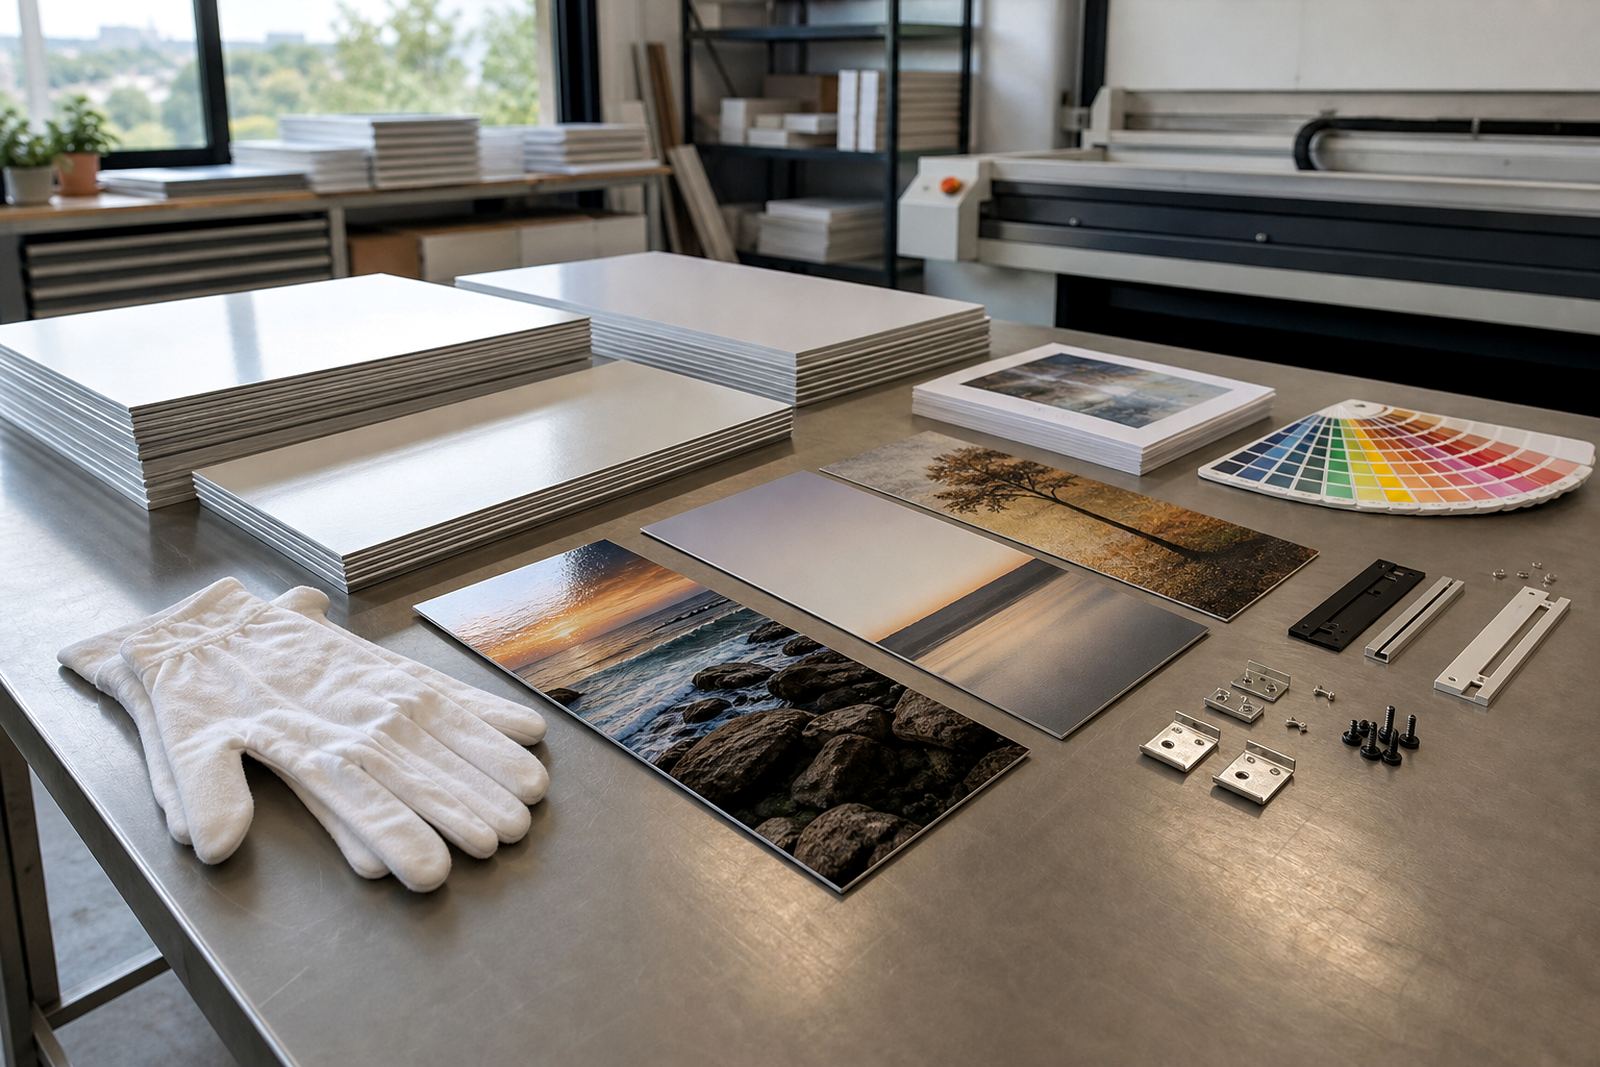
Artists, printmakers and creative studios usually work with a small but important set of items. The image file, the intended size, the finish choice and the hanging method all affect the final result. If the panel is for a gallery preview, a client review or a permanent studio wall, the production team needs enough detail to check resolution and layout before printing.
- High resolution image files in a print-ready format
- Notes on whether the panel is for an edition, a master reference or a presentation piece
- Preferred finish: gloss, matte, white or brushed aluminium
- Final size, including whether the panel is portrait, square or landscape
- Any cropping limits where text, signatures or key details must stay clear
- Hanging preference such as hidden mounts, aluminium standoffs or a flush wall fit
Customers must own the images they send or have the rights to reproduce them. That matters for edition work, mixed media collaborations and exhibition material, especially where the same image may be used again in different sizes.
Planning the wall before the print is made
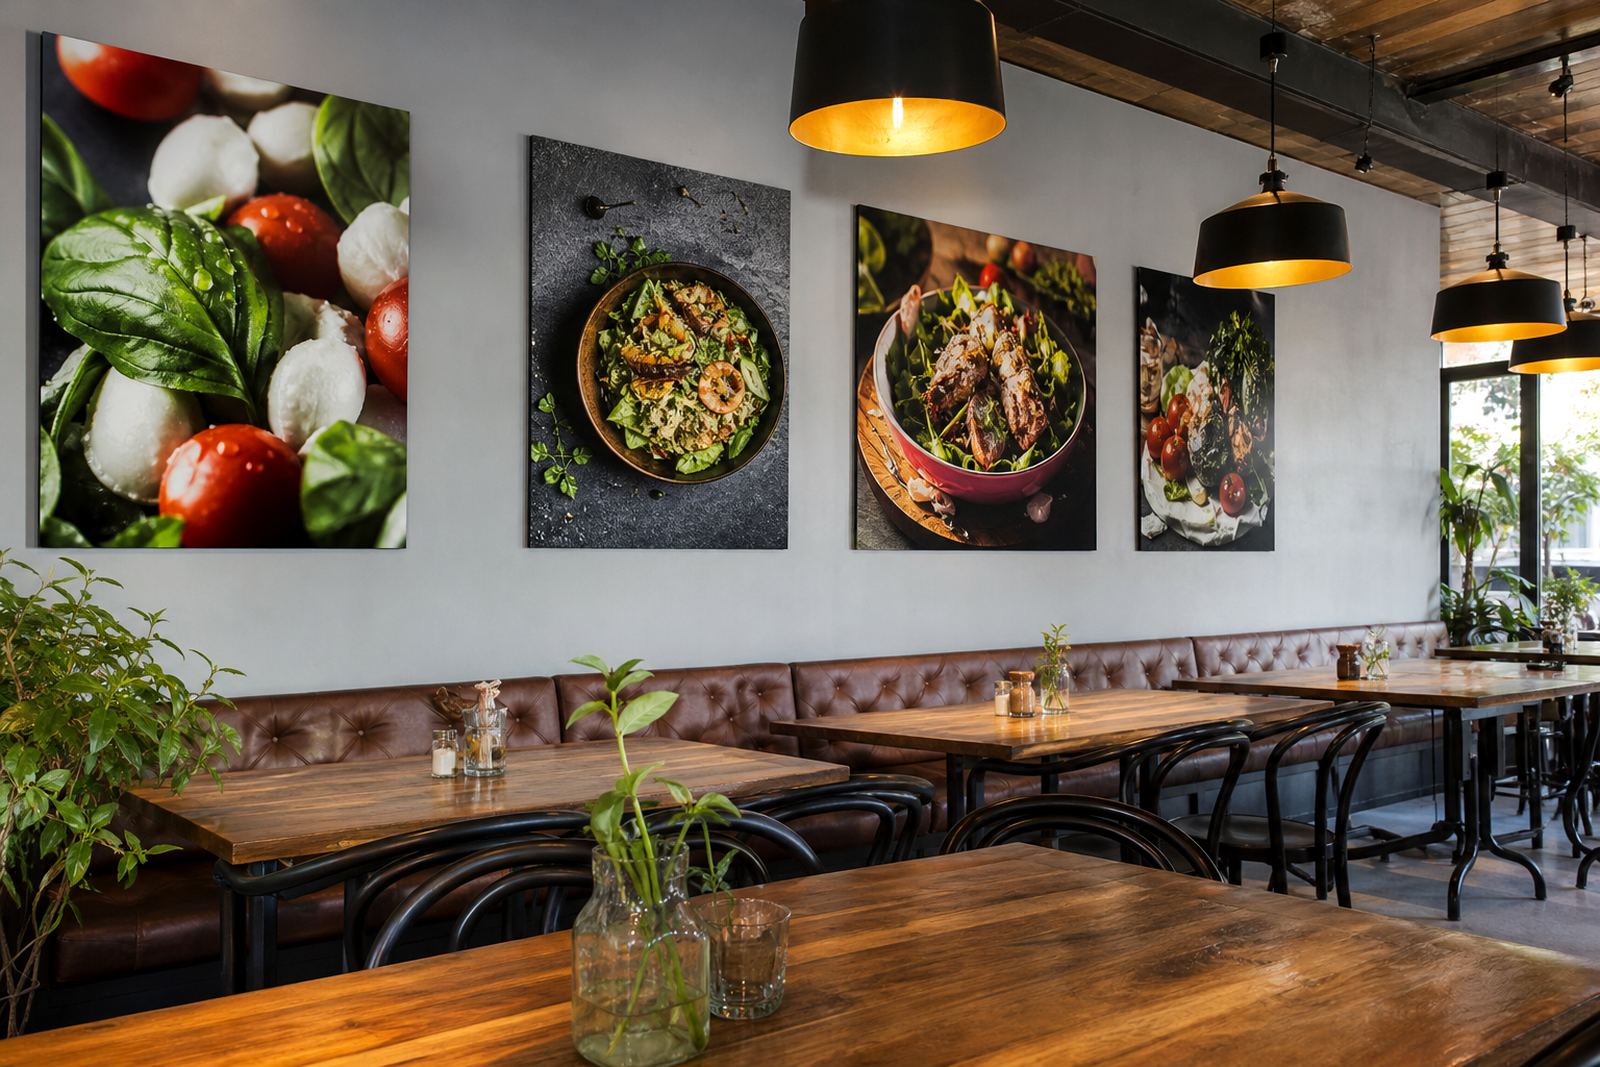
Good planning saves a lot of rework. In a studio setting, the panel often has to fit around shelving, easels, storage racks, hanging rails and visiting clients. It helps to decide whether the panel will stand alone or form part of a group. Multi panel layouts can work well for series work, triptychs and process walls, but spacing needs to be measured properly so the full image reads correctly from a few steps back.
Colour preparation is another practical step. A screen may show brighter blues or deeper blacks than the coated aluminium can carry without adjustment, so a test panel is useful when the image is important for an exhibition or sales presentation. Crop planning also matters. A face, a signature mark or a border line can be lost if the aspect ratio changes after the file is sent in.
For studios in Sandton, Midrand and Pretoria where client meetings often happen in the same room as the production work, a neatly mounted panel can do double duty. It shows the standard of the finished work and it keeps the space professional without needing extra framing.
Finishes that suit different studio moods
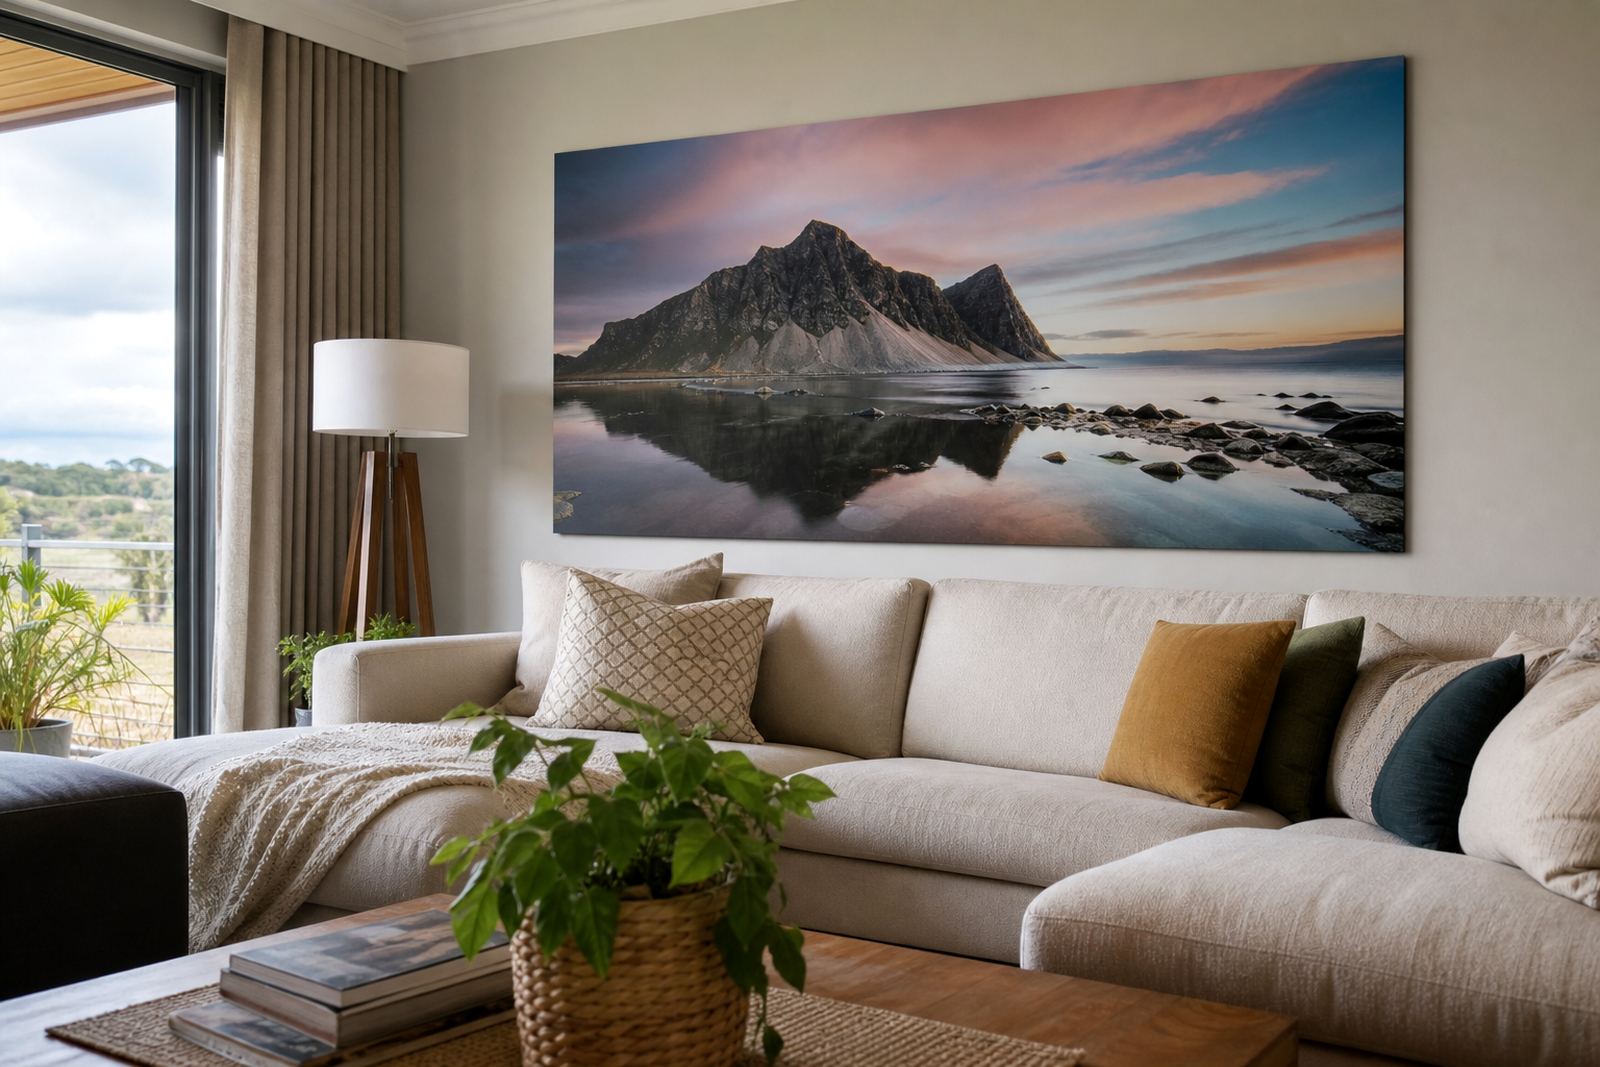
Each finish changes the way the image behaves in light. Gloss gives strong colour pop and depth, but it can also catch reflections from track lights, windows and camera flashes. Matte reduces glare and is often better for reference walls, teaching spaces and rooms with changing daylight. White aluminium suits clean, high-contrast images and gives a bright base for fine detail. Brushed aluminium keeps a visible metallic grain, which can work well for industrial, monochrome or typographic artwork.
The right finish depends on where the panel will live. A studio on a north-facing wall in Johannesburg may need a different choice from a Durban space with soft coastal light. If the room has repeated handling, a finish that hides fingerprints and small marks can be useful.
- Gloss for strong colour and visual depth
- Matte for low glare and easier viewing under mixed light
- White for crisp reproduction and cleaner tonal control
- Brushed for texture, metal character and a more graphic feel
Mounting that survives moving work around
Art studios are not static rooms. Work gets moved from the printing area to the packing table, then into a viewing space or vehicle. That is why hanging hardware should be chosen with the same care as the print itself. Hidden mounts can keep the panel floating off the wall. Standoffs suit a more technical or exhibition look. Flush hanging works well where the panel must sit close to the wall or where space is limited.
For heavier or larger panels, the wall surface needs to be checked too. Plasterboard, brick, timber and concrete all need different fixings. In some municipal or commercial spaces, the mounting method may also need to suit fire access, wall condition or tenant rules. If the panel is going into a rented studio in Johannesburg or a shared creative space in Cape Town, it is worth confirming what the building allows before production starts.
Care advice is straightforward: keep the panel dry, avoid abrasive cloths and do not store it where paint dust, overspray or solvent residue can settle on the surface. That small bit of handling discipline helps the panel stay sharp for longer.
What the budget usually looks like in Rand
Budget depends on size, finish, the number of panels and whether custom mounting or packing is needed. A small studio reference panel in a standard size can be kept relatively modest, while large exhibition pieces, multi panel sets and colour-critical test panels move the price up. Custom sizing also adds to the total because the panel must be cut and finished to the exact measurement.
As a working guide, smaller aluminium photo panels may sit in the lower Rand range for single pieces, while medium and larger panels, especially those with special mounting or multiple items in one order, move into a mid to higher range. Studios ordering several pieces for an edition wall or client display usually get better value by grouping the work in one production run.
If the image is important for sales, teaching or exhibition presentation, a test panel can be money well spent. It helps avoid a costly reprint if the tonal balance, crop or finish is not right the first time.
The mistakes that slow studio orders down
Most problems come from a handful of avoidable errors. Low resolution files can look acceptable on screen but fall apart when printed at larger sizes. Cropping without checking the final ratio can cut off borders or important detail. Choosing a glossy finish for a wall with strong daylight can leave reflections that distract from the work. Sending files without confirming rights can also stop production until the paperwork is clear.
- Using files that are too small for the intended panel size
- Leaving crop decisions until after printing has started
- Choosing the wrong finish for the room lighting
- Forgetting to allow for mounts or wall fixings
- Sending artwork without checking image rights first
SubAlu supports file checks, resolution review, colour preparation, finish selection, test panels, custom sizing, mounting options, multi panel layouts, packing and delivery, and reprint matching. That makes it easier for studios in Randburg, Pretoria, Midrand, Sandton and beyond to keep the work moving without last-minute corrections.