
The back-of-panel choices that change the whole display
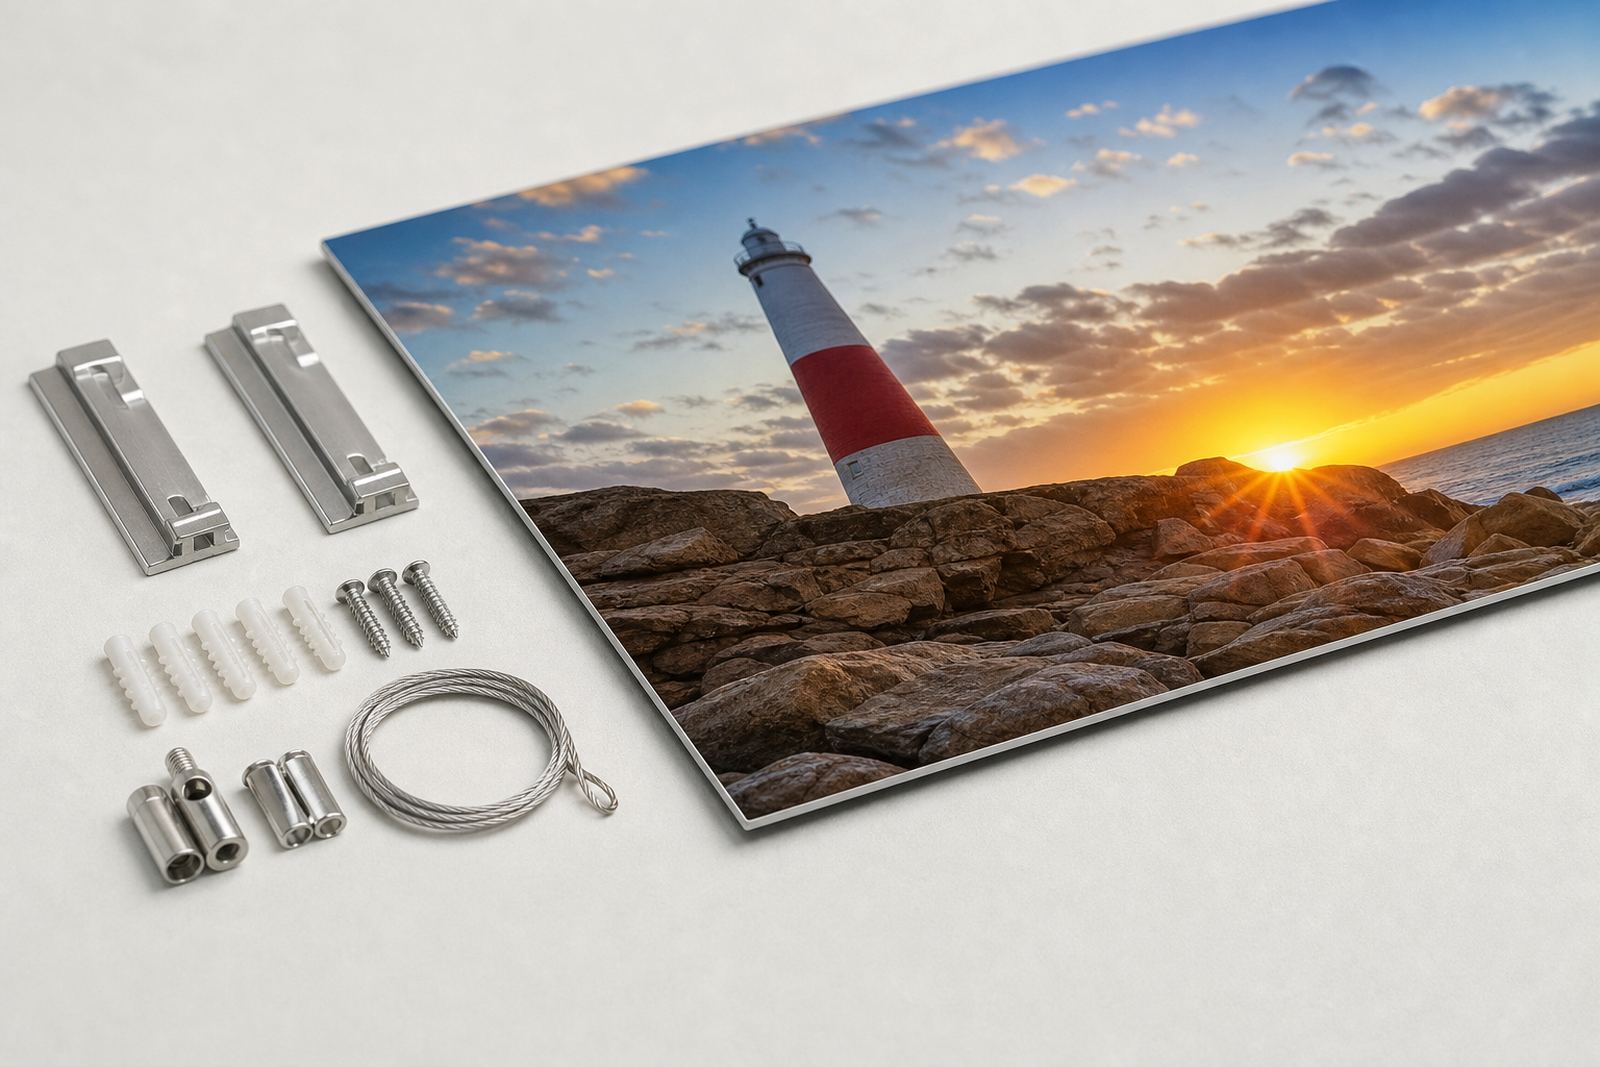
Rear mounting is not just a finishing step, it affects the final look of the aluminium print and how well it stays level over time. For dye sublimation onto coated aluminium panels, we offer practical hanging options that suit small feature pieces, large wall sets, and panels moving between venues or offices. The aim is a clean face with the hardware hidden from view, while still allowing safe installation on solid walls, plasterboard, or tiled surfaces.
We start by checking panel size, weight, image orientation, and where the panel will hang. A 300 x 400 mm piece does not need the same fixing as a full wall display, and coastal humidity in places like Durban or Gqeberha can make the right hardware choice more important.
- Hidden rear float mount for a clean offset from the wall
- Keyhole hanging plates for a neat flush finish
- Standoff options for thicker visual separation on feature walls
- Light duty to heavy duty hardware depending on panel size
How we match the hardware to the wall and the panel
Different walls need different fixings. A brick wall in Johannesburg takes another approach from a plasterboard partition in a Sandton office, and tiled bathrooms need careful placement so the fixings do not crack the surface. We match the hanging method to the panel weight and the wall conditions, then prepare the rear hardware so the panel can be installed with less fuss. If a display is part of a row of prints, we also line up the mounting points so spacing stays consistent across the set.
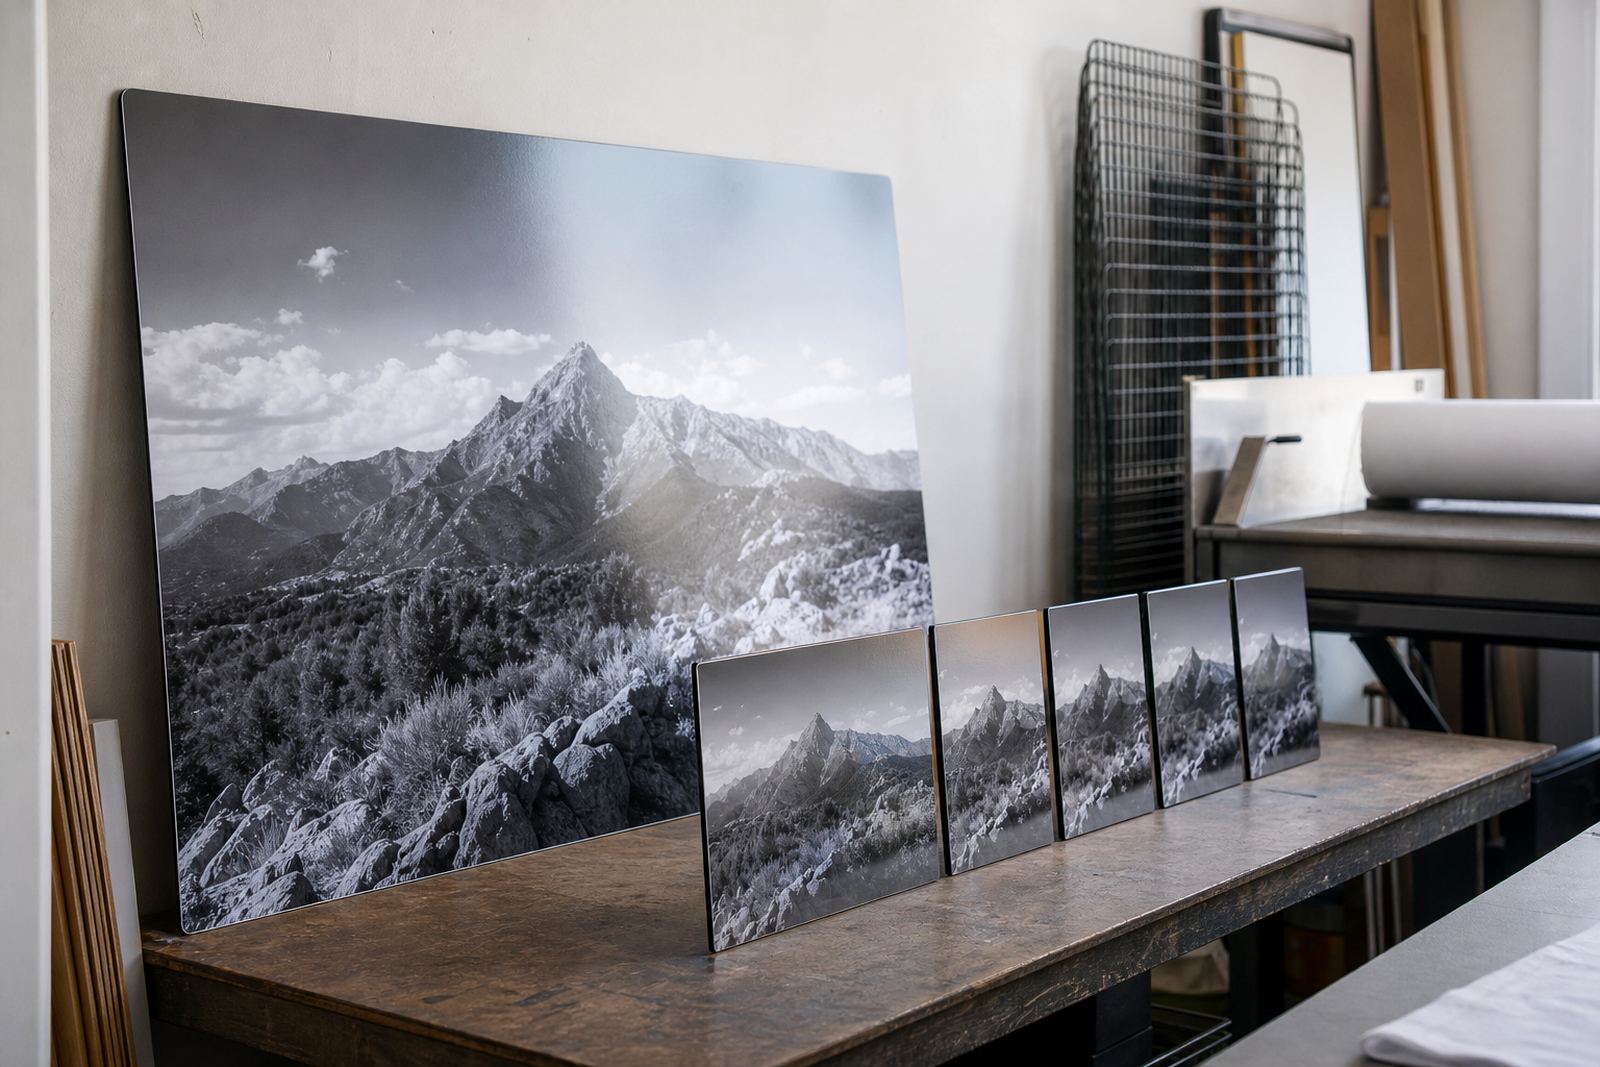
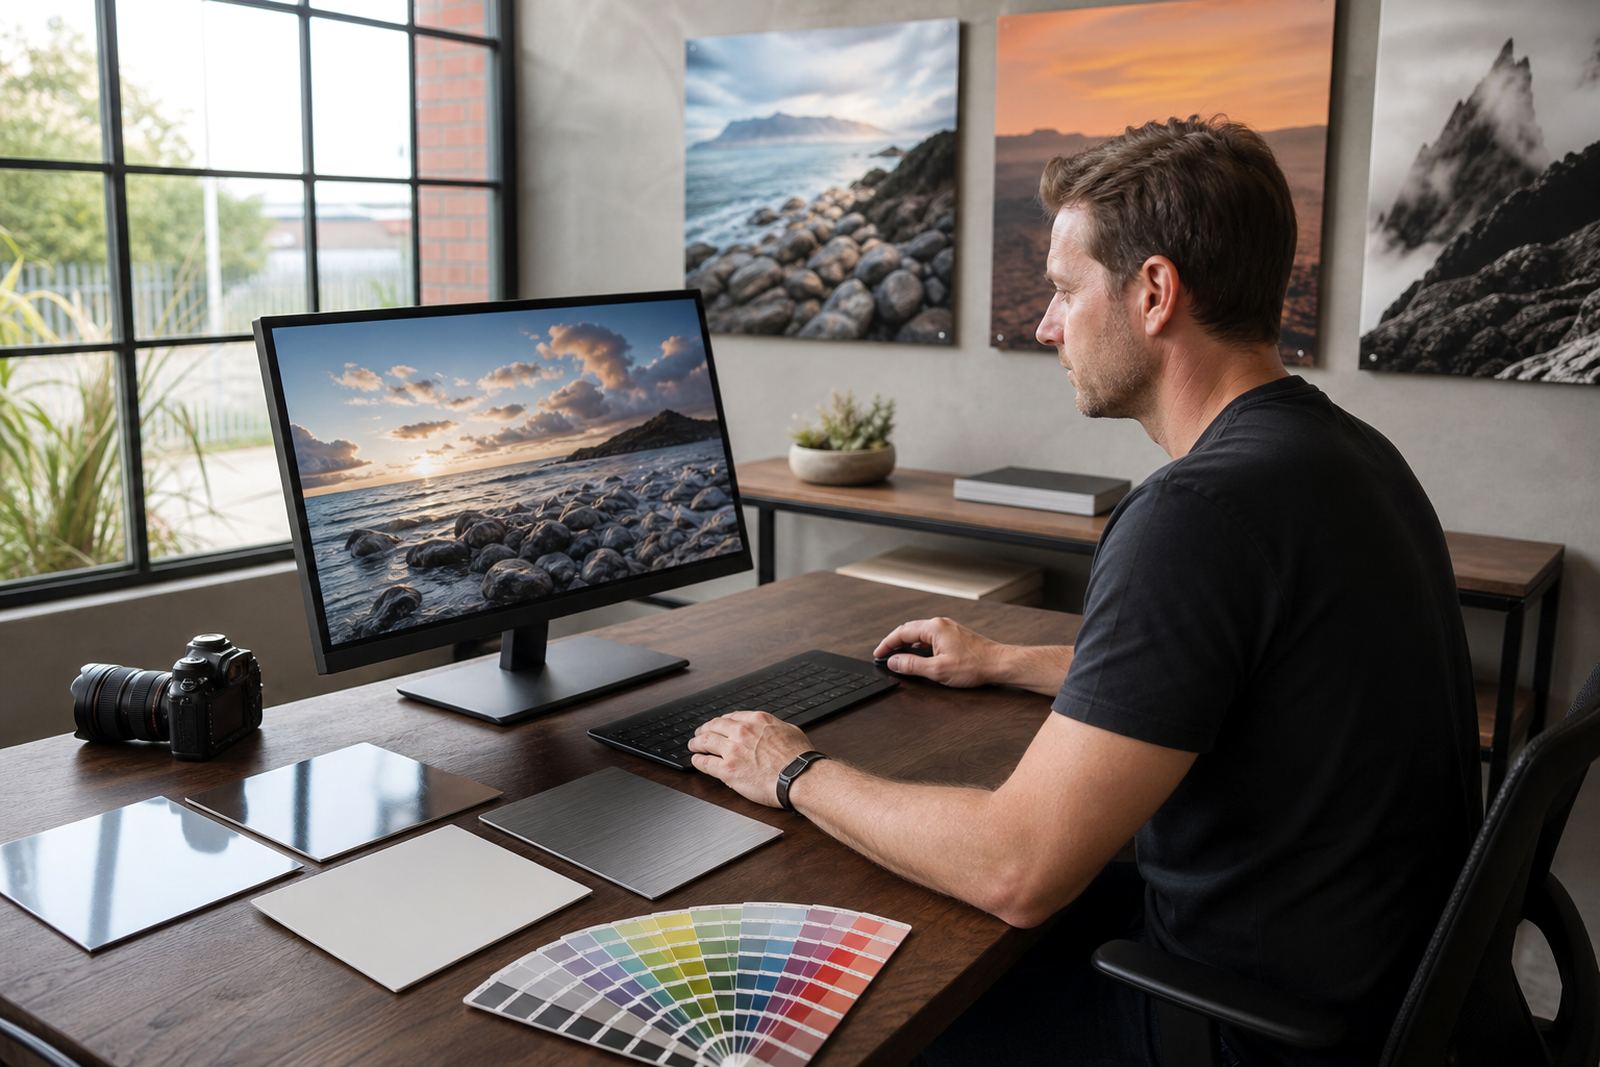
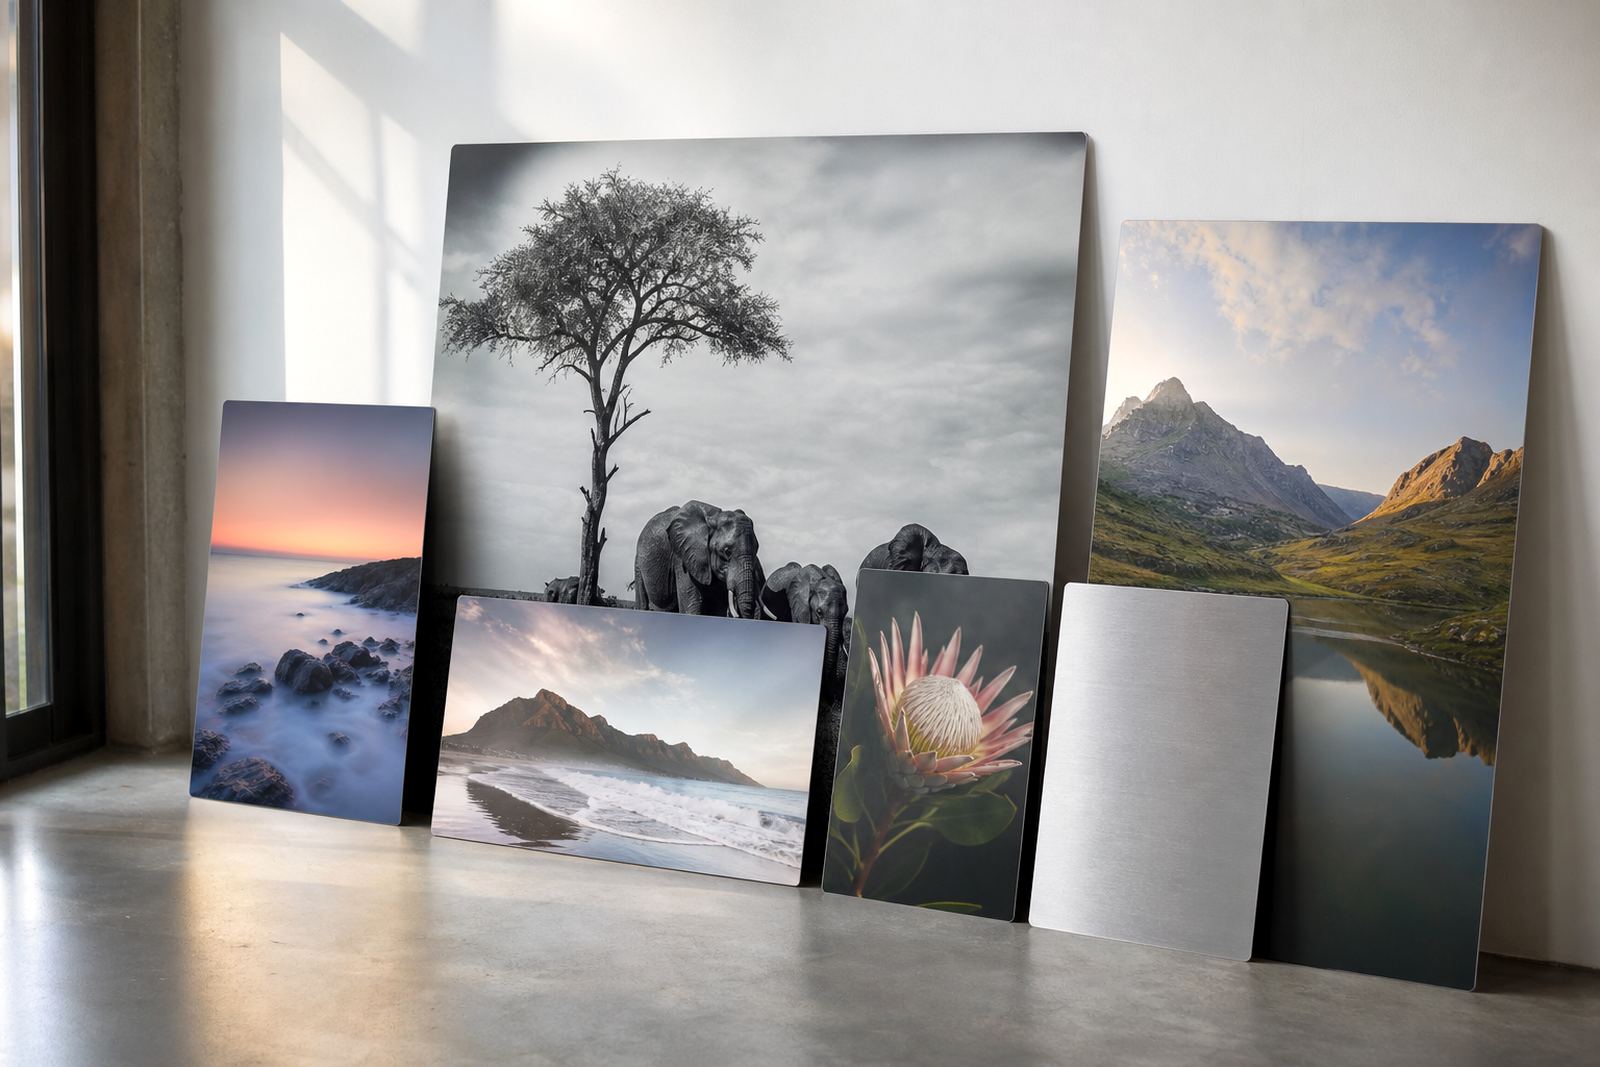
For larger pieces we may suggest a back frame or reinforced bracket points to help with rigidity. That matters on panels over 600 x 900 mm where even a small tilt can be visible once it is on the wall. For lighter panels, a simpler hanger may be enough. The finish on the front, whether gloss, matte, white or brushed aluminium, does not change the mounting method much, but it can affect how light catches the piece once it is up.
- Wall type check for brick, concrete, plasterboard or tile
- Orientation check for portrait, landscape or square panels
- Weight review for safe hanging and level alignment
- Spacing plan for multi panel layouts and triptychs
What is included with a mounting order
Every mounting order includes the selected rear hardware, fitting to the panel, and a basic check for straightness before dispatch. If the panel is part of a new print order, we review the image crop and edge margins so the mounting points do not interfere with important content. Customers must own the images they send or have the right to use them, especially where the panel is for business branding, product photography, or commercial décor.
We can also prepare test panels for jobs where the final look needs approval before a full run. That helps with gallery sets, reception walls, hotel corridors, and office refurbishments where several panels will be installed together. Minor marks or dust from handling are checked off before packing, though the face is protected and the corners are secured for transport. It keeps the job tidy, which matters when the panel is going to Cape Town or Durban and needs to arrive ready for hanging.
- Selected hanging hardware fitted to the rear
- Alignment check before packing
- Optional test panel for approval on larger jobs
- Protective packing for local and national delivery
The working steps from file to wall
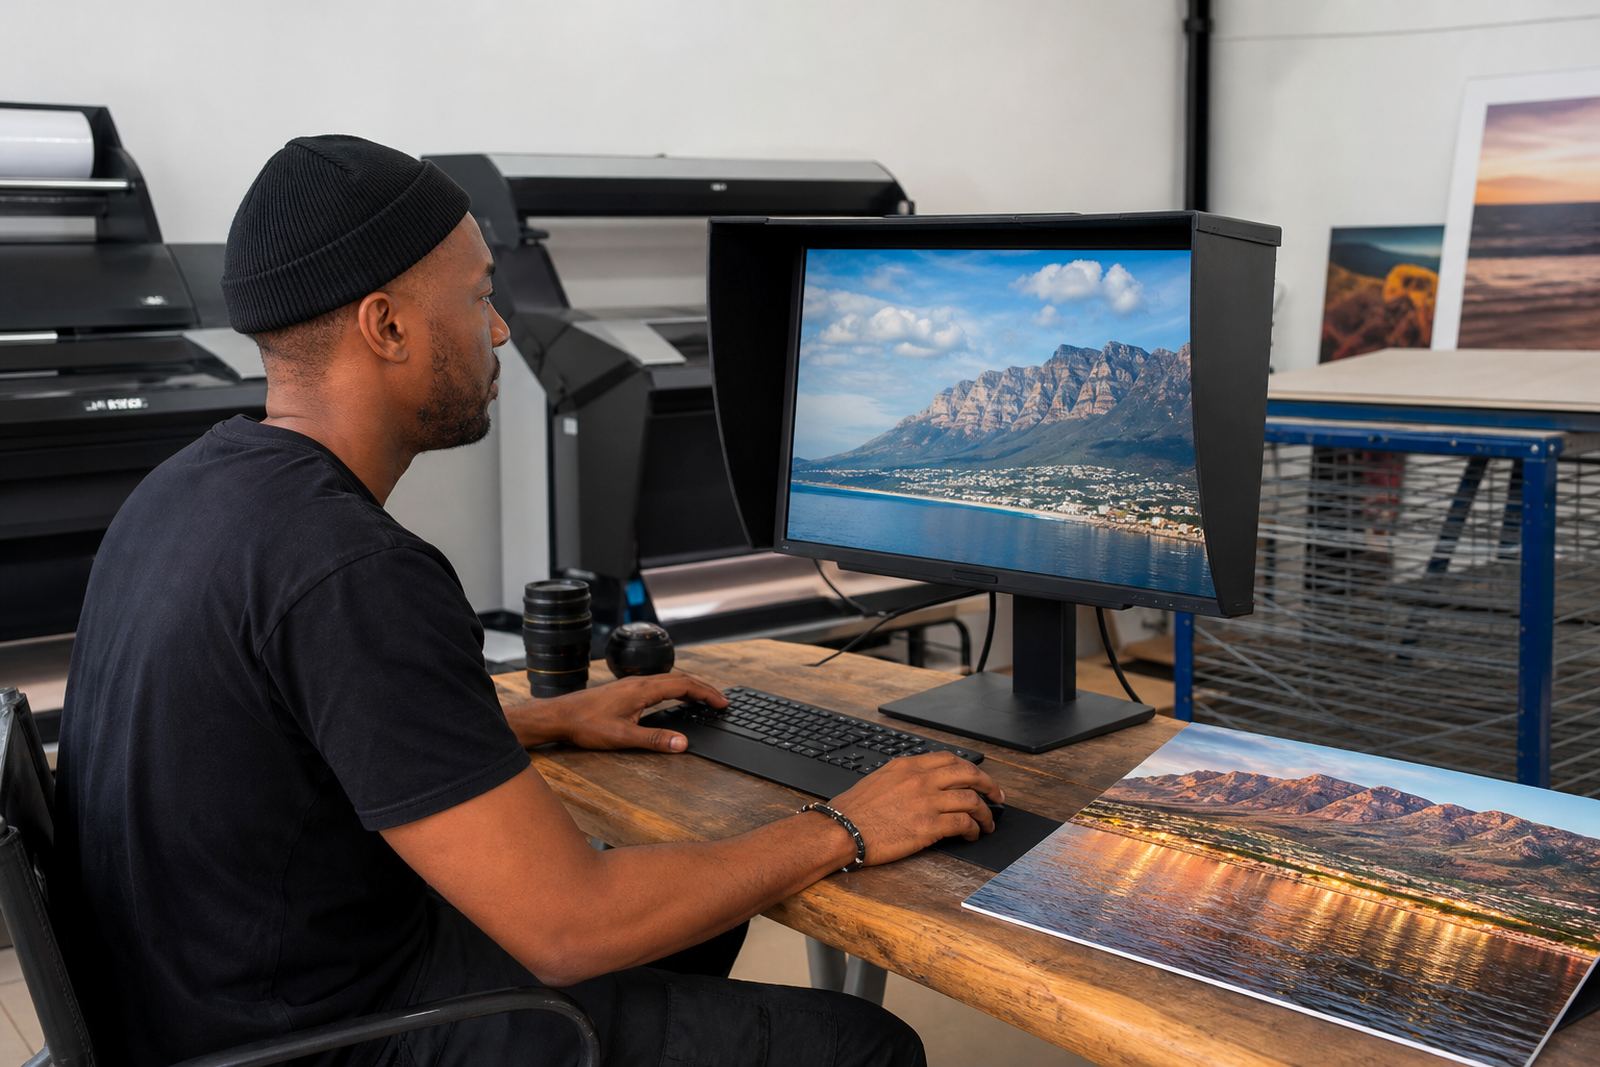
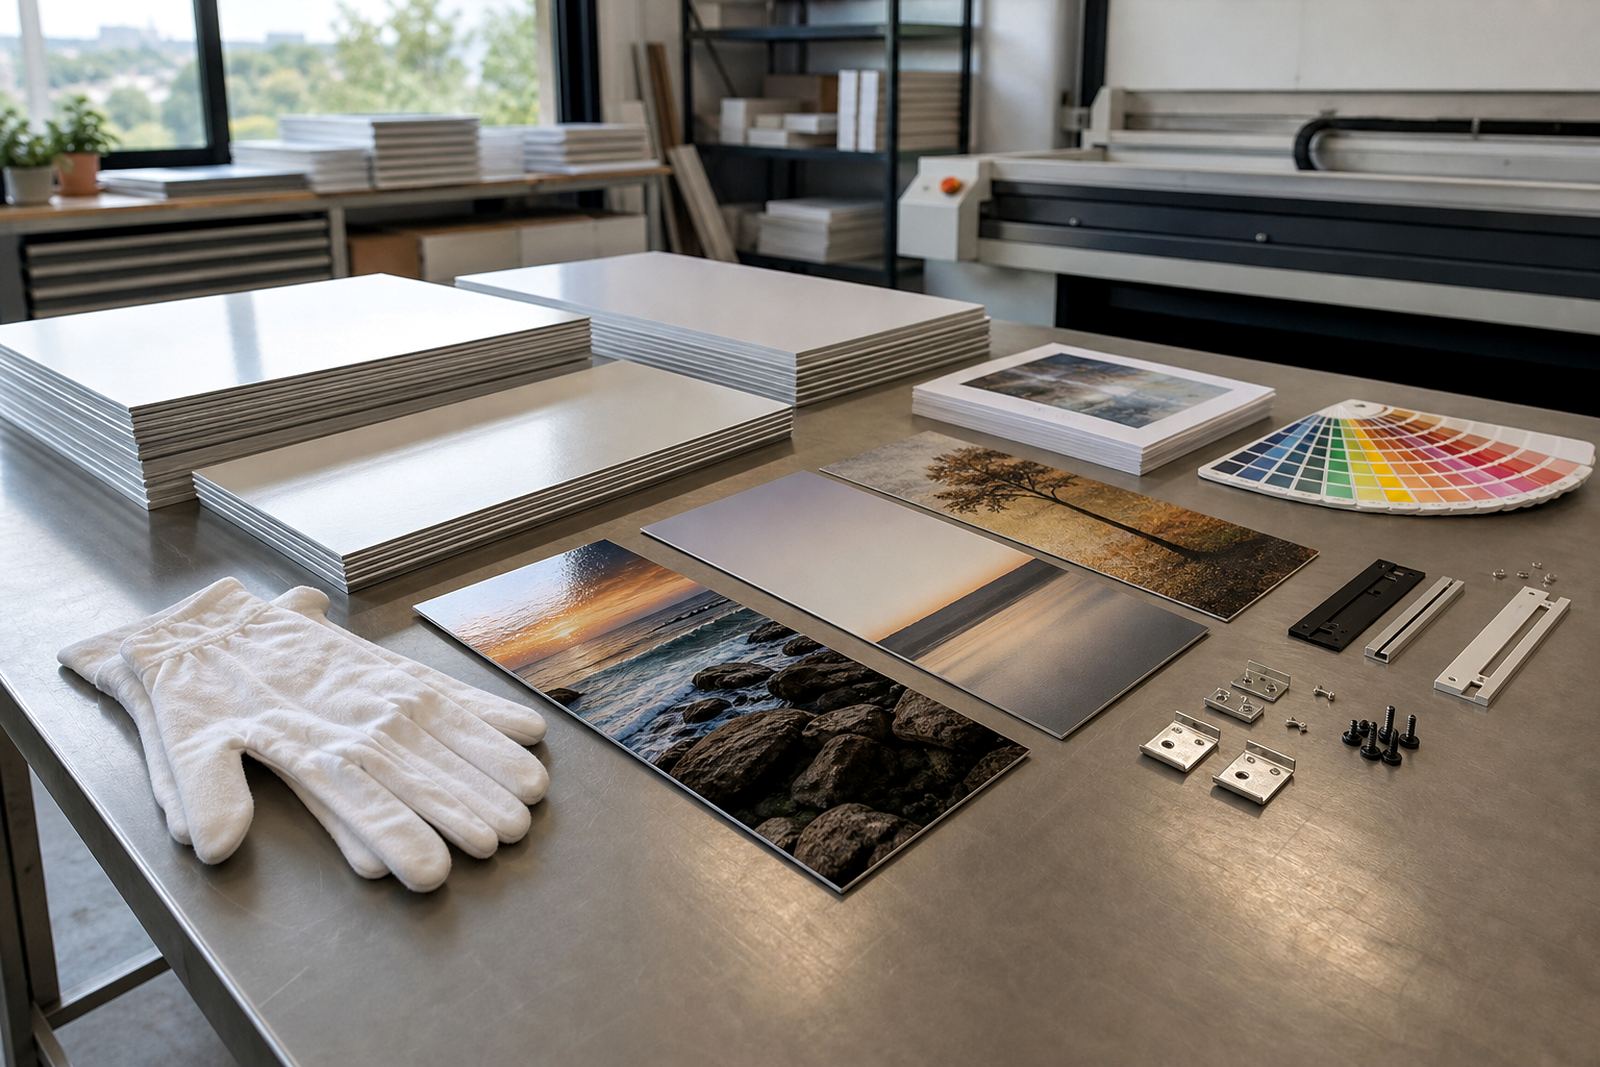
The process is straightforward. First we review the file and confirm whether the image resolution is suitable for the chosen panel size. Then we look at crop placement, border allowance, and the mounting method. After that we prepare the aluminium panel, apply the sublimation print, fit the rear hardware, and carry out a finish check. If the order includes multi panel work, we confirm the spacing and any shared horizon lines before the pieces leave the workshop.
For many jobs, turnaround depends on panel size, quantity, and whether a special mounting system is needed. A single small panel with a standard hanger can move faster than a large set with custom spacing. Rush work may be possible when production load allows, but for larger office or retail installs it is better to allow time for colour preparation, curing, mounting and packing. We’d rather send a correct panel than a hurried one.
- File check and resolution review
- Crop planning and finish selection
- Print, cure and rear mounting fitment
- Final inspection and dispatch
Pricing that follows the hardware, not guesswork
Mounting costs are based on the panel size, the type of rear hardware, the number of fixing points, and whether the job needs custom spacing or a special frame. A small office panel with one hanger is priced differently from a large public display that needs extra support. We keep the pricing approach practical and itemised so clients know what they are paying for before production starts. That way there are no surprises when the job includes several panels or a mixed batch with different sizes.
Where an order includes multiple panels, we can group the mounting work to keep the overall cost sensible. This is useful for photographers sending a series of prints, or businesses fitting out branches in Randburg, Midrand, Pretoria or further afield. If a client wants to compare a few mounting options, we can quote the difference between them and explain the likely effect on the final look and installation time. That makes the choice easier, especially for a first panel.
- Quoted according to size, hardware and fixing complexity
- Separate costing for custom mounting or reinforced backs
- Multi panel jobs can be grouped for better value
- Clear pricing before production starts
After the panel goes up, what to watch for
Once the panel is installed, the main care point is handling. Aluminium panels are durable, but the front surface still benefits from gentle cleaning with a soft dry cloth or a slightly damp microfibre cloth if needed. Do not use abrasive pads, strong solvents or rough paper towels. For walls near kitchens, entrances or humid coastal areas, a quick wipe now and then helps keep the finish looking even. It is a low fuss display, not a high maintenance one.
If a panel needs to be moved later, the rear hardware should be checked before it is lifted off the wall. That matters most on larger pieces and on panels mounted in busy spaces where they may be touched during cleaning or rearranging. If a customer has a reprint matched to an older panel, we can help keep the replacement aligned with the same hanging positions. It saves time and avoids extra holes in the wall, which is useful in offices and rental spaces alike.
- Use a soft dry or lightly damp cloth for cleaning
- Avoid abrasive cleaners and scratchy materials
- Check hardware before moving larger panels
- Reprint matching is available for existing layouts
Key facts
| Panel sizes | Custom sizing available from small feature panels to large format wall pieces |
|---|---|
| Mounting types | Hidden rear float mount, keyhole hanging, standoff options and reinforced backs |
| Suitable walls | Brick, concrete, plasterboard and tiled surfaces, subject to the fixing selected |
| Finish compatibility | Gloss, matte, white or brushed coated aluminium panels |
| Typical use | Homes, galleries, offices, reception areas and retail interiors |
| Service area | Randburg, Johannesburg, Pretoria, Midrand, Sandton, Cape Town, Durban and Gqeberha delivery |